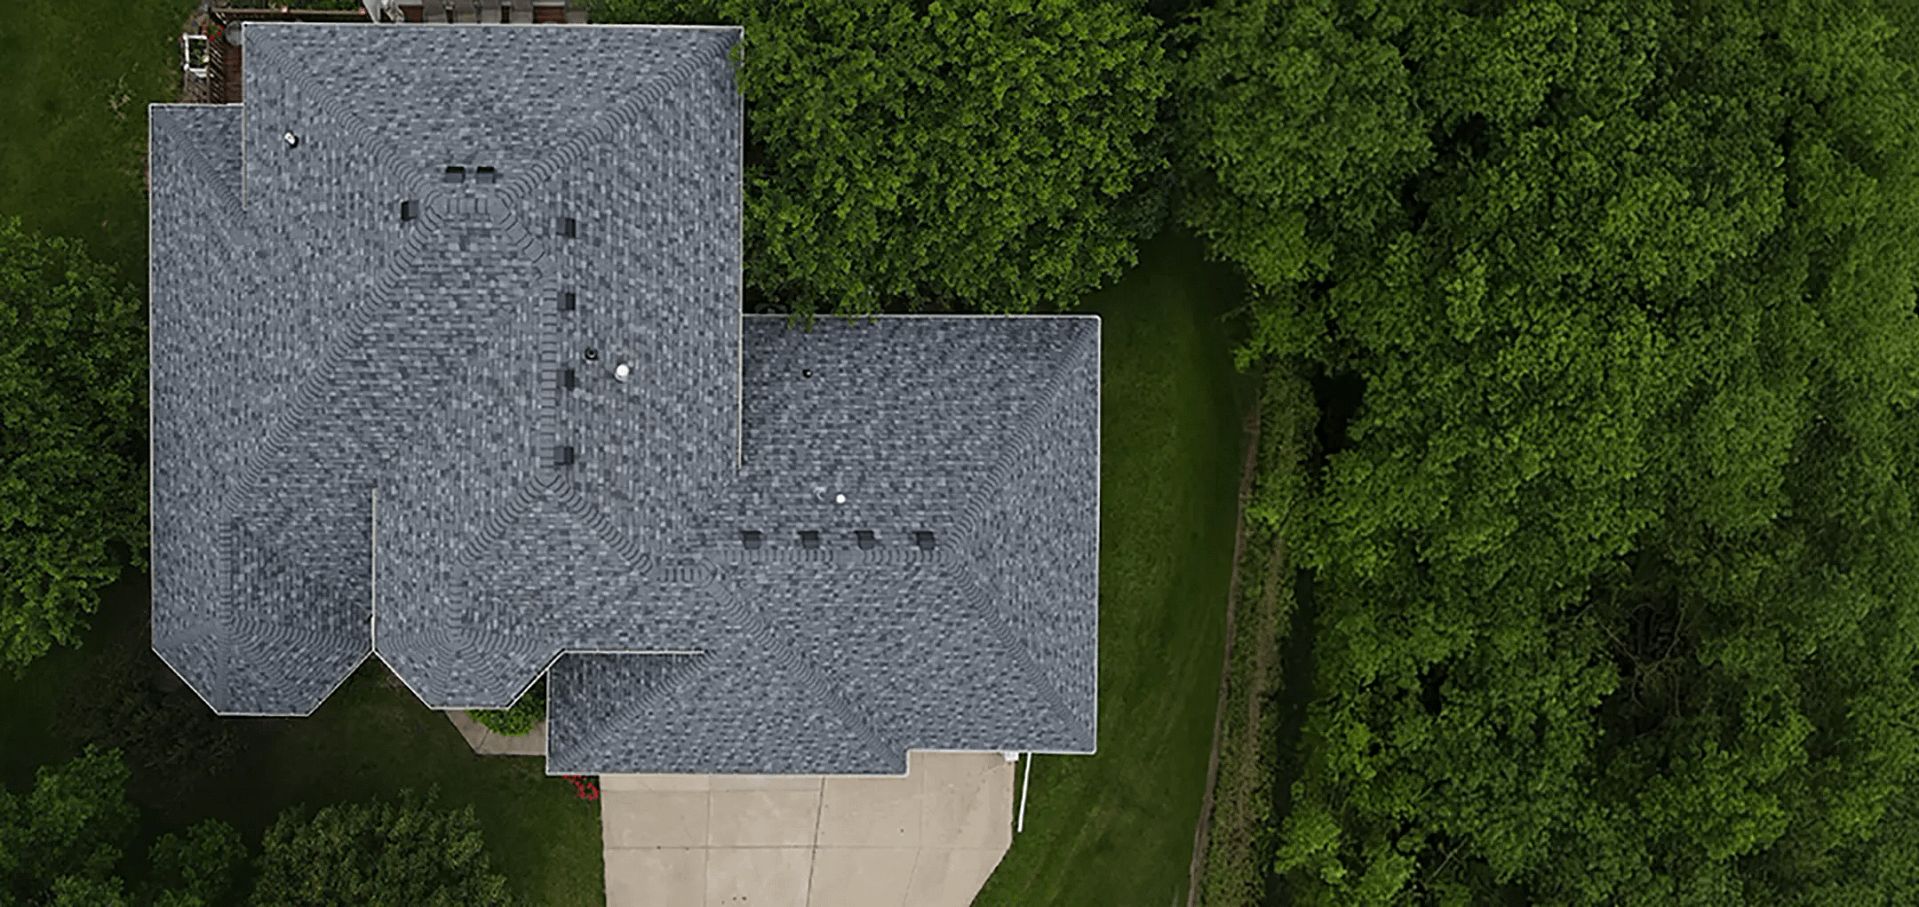
An attic insulation upgrade is one of the highest-return home improvements you can make in 2026, cutting energy bills, steadying indoor temperatures, and easing the load on your heating and cooling system. The attic is the single biggest source of heat loss in most homes, since heat rises and escapes through the ceiling, so bringing an under-insulated attic up to modern standards pays off month after month. This guide walks through what an upgrade involves, what it costs, and how to know if your home needs one. Here is what this guide covers:
- Why upgrade: The comfort, efficiency, and savings benefits of better attic insulation.
- Cost and R-value: What an upgrade costs in 2026 and how much insulation you need.
- The process: The steps involved and how to decide between DIY and professional work.
Why Consider an Attic Insulation Upgrade?
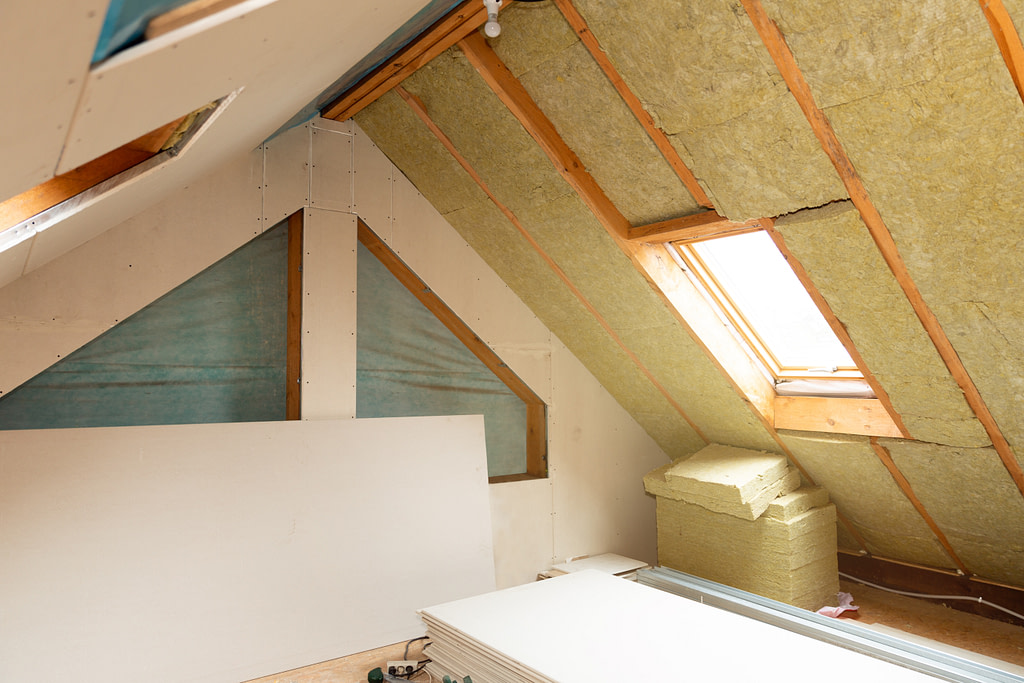
Considering an attic insulation upgrade makes sense because the attic is where homes lose the most energy, and improving it delivers some of the fastest payback of any home improvement. A large share of American homes are under-insulated, meaning many homeowners are paying to heat and cool air that escapes straight through the ceiling.
What Are the Benefits of Upgrading?
The benefits of upgrading attic insulation include lower energy bills, more consistent indoor temperatures, reduced strain on your HVAC system, and better protection against moisture and ice dams. Adding insulation and sealing air leaks reduces the energy your home wastes, which shows up directly as savings on heating and cooling. It also eliminates the drafts and cold or hot spots that make certain rooms uncomfortable, and it helps prevent the attic condensation that leads to mold and rot. Over time, a quality upgrade extends the life of your heating and cooling equipment too. For homes in Lyle and surrounding areas, these benefits are amplified by Iowa’s demanding seasonal swings.
- Lower bills: Less wasted energy means smaller heating and cooling costs.
- Even comfort: Steadier temperatures eliminate drafty, uneven rooms.
- Less HVAC strain: Reduced load extends the life of your equipment.
- Moisture defense: Better insulation and sealing guard against condensation.
How Much Can You Save With an Upgrade?
An attic insulation upgrade can cut energy bills significantly, with many homeowners seeing meaningful annual savings and a payback period of just a few years. Upgrading an under-insulated attic to the recommended level can reduce the energy lost through the ceiling substantially, and the savings are greatest in cold climates with high heating demand. Because the attic accounts for such a large portion of total heat loss, the return on this upgrade often outpaces almost any other home improvement. Many homeowners recover the cost within two to six years and then enjoy savings for decades. For homes in Lyle and surrounding areas, that strong return is what makes the attic the smartest place to start.
- Meaningful savings: Reduced heat loss lowers heating and cooling costs.
- Cold-climate payoff: Savings are largest where winters are long and harsh.
- Fast payback: Many upgrades pay for themselves in two to six years.
- Best starting point: The attic offers the highest return of most upgrades.
How Much Does an Attic Insulation Upgrade Cost in 2026?
An attic insulation upgrade in 2026 typically costs between $1,500 and $4,500 for a professional installation, with blown-in insulation averaging around $2 to $2.50 per square foot installed. The final price depends on your attic size, the material you choose, and whether air sealing or old insulation removal is needed.
What Drives the Cost of an Upgrade?
The main factors driving the cost of an attic insulation upgrade are attic size, insulation type, air sealing, and whether old insulation must be removed first. Blown-in cellulose or fiberglass is the most cost-effective choice for standard attic floors, while closed-cell spray foam costs more but delivers the highest R-value per inch. Air sealing typically adds a few hundred to around fifteen hundred dollars but is essential to the result, and removing damaged or contaminated old insulation adds roughly $0.75 to $2.25 per square foot. Accessibility and attic complexity also affect labor. Understanding these factors helps you budget accurately and compare bids.
- Attic size: More square footage means more material and labor.
- Material choice: Blown-in is economical, while spray foam costs more.
- Air sealing: Often a few hundred to about fifteen hundred dollars extra.
- Old insulation removal: Adds roughly $0.75 to $2.25 per square foot.
How Much Insulation Do You Need?
The amount of insulation you need is set by your climate zone, with cold, heating-dominated regions requiring the highest levels. The 2021 International Energy Conservation Code calls for R-49 to R-60 in the attic depending on climate zone, and northern zones like Iowa’s fall at the higher end of that range. Older homes are often well below this, with houses built before 1980 frequently holding only R-11 to R-19. Measuring your existing insulation depth and comparing it to the recommended R-value tells you how much to add. Hitting the right level is what unlocks the full savings of an upgrade.
- Zone-based target: Cold climates require the highest attic R-values.
- Code guidance: The 2021 IECC calls for R-49 to R-60 in attics.
- Older homes fall short: Pre-1980 homes often hold only R-11 to R-19.
- Measure to plan: Compare current depth to the target for your zone.
5 Steps in an Attic Insulation Upgrade
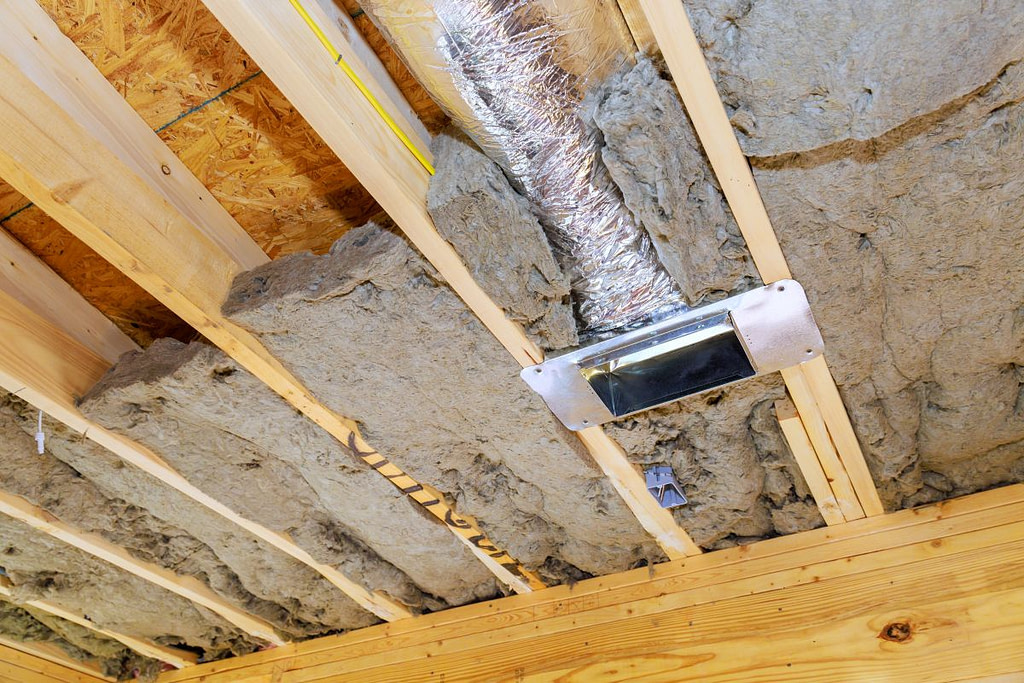
A professional attic insulation upgrade follows a clear sequence that ensures the new insulation performs at its full value. The five steps below outline what to expect from assessment through final installation.
1. Assess the Existing Insulation
Assessing the existing insulation is the first step, since it reveals what you have and what the attic actually needs. A professional measures the depth and type of current insulation, calculates its R-value, and compares it to the recommended level for your climate zone. This assessment also uncovers problems like moisture, mold, pest damage, or compressed and settled insulation that reduce performance. The findings determine whether you can add over the existing material or need to remove it first. A thorough assessment is the foundation of a well-planned upgrade.
- Measure the depth: Current insulation depth reveals the existing R-value.
- Compare to target: The gap to the recommended level guides the plan.
- Check for damage: Moisture, mold, and pests may require removal.
- Plan the approach: Findings decide whether to add over or remove.
2. Air Seal the Attic Floor
Air sealing the attic floor is the single most important step in any upgrade, because insulation slows heat but does not stop air leaks on its own. Convective air leakage through the ceiling plane is the primary heat loss path in most attics, so sealing gaps around penetrations, the attic hatch, recessed lights, and top plates first is essential. Skipping this step leaves a large share of potential savings on the table. A professional uses caulk, foam, and specialized covers to seal these leaks before any insulation goes down. This step is what allows the new insulation to perform as designed.
- Seal first: Close air leaks before adding any insulation.
- Primary heat path: Ceiling air leakage causes the most attic heat loss.
- Target the gaps: Penetrations, hatch, lights, and top plates need sealing.
- Maximize savings: Skipping this leaves significant savings unrealized.
3. Protect Ventilation With Baffles
Protecting attic ventilation with baffles ensures the added insulation does not block the airflow the attic needs to stay dry. Rigid baffles, also called rafter vents, are installed at the eaves to keep a clear channel so soffit intake vents are not buried by new insulation. This preserves the balanced airflow that prevents moisture buildup and helps guard against ice dams in winter. Without baffles, blown-in insulation can slide down and choke off the intake vents entirely. Installing them before adding insulation keeps the attic breathing properly.
- Keep vents clear: Baffles stop insulation from burying soffit intake.
- Preserve airflow: Open channels keep the attic dry and balanced.
- Ice dam defense: Proper airflow helps prevent winter ice dams.
- Install first: Place baffles before adding insulation at the eaves.
4. Add the New Insulation
Adding the new insulation brings the attic up to the recommended R-value with even, complete coverage. For most attic floors, blown-in cellulose or fiberglass is applied to a uniform depth across the entire space, filling gaps and conforming around obstructions better than batts. In many cases new insulation can be added right over sound existing material, while damaged insulation is removed first. The installer confirms the depth reaches the target R-value throughout, avoiding thin spots and compression that would reduce performance. Even, correctly measured coverage is what delivers the full efficiency gain.
- Uniform depth: Blown-in fills the attic evenly to the target level.
- Add or replace: Sound old insulation can often be topped rather than removed.
- Hit the R-value: Depth is verified to reach the recommended level.
- Avoid compression: Even coverage prevents thin, underperforming spots.
5. Verify Coverage and Finish
Verifying coverage and finishing the job confirms the upgrade will perform as intended. The installer checks that insulation reaches the target depth across the whole attic, that baffles remain clear, and that the attic hatch and access points are insulated and sealed. A depth marker or ruler check confirms the R-value is met throughout, and any missed gaps are filled. This final pass ensures the investment delivers the comfort and savings it should. Careful verification is what separates a complete upgrade from a partial one.
- Confirm depth: Verify the target R-value across the entire attic.
- Check baffles: Ensure airflow channels remain clear and open.
- Seal access points: Insulate and seal the hatch and entry areas.
- Fill any gaps: Address thin spots for complete, even coverage.
Should You DIY or Hire a Professional?
Deciding between a do-it-yourself upgrade and hiring a professional depends on your attic’s accessibility, the material, and your comfort with the work. Some blown-in jobs are within reach for a handy homeowner, while others clearly call for a pro.
When Is Professional Installation Worth It?
Professional installation is worth it when your attic has complex air sealing needs, hard-to-reach spaces, spray foam, or existing problems like moisture, knob-and-tube wiring, or vermiculite. Pros bring blowing equipment, achieve uniform density and verified R-value, and identify gaps, leaks, and moisture issues a homeowner might miss. They also handle safety hazards and ensure the job meets code. While DIY blown-in can cut costs on a simple, accessible attic, the stakes and difficulty rise quickly with air sealing, foam, and problem conditions. For most whole-attic upgrades in Lyle and surrounding areas, professional work delivers more reliable, longer-lasting results.
- Complex conditions: Foam, moisture, or old wiring call for professionals.
- Verified results: Pros achieve uniform density and confirmed R-value.
- Problem spotting: Professionals catch leaks and moisture issues early.
- Safety and code: Experts handle hazards and meet requirements.
Frequently Asked Questions
How much does an attic insulation upgrade cost in 2026?
A professional attic insulation upgrade typically costs between $1,500 and $4,500, or roughly $1 to $3 per square foot, depending on attic size, material, and whether air sealing or removal is needed. Blown-in insulation is the most cost-effective option, while spray foam costs more. A detailed, written estimate gives you an accurate figure for your home.
How much insulation should my attic have?
The 2021 IECC recommends R-49 to R-60 in the attic depending on climate zone, with cold regions like Iowa’s at the higher end. Homes built before 1980 often have only R-11 to R-19, well below current standards. Measuring your existing depth and comparing it to the target tells you how much to add.
Can I add new insulation over old insulation?
Yes, you can usually add new insulation over old as long as the existing material is dry, clean, and free of mold or pest damage. Unfaced insulation is best when adding over existing material to avoid trapping moisture. If the old insulation is damaged or contaminated, it should be removed first.
What is the payback period for an attic upgrade?
Most attic insulation upgrades pay for themselves within two to six years through lower energy bills, after which the savings continue for decades. The exact payback depends on your climate, energy costs, and how under-insulated the attic was. Cold-climate homes with high heating demand often see the fastest return.
Should I air seal before adding attic insulation?
Yes, air sealing should always come before adding insulation, since ceiling air leakage is the primary heat loss path in most attics. Sealing gaps first ensures the new insulation performs at its full value, and skipping it can leave a significant share of savings unrealized. It is the single most important step in an upgrade.
Is an attic insulation upgrade worth it?
An attic insulation upgrade is one of the most cost-effective home improvements available, offering strong energy savings, improved comfort, and reduced HVAC strain with a relatively short payback. It is especially worthwhile in cold climates and in older, under-insulated homes. The combination of savings and comfort makes it a smart investment.
Trust Young Construction for Your Attic Insulation Upgrade
When it comes to an attic insulation upgrade done right, Young Construction brings over 20 years of local experience and a thorough understanding of how Iowa’s cold winters and humid summers drive energy loss through the attic. We assess your existing insulation, air seal the leaks that waste the most energy, protect your ventilation with proper baffles, and add the right insulation to the recommended level for lasting comfort and efficiency. As a family-owned, fully licensed and insured company with more than 150 five-star reviews, we treat your home with genuine care and explain every step and cost in plain terms. If your bills are climbing, your rooms feel uneven, or your attic insulation looks thin, you deserve an upgrade that pays you back for years. Contact Young Construction today to talk through your attic insulation needs and request a detailed, written estimate, and let our team make your home more comfortable and efficient in 2026.