Your roof plays a crucial role in protecting your home from the elements, but what happens when it starts to show signs of damage? While some roofing issues require professional expertise, you can handle minor repairs on your own with the right tools, materials, and guidance. At Young Construction, we’re here to empower you by providing practical tips and advice for tackling simple roof repairs safely and effectively.
If you’re ready to take on some basic roof repair tasks, this professional guide to DIY roof repair is for you. We’ll cover everything from:
- Assessing the damage
- Essential safety measures
- Step-by-step repair instructions
Remember, if you’re unsure about a repair or the damage is extensive, it’s alwaysbest to call a professional roofer.
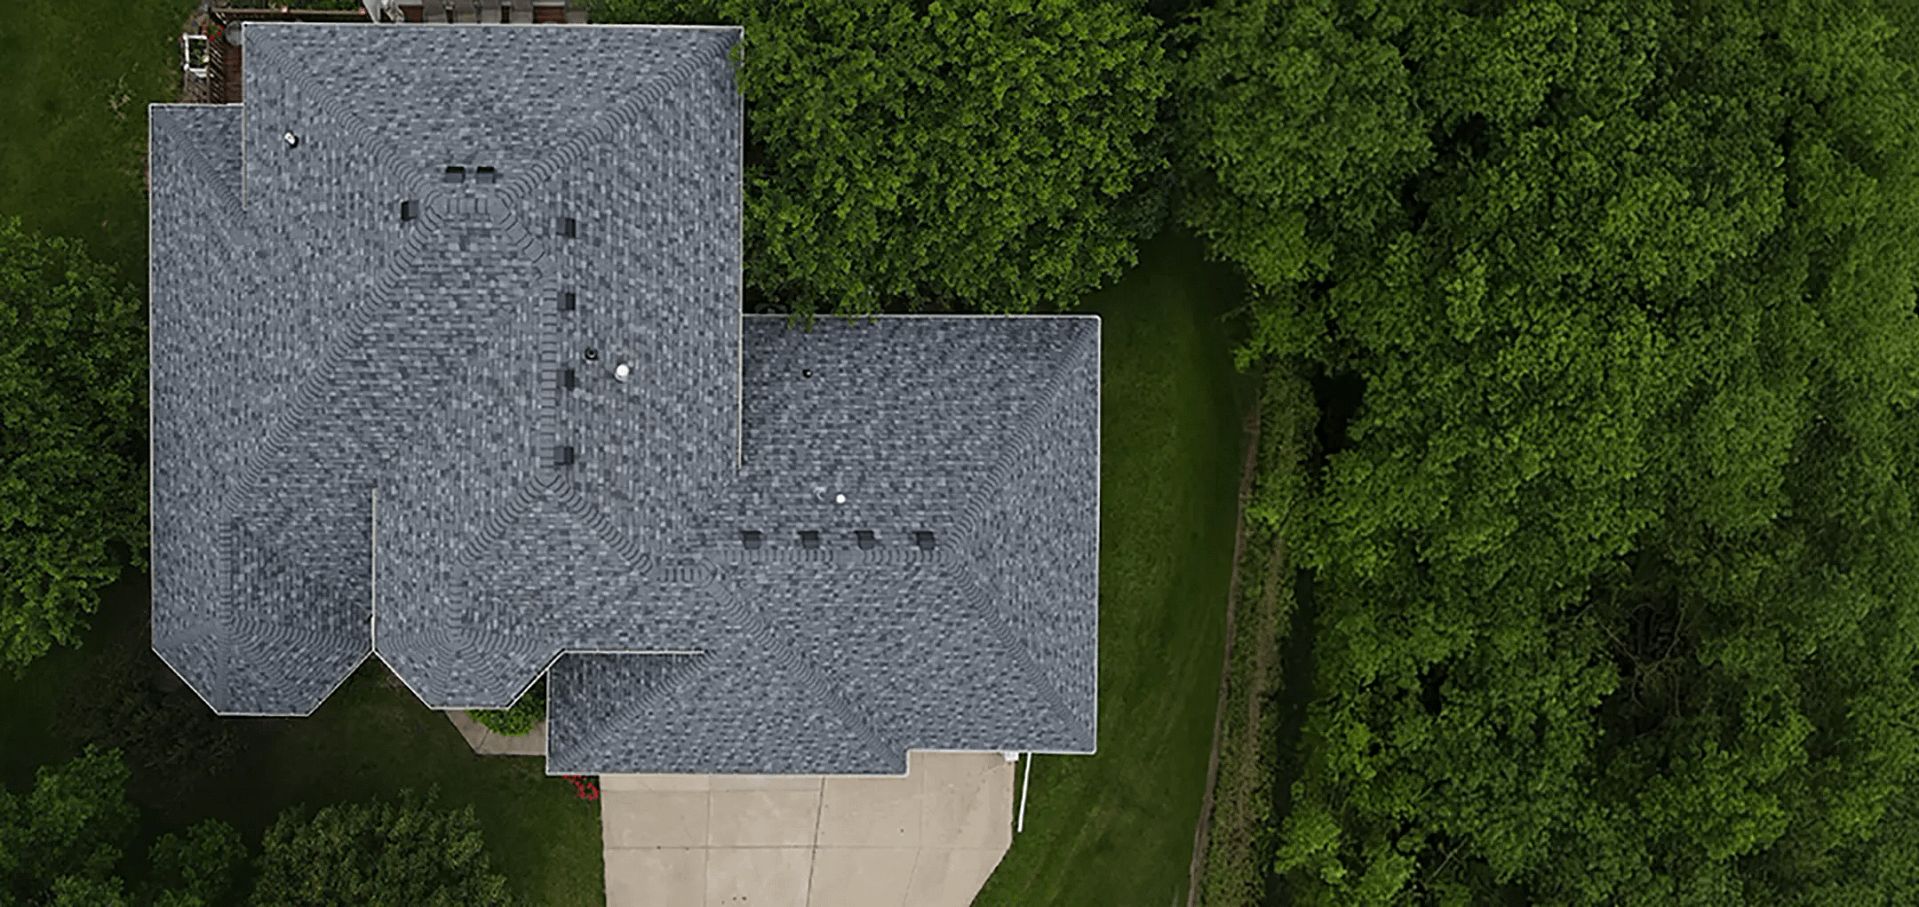
Assessing Roof Damage
The first step in any roof repair project is identifying what needs to be fixed. Take a moment to assess the extent of the damage by performing a visual inspection. Here’s how to do it:
Inspect from the Ground
Using binoculars, look for the following signs of roof damage from ground level:
- Missing, cracked, or curled shingles.
- Dark patches or water stains.
- Sagging areas on the roof.
- Damaged flashing or vents.
Check Indoors
Inspect the interior of your home, especially the attic, for:
- Water stains or leaks on the ceiling.
- Mold or mildew growth, which could indicate trapped moisture.
Climb onto Your Roof (Safely)
If the damage isn’t visible from the ground or indoors, you may need to get a closer look. Use a sturdy ladder and wear non-slip shoes. Be cautious and avoid climbing on your roof during wet weather, as the surface could be slippery.
When inspecting up close, look for:
- Loose or missing shingles.
- Exposed nail heads or fasteners.
- Damaged or clogged gutters.
- Splits or cracks around roofing materials.
Once you’ve identified the problem areas, you can plan your DIY repairs based on the severity and type of damage.
🦺 Safety First
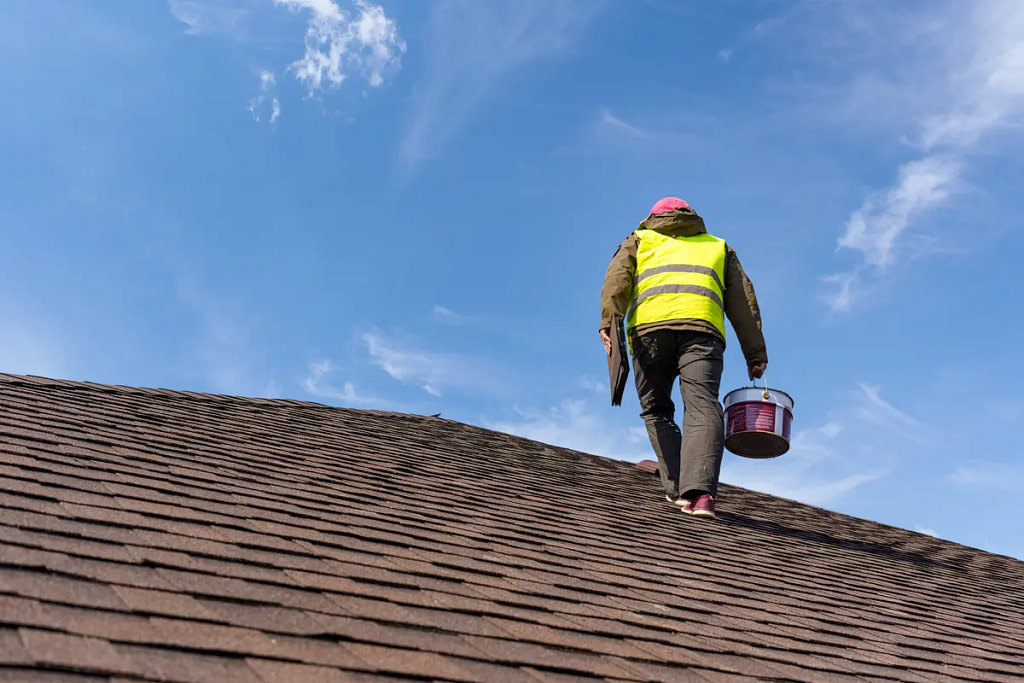
Roof work can be risky, so taking the proper safety precautions is essential. Before starting your DIY repair, follow these safety guidelines to prevent injury:
- Check the Weather: Avoid working on your roof during rain, strong winds, or extreme heat. Choose a dry and mild day for optimal safety.
- Wear the Right Gear: Always wear non-slip shoes with good grip and gloves to protect your hands. A hard hat can also provide extra protection.
- Use a Sturdy Ladder: Place the ladder on a stable, level surface and have someone hold it steady while you climb.
- Secure Yourself: Consider using a safety harness and rope to reduce the risk of falling, especially if your roof has a steep pitch.
- Work with a Partner: Having someone nearby can be invaluable in case of an emergency.
Remember, if you’re uncomfortable climbing onto your roof or working at heights, hire a professional to handle the repairs instead.
6 Common Roof Repairs and How to Fix Them
Tackling your own roof? Here are some tips on how to tackle your DIY roofing projects like a pro!
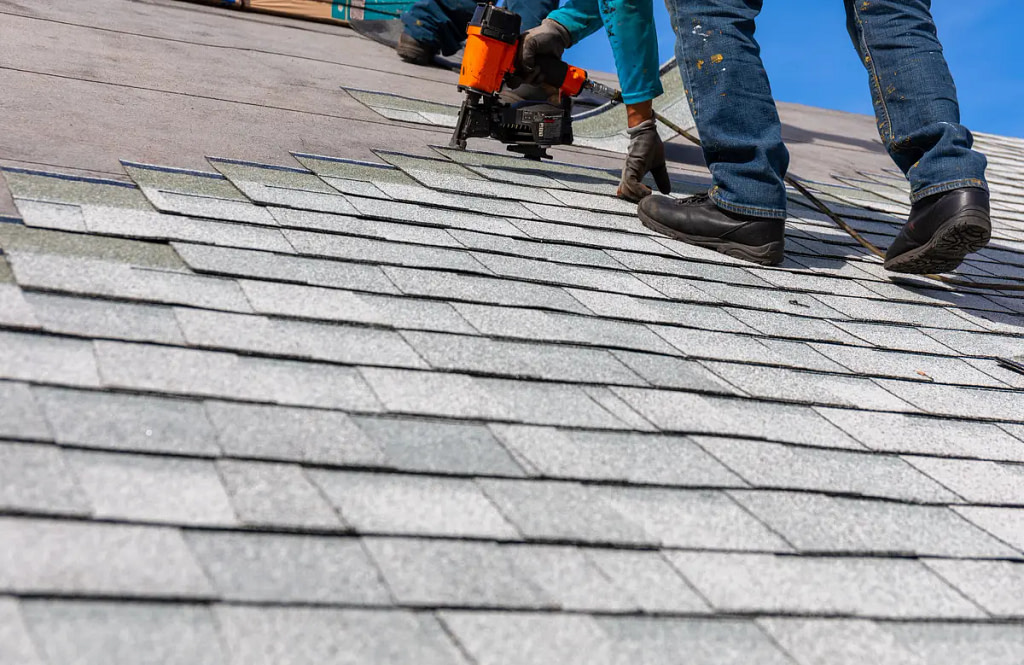
1. Repairing Missing or Damaged Shingles
Missing or damaged shingles are one of the most common roofing issues and are relatively easy to fix.
What You’ll Need:
- Replacement shingles.
- Roofing nails.
- Hammer.
- Pry bar.
- Roofing adhesive.
Steps:
- Gently lift the damaged shingle with a pry bar and remove the nails securing it to the roof.
- Slide the replacement shingle into position and nail it down securely.
- Apply roofing adhesive under the edges of the new shingle to bond it securely.
- Press the shingle down firmly to seal it.
2. Fixing Small Leaks
Roof leaks can lead to water damage if not addressed promptly. Here’s how to stop a minor leak.
What You’ll Need:
- Roofing caulk or sealant.
- Putty knife.
- Piece of metal flashing (if needed).
Steps:
- Identify the source of the leak by checking the roof and the attic.
- If the leak is caused by a tiny crack or puncture, fill the area with roofing caulk using a putty knife.
- For larger leaks, place a piece of metal flashing over the damaged area and seal it with roofing caulk.
3. Sealing Cracked Flashing
Flashing is essential for directing water away from roof joints and seams. If it’s cracked or damaged, water can seep through.
What You’ll Need:
- Roofing caulk.
- Replacement flashing (if necessary).
- Roofing nails.
Steps:
- Clean the area around the flashing with a brush to remove loose debris.
- For small cracks, apply roofing caulk to seal the gaps.
- If the flashing is significantly damaged, replace it by removing the old flashing and installing the new one, securing it with nails.
4. Clearing and Repairing Gutters
Clogged or damaged gutters can affect your roof’s drainage system, causing water buildup and leaks.
What You’ll Need:
- Ladder.
- Work gloves.
- Bucket.
- Gutter scoop or trowel.
- Gutter sealant (for repairs).
Steps:
- Safely climb the ladder and remove leaves and debris from your gutters using a scoop or trowel.
- Rinse the gutters with a hose to ensure proper water flow.
- For small cracks or holes in the gutter, apply appropriate sealant to the damaged areas.
5. Replacing Roof Vent Boots
Vent boots are prone to cracks and wear over time, leading to leaks around the vent pipe.
What You’ll Need:
- Utility knife.
- Replacement vent boot.
- Roofing nails.
- Hammer.
Steps:
- Remove the old vent boot by cutting it away with a utility knife.
- Slide the new vent boot over the vent pipe and secure it with nails.
- Apply roofing adhesive around the edges to create a watertight seal.
6. Patching Small Holes
Small holes in the roof can result from wear and tear, falling debris, or animal activity.
What You’ll Need:
- Roofing patch kit or spare shingles.
- Roofing adhesive.
Steps:
- Clean the area around the hole using a cloth or brush.
- Apply the roofing patch or shingle over the hole, securing it with adhesive.
- Press firmly to ensure a tight seal.
When to Call a Professional
While DIY roof repairs can save time and money, certain situations call for professional expertise. Consider reaching out to a roofing contractor if:
- The damage covers a significant portion of the roof.
- You’re dealing with structural issues such as sagging or large holes.
- There’s extensive water damage or mold growth.
- You feel unsafe or unsure about performing the repair yourself.
At Young Construction, our team of experienced roofing professionals is ready to help with any repair or maintenance needs you may have.
Maintaining Your Roof
Prevention is always better than cure when it comes to maintaining your roof. Here are some practical tips:
- Inspect your roof twice a year (spring and fall) to catch damage early.
- Clear leaves and debris from gutters regularly.
- Trim tree branches near your roof to prevent damage from falling limbs.
- Address small issues promptly to avoid costlier repairs down the line.
These simple steps can help extend the lifespan of your roof and keep it in excellent condition.
Take Care Of Your Existing Roof With Young Construction

Taking care of your roof doesn’t have to be daunting. With the right tools, a little know-how, and some elbow grease, you can handle many minor repairs on your own. However, safety should always come first—if you’re not comfortable or face significant damage, don’t hesitate to call in the experts.
Young Construction is here to assist you with all your roofing needs, whether it’s routine maintenance, professional repairs, or replacement services. Contact us today to discuss your roofing project and ensure your home is well-protected for years to come!