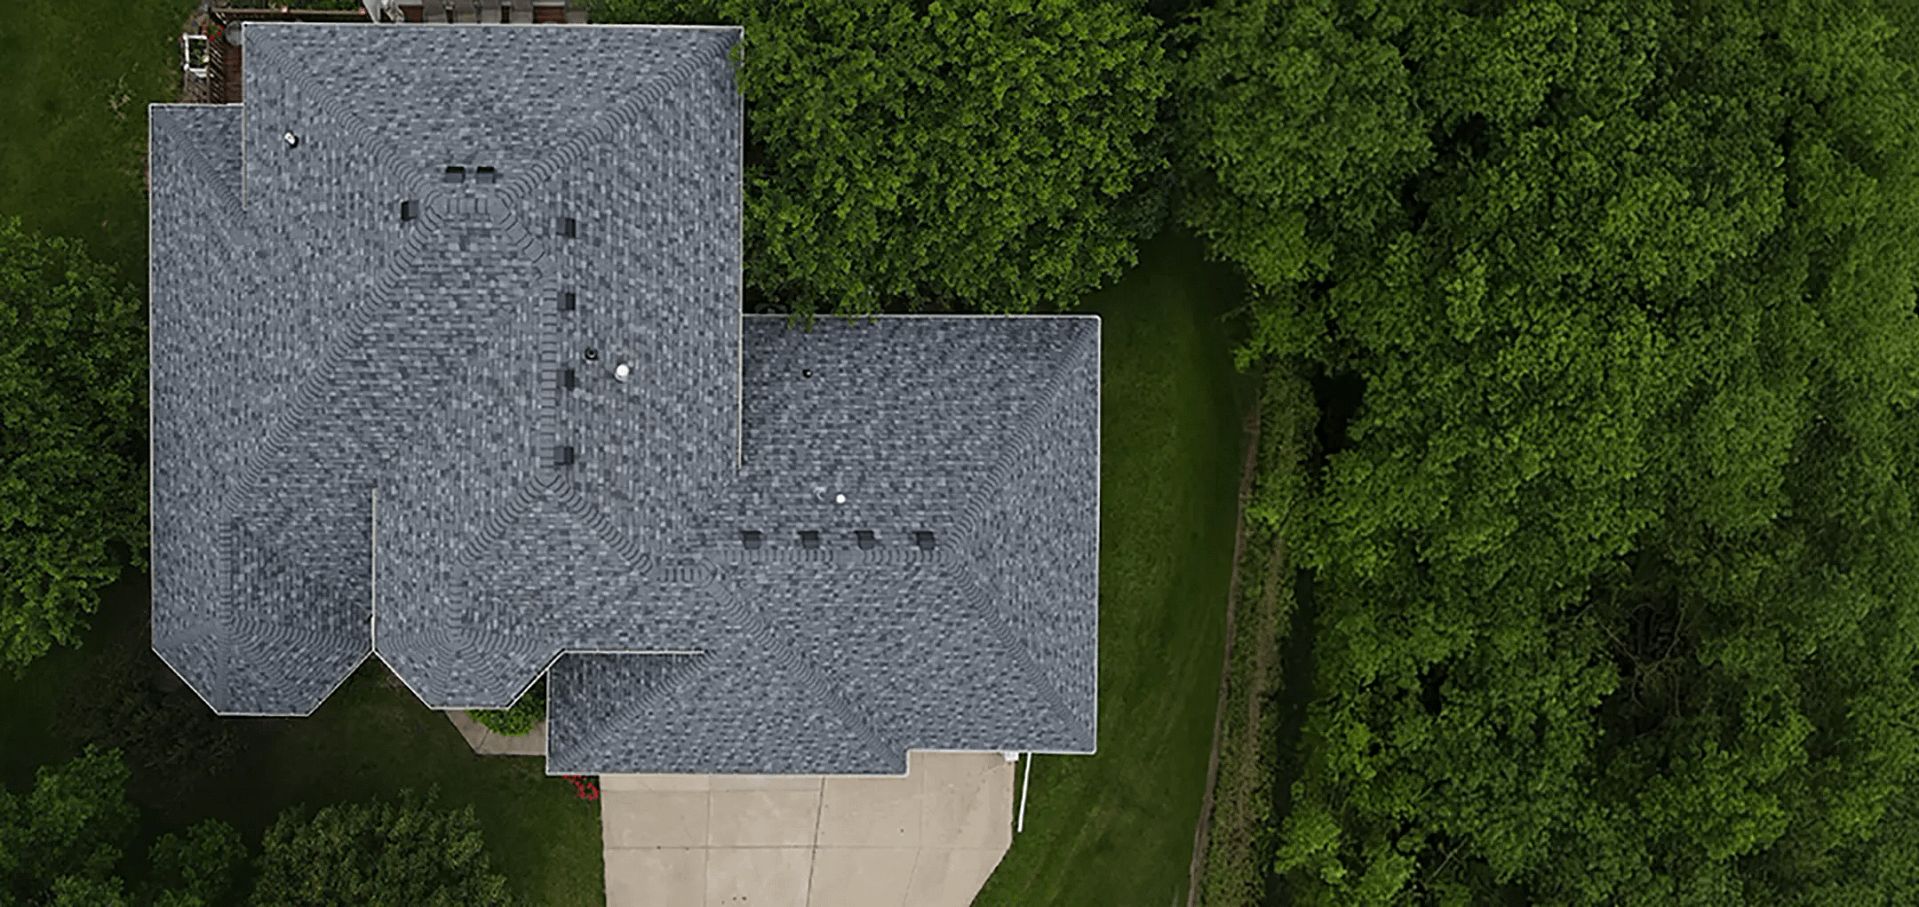
Ensuring your building’s roof is durable, cost-efficient, and easy to maintain is essential for every building manager. That’s where EPDM roofing comes in. Known for its reliability and versatility, EPDM (Ethylene Propylene Diene Monomer) roofing has become a popular choice for commercial properties. This guide will help you understand everything you need to know about EPDM roofing, including:
- Why EPDM is a top choice for commercial buildings
- The many benefits of EPDM roofing
- Key steps for installing EPDM roofing on a commercial property
🤔 What is EPDM Roofing?
EPDM is a synthetic rubber material commonly used in single-ply roofing membranes. Originally developed in the 1960s, this durable material has since become one of the most reliable and cost-effective options for commercial roofing systems.
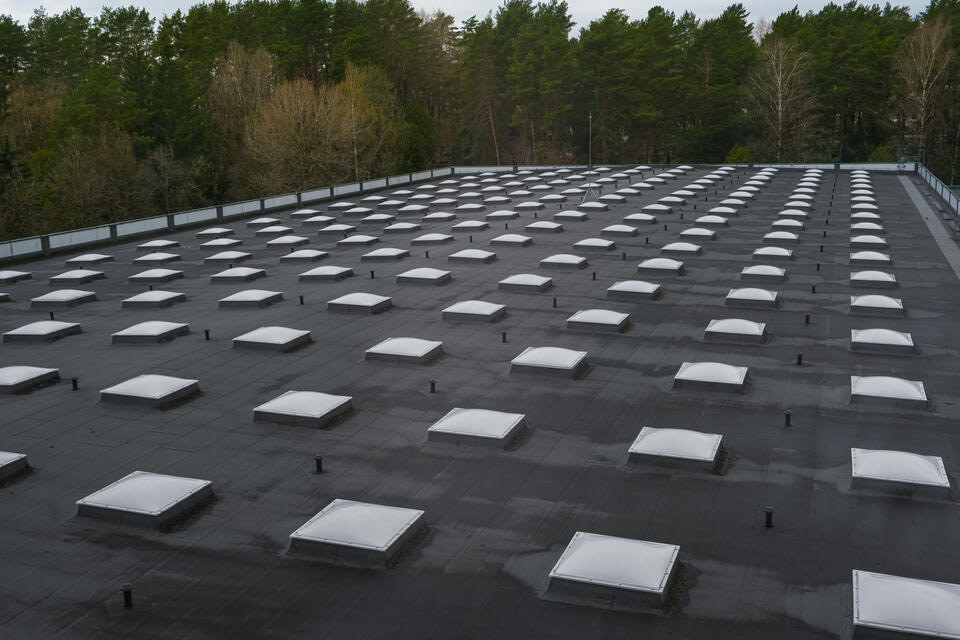
Whether the job involves flat or low-sloped structures, EPDM roofing stands out as an excellent solution thanks to its resistance to extreme weather conditions and long lifespan. Available in black and white, and in various thicknesses, EPDM can be fully adhered, mechanically fastened, or ballasted to suit any commercial building’s unique needs.
Benefits of EPDM Roofing
EPDM offers an array of advantages, making it a go-to choice for building managers. Here are some key benefits:
- Durability and Longevity: EPDM roofs can last up to 50 years with proper maintenance. The synthetic rubber material resists cracking, peeling, and other wear and tear caused by weather, making it a highly durable option.
- Weather Resistance: Designed to withstand all types of weather, EPDM roofing performs exceptionally well in both hot and cold climates. It is UV-resistant, hail-resistant, and proven to hold up against high winds and heavy rain.
- Cost-Effectiveness: Compared to other roofing materials, EPDM roofing is highly affordable. Its lightweight nature also reduces the need for additional structural support, saving money on your building’s construction or renovation.
- Energy Efficiency: The reflective white version of EPDM roofing can reduce cooling costs in warmer climates by reflecting heat away from the building. This trait can lead to noticeable savings on utility bills.
- Ease of Maintenance: With minimal maintenance required, EPDM roofing lowers long-term upkeep costs. Repairs are simple and can often be handled quickly with patching when necessary.
- Eco-Friendly: EPDM is 100% recyclable, making it an environmentally friendly choice for sustainable building practices.
🛠️ How to Install EPDM Commercial Roofing in 6 Steps
If you’re considering EPDM roofing for your commercial property, understanding the installation process is key to ensuring its effectiveness and longevity. Below are the detailed steps contractors follow during an EPDM installation:
1. Prepare the Roof Surface
Proper surface preparation is crucial for a long-lasting EPDM roofing system. Begin by cleaning and clearing the surface completely. Remove any dirt, debris, grease, or old roofing material that may interfere with adhesion. The surface must be smooth and even to avoid punctures or uneven adhesive bonding.
If required, install an insulation layer to provide additional thermal protection and to create a flat, solid foundation. Depending on the roof’s condition, contractors may use materials like polyisocyanurate (ISO) boards or expanded polystyrene (EPS) insulation to ensure proper support for the EPDM membrane.
2. Measure and Cut the EPDM Membrane
Accurate measurements are essential to ensure the EPDM membrane fits perfectly, minimizing the need for seams and reducing the risk of water infiltration. Contractors carefully measure the dimensions of the roof, taking into account any protrusions like vents, skylights, or HVAC units.
Once measurements are complete, the EPDM membrane is cut to size using sharp tools to ensure clean edges. In some cases, multiple sheets of membrane are used, and contractors strategically plan seam placement to ensure proper waterproofing.
3. Position and Unroll the Membrane
After cutting, the membrane is laid out and positioned on the roof. This step requires precision to ensure proper alignment and full coverage of the roof surface. Contractors typically unroll the membrane slowly to avoid folds, wrinkles, or misalignment.
During this step, adjustments are made to ensure the membrane lays flat and fits snugly around any roof features. Proper positioning at this stage reduces potential issues during the securing and sealing process.
4. Secure the Membrane
Securing the EPDM membrane depends on the chosen installation system, each with its specific advantages:
- Fully Adhered System: Adhesive is applied to both the roof surface and the underside of the membrane. Contractors carefully press the membrane into place, ensuring it bonds securely and evenly. This method provides a smooth, clean finish and is ideal for roofs with complex shapes.
- Mechanically Fastened System: This system uses screws and plates to fasten the membrane to the insulation. Contractors strategically place the fasteners along the edges and seams to ensure the membrane remains in place. It’s a popular choice for larger roofs due to its efficiency and cost-effectiveness.
- Ballasted System: Large stones, pavers, or other heavy materials are used to weigh down the membrane. This method doesn’t require adhesives or fasteners, making it a faster and more economical option for flat or low-slope roofs.
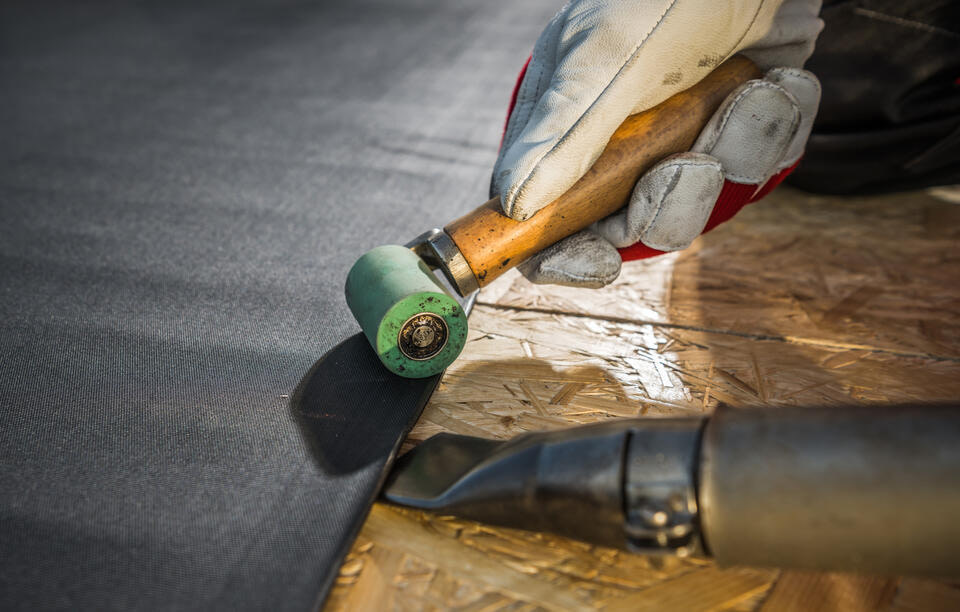
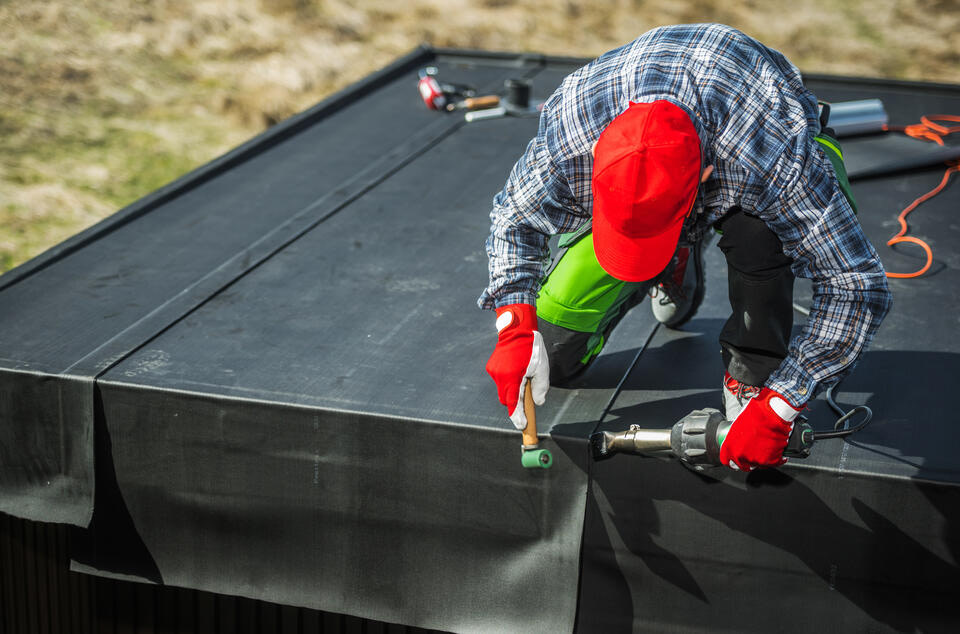
5. Seal the Seams
Sealing seams is critical to prevent water infiltration. Contractors use high-quality EPDM seam tape or adhesive to bond any overlaps between membrane sheets.
The process involves cleaning the seam areas, applying primer, and carefully placing the seam tape or adhesive to create a watertight seal. Proper pressure is applied to ensure the seal is tight and durable. Contractors often use specialized rollers to press the tape into place, eliminating any air gaps.
6. Inspect and Fine-Tune
Once the membrane is secured and the seams are sealed, a thorough inspection is conducted. Contractors check for any loose edges, wrinkles, air bubbles, or poorly sealed areas.
This step ensures the roof is watertight and free of defects that could compromise its performance. If any issues are identified, adjustments are made immediately. A final inspection is crucial to confirm the installation meets industry standards and will provide reliable protection for years to come.
🙌 Top-Quality EPDM Roofing Solutions by Young Construction
At Young Construction, we pride ourselves on delivering top-quality EPDM roofing solutions tailored to meet your specific needs. Our team has years of experience and a commitment to excellence, ensuring every project is completed with precision and care. We use only the highest-quality materials and adhere to industry best practices to provide a durable, weather-resistant roof that will stand the test of time. When you choose Young Construction, you’re choosing reliability, transparency, and superior craftsmanship. Contact us today for a consultation and discover why we’re the trusted choice for commercial EPDM roofing installations!