Knowing how to install energy-efficient insulation properly is what separates a home that stays comfortable on a tight energy budget from one that bleeds heat through the attic and walls all year. Insulation only delivers its full value when it is installed correctly, with the right material, the right R-value, complete coverage, and air sealing done first. Get those fundamentals right and you cut energy bills, steady indoor temperatures, and protect your home from moisture problems. Here is what this guide covers:
- Preparation steps: Why air sealing and inspection come before any insulation goes in.
- Installation technique: How to hit the right R-value with even, gap-free coverage.
- Common mistakes: The errors that quietly rob insulation of its performance.
Why Does Proper Installation Matter for Energy Efficiency?
Proper installation matters because even premium insulation underperforms when it is installed wrong, leaving gaps, compression, or air leaks that let energy escape. The difference between a careful installation and a sloppy one shows up directly on your monthly utility bills and in how comfortable your home feels.
How Much Energy Does Insulation Actually Save?
Insulation saves significant energy because a large share of a home’s heating and cooling escapes through an under-insulated, leaky building envelope. The U.S. Department of Energy notes that inadequate insulation and air leakage are leading causes of energy waste in most homes, and that heat flows directly from heated living spaces to unheated attics, garages, and the outdoors in winter. Properly installed insulation slows that heat flow, so your furnace and air conditioner run less. The savings depend on your climate, home size, and existing conditions, but the impact is real and lasting. For homeowners in Clarks Grove and surrounding areas, a tight, well-insulated envelope pays off through long heating seasons.
- Reduced heat flow: Insulation slows the conductive and convective loss of energy.
- Lower HVAC runtime: A sealed, insulated home eases the load on heating and cooling.
- Lasting savings: Quality insulation keeps performing for decades.
- Climate-dependent: Cold Iowa winters make the savings especially meaningful.
What Happens When Insulation Is Installed Wrong?
Insulation installed wrong loses much of its rated value through compression, gaps, blocked ventilation, and skipped air sealing. Compressing insulation reduces its R-value, gaps around obstructions create paths for heat to escape, and covering soffit vents traps moisture in the attic. Skipping air sealing is the most common error, since loose-fill and batt insulation slow heat but do not stop air movement on their own. These mistakes are easy to make and hard to spot once the work is done. Understanding them upfront is the first step to a job that actually performs.
- Compression: Squeezing insulation below its rated thickness cuts its R-value.
- Gaps and voids: Uneven coverage leaves direct paths for heat loss.
- Blocked vents: Covering soffit vents traps moisture and invites mold.
- No air sealing: Unsealed leaks let conditioned air bypass the insulation.
8 Expert Tips for Installing Energy-Efficient Insulation
Installing insulation well comes down to a handful of proven practices that professionals follow on every job. The eight tips below walk through the process in order, from preparation to final details, so your insulation delivers its full value.
1. Air Seal Before You Insulate
Air sealing before adding insulation is the single most important step, because insulation slows heat but does not stop air leaks on its own. Gaps around recessed lights, plumbing and wiring penetrations, the attic hatch, and top plates let conditioned air escape right past any insulation you add. Sealing these leaks first with caulk, foam, or weatherstripping ensures the insulation can perform as designed. Skipping this step is the most common reason insulation underdelivers. Doing it first is far easier than trying to seal after the insulation is in place.
- Seal first: Close leaks before any insulation goes down for best results.
- Target penetrations: Pipes, wires, lights, and the attic hatch are key spots.
- Right materials: Caulk for small gaps, foam for larger ones, gaskets for fixtures.
- Order matters: Sealing after insulating is messy and far less effective.
2. Inspect and Assess First
Inspecting your space before you start tells you what you are working with and what the area actually needs. Go into the attic or wall area, measure the depth and condition of any existing insulation, and note problem spots like moisture, mold, or pest damage. Unless old insulation is wet, moldy, or contaminated, you can usually add new material on top rather than removing it. This assessment guides your material choice, R-value target, and whether repairs are needed first. A clear picture of the starting point prevents wasted material and surprises. Homeowners in Clarks Grove and surrounding areas often find older homes need both repair and added insulation.
- Measure existing depth: Knowing your current R-value sets the target to add.
- Check for damage: Wet, moldy, or pest-damaged insulation should be removed.
- Add or replace: Sound old insulation can usually be topped rather than torn out.
- Plan repairs: Address moisture or pest issues before insulating over them.
3. Hit the Right R-Value for Your Climate
Hitting the right R-value matters because the amount of insulation your home needs depends on your climate zone, and too little leaves energy on the table. The Department of Energy and the IECC set recommended R-values by zone, and northern, heating-dominated zones like Iowa’s call for higher levels, often around R-49 to R-60 in attics. Use your material’s per-inch R-value and depth markers to verify you reach the target across the entire area. Falling short in even part of the space drags down overall performance. Matching the R-value to your zone is how homeowners in Clarks Grove and surrounding areas get the full benefit of the work.
- Zone-based targets: Cold zones like Iowa’s need higher attic R-values.
- Attic benchmark: Heating-dominated zones often target around R-49 to R-60.
- Verify depth: Use depth markers and per-inch ratings to confirm the level.
- Full coverage: A target met only in spots will not perform as intended.
4. Choose the Right Material for the Job
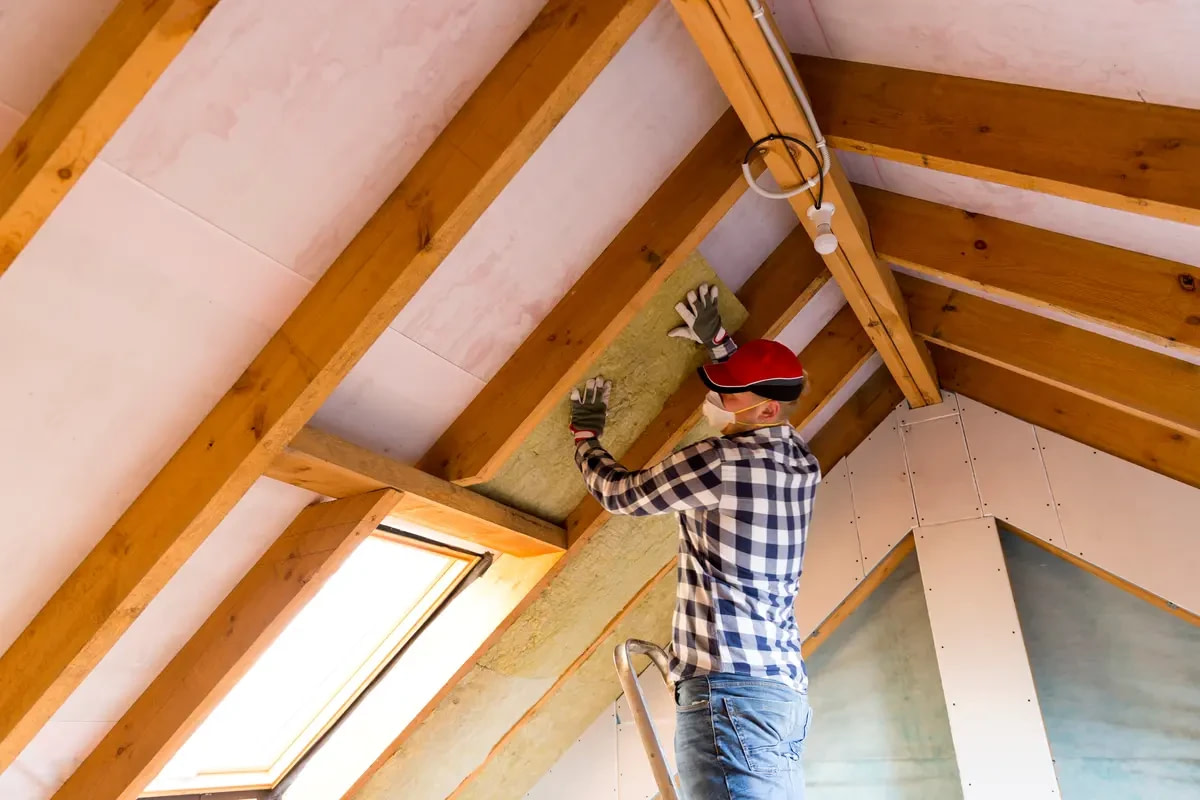
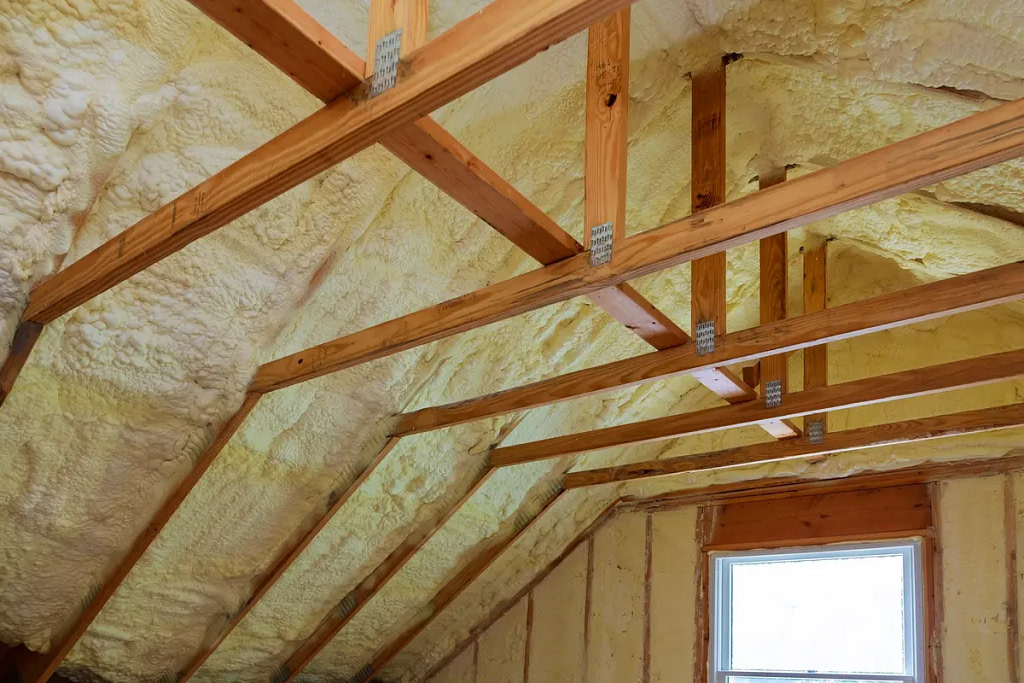
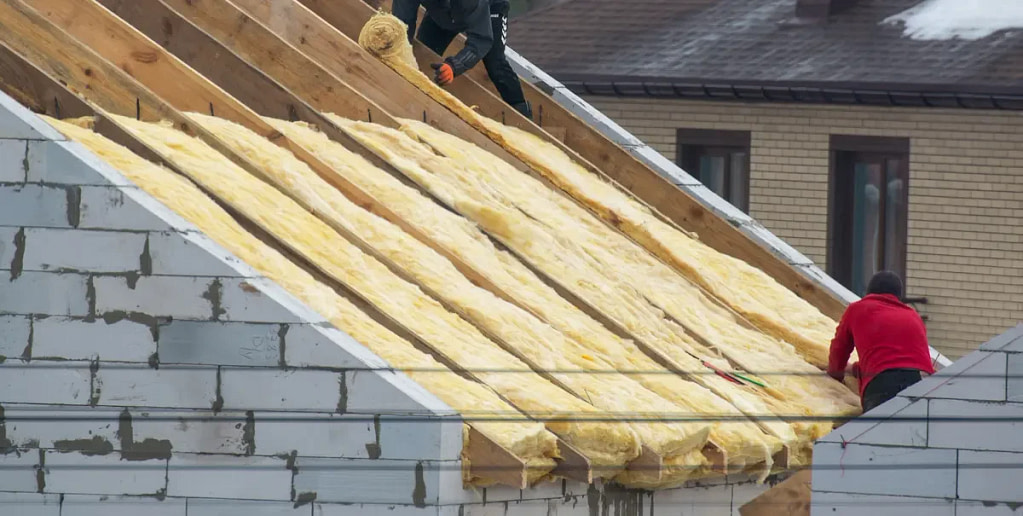
Choosing the right insulation material matters because each type suits different spaces, budgets, and performance goals. Fiberglass batts are cost-effective and easy to fit between joists, loose-fill blown-in cellulose or fiberglass gives better coverage in irregular or hard-to-reach spaces, and spray foam seals and insulates in one step at a higher cost. The best choice depends on whether you are insulating an open attic, a wall cavity, or a tight crawl space. Matching material to application avoids gaps and wasted money. A thoughtful material choice is the foundation of an efficient installation.
- Fiberglass batts: Affordable and simple between accessible joists and studs.
- Loose-fill blown-in: Better coverage in irregular or hard-to-reach areas.
- Spray foam: Insulates and air seals together, ideal for tricky spots.
- Match to space: The right material depends on attic, wall, or crawl space.
5. Maintain Even Coverage and Avoid Compression
Even, uncompressed coverage is essential because insulation only delivers its rated R-value at its full thickness and across the whole area. Compressing batts into a tight space or stacking dense material on top of lighter insulation reduces the effective R-value, while gaps and thin spots create direct paths for heat. Fit batts snugly around wiring and pipes without crushing them, and blow loose-fill to a uniform depth across the entire attic floor. Consistency is what makes the difference between rated and actual performance. Careful, even installation is a hallmark of professional work.
- Full thickness: Insulation performs at its rated value only when uncompressed.
- No crushing: Fit batts around obstructions without squeezing them flat.
- Uniform depth: Blow loose-fill evenly across the whole area.
- Fill gaps: Eliminate thin spots and voids around framing.
6. Protect Ventilation with Baffles
Protecting attic ventilation with baffles matters because insulation that blocks soffit vents traps moisture and undermines the whole system. Rigid baffles, also called rafter vents, installed at the eaves keep a clear air channel so soffit intake vents are not buried by insulation. This preserves the airflow that keeps the attic dry and helps prevent ice dams in winter. Without baffles, blown-in insulation can slide down and choke off the intake vents entirely. Installing them before adding insulation keeps your attic breathing the way it should.
- Keep vents clear: Baffles stop insulation from burying soffit intake vents.
- Preserve airflow: Open channels keep the attic dry and balanced.
- Ice dam defense: Proper airflow helps prevent winter ice dams.
- Install first: Place baffles before blowing or laying insulation at the eaves.
7. Handle Recessed Lights and Heat Sources Safely
Handling recessed lights and heat sources safely is critical because covering the wrong fixture with insulation creates a fire hazard. Older recessed can lights that are not rated for insulation contact must be kept clear or covered with a specially designed, code-approved cover before insulating around them. The same caution applies to hot flues and chimneys, which need proper clearance. Mishandling these is both a safety risk and a code violation. Addressing them correctly protects your home while keeping the insulation effective.
- Check fixture ratings: Only IC-rated lights can be covered directly.
- Use approved covers: Non-IC fixtures need code-approved boxes before insulating.
- Flue clearance: Keep insulation away from hot flues and chimneys.
- Safety and code: Proper handling avoids fire hazards and code violations.
8. Mind Vapor and Moisture Control
Minding vapor and moisture control matters because the wrong setup can trap moisture and cause condensation, mold, and rot inside the assembly. In cold or mixed climates like Iowa’s, any vapor retarder belongs on the warm-in-winter interior side, and you should avoid creating a double vapor barrier that traps moisture between two layers. Unfaced insulation is often the right choice when adding over existing material so moisture is not sealed in. Coordinating insulation with proper moisture control keeps the assembly dry and durable. This final detail protects both the insulation and the structure around it.
- Warm-side placement: Vapor retarders go on the interior side in cold climates.
- Avoid double barriers: Two vapor layers can trap moisture between them.
- Unfaced over existing: Use unfaced material when topping old insulation.
- Dry and durable: Good moisture control protects insulation and framing.
One tip stands above the rest, and it comes straight from federal guidance. The U.S. Environmental Protection Agency, through its ENERGY STAR program, recommends sealing air leaks in the attic floor before adding insulation, because it is much easier to seal first and it ensures you get the full performance out of your insulation. Following that sequence is the difference between insulation that works and insulation that merely fills space.
Should You Install Insulation Yourself or Hire a Pro?
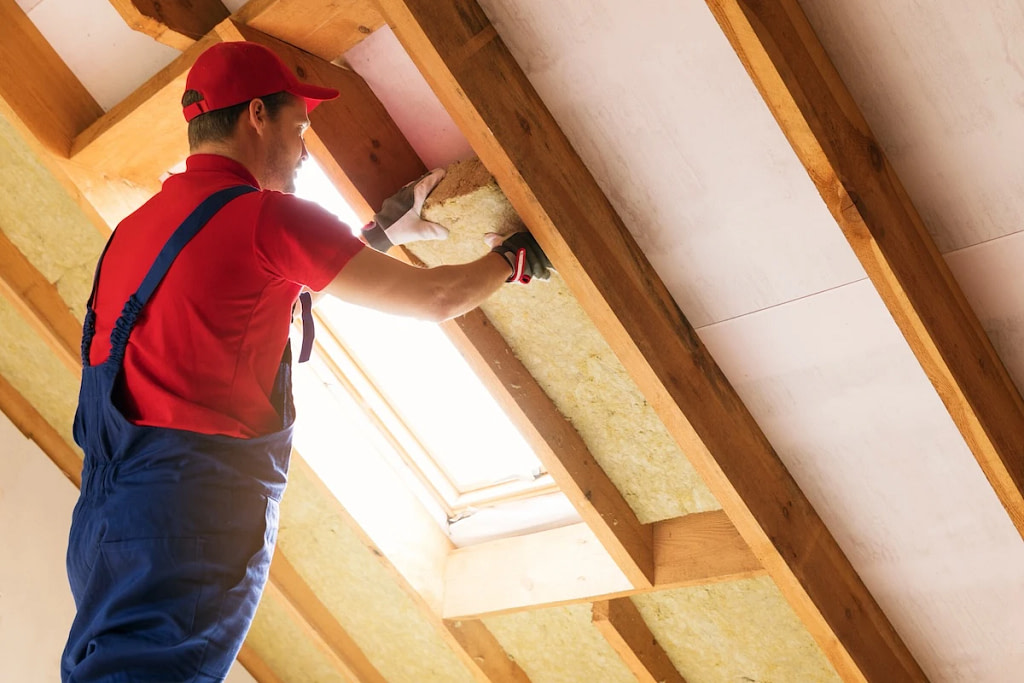
Deciding between a do-it-yourself installation and hiring a professional depends on the space, the material, and your comfort with the work. Some accessible attic jobs are within reach for a handy homeowner, while others call for professional equipment and expertise.
When Is Professional Installation the Better Choice?
Professional installation is the better choice when the job involves spray foam, hard-to-reach areas, complex air sealing, or the need to guarantee correct density and coverage. Pros bring specialized blowing equipment, experience achieving uniform R-values, and knowledge of building science that prevents common mistakes. They also handle safety hazards like asbestos-containing vermiculite, wiring, and fixture clearances correctly. While DIY can work for simple attic top-ups, the stakes and difficulty rise quickly with wall cavities, foam, and tight spaces. For most whole-home upgrades, professional work delivers better, more reliable results.
- Complex materials: Spray foam and dense-pack need professional equipment.
- Hard-to-reach areas: Walls and tight crawl spaces are tough to do well solo.
- Guaranteed coverage: Pros achieve uniform density and verified R-value.
- Safety expertise: Professionals handle hazards and clearances correctly.
Frequently Asked Questions
What is the most important step when installing insulation?
Air sealing before adding insulation is the most important step, since insulation slows heat but does not stop air leaks on its own. Sealing gaps around penetrations, fixtures, and the attic hatch first ensures the insulation can perform at its rated value. Skipping this step is the leading reason insulation underperforms.
How much insulation do I need in my attic?
The right amount depends on your climate zone, with northern, heating-dominated areas like Iowa’s typically targeting around R-49 to R-60 in the attic. Measure your existing insulation depth, then add enough to reach the target for your zone. The Department of Energy and IECC publish recommended R-values by climate zone.
Can I install insulation over existing insulation?
Yes, you can usually add new insulation over old as long as the existing material is dry, clean, and free of mold or pest damage. Use unfaced insulation when adding over existing material to avoid trapping moisture. If the old insulation is wet or contaminated, it should be removed first.
Do I need a vapor barrier with insulation?
It depends on your climate and assembly, but in cold climates like Iowa’s a vapor retarder generally belongs on the warm-in-winter interior side. Avoid creating a double vapor barrier, which can trap moisture between layers. A professional can confirm the right approach for your specific walls or attic.
Is DIY insulation worth it?
DIY insulation can be worthwhile for simple, accessible attic top-ups if you have the right safety gear and follow proper technique. However, spray foam, wall cavities, and complex air sealing are better left to professionals who can guarantee coverage and handle safety hazards. Weigh the savings against the difficulty and risk of the specific job.
How do I know if my home is under-insulated?
Signs of under-insulation include high energy bills, rooms that are too hot or cold, drafts, ice dams at the roof edge, and visibly thin attic insulation. Measuring your attic insulation depth against the recommended R-value for your zone is the clearest check. Many homes built before modern standards fall short.
Trust Young Construction for Energy-Efficient Insulation
When it comes to installing energy-efficient insulation the right way, Young Construction brings over 20 years of local experience and a deep understanding of how Iowa’s long winters and humid summers test a home’s envelope. We air seal before we insulate, hit the correct R-value for our climate zone, protect ventilation with proper baffles, and handle every safety and moisture detail so your insulation delivers its full value. As a family-owned, fully licensed and insured company with more than 150 five-star reviews, we treat your home with genuine care and explain every step in plain terms. If your bills are climbing, your rooms feel drafty, or you are planning an upgrade, you deserve insulation installed to perform for decades. Contact Young Construction today to talk through your insulation goals and request a detailed, written estimate, and let our team help you build a more comfortable, efficient home.