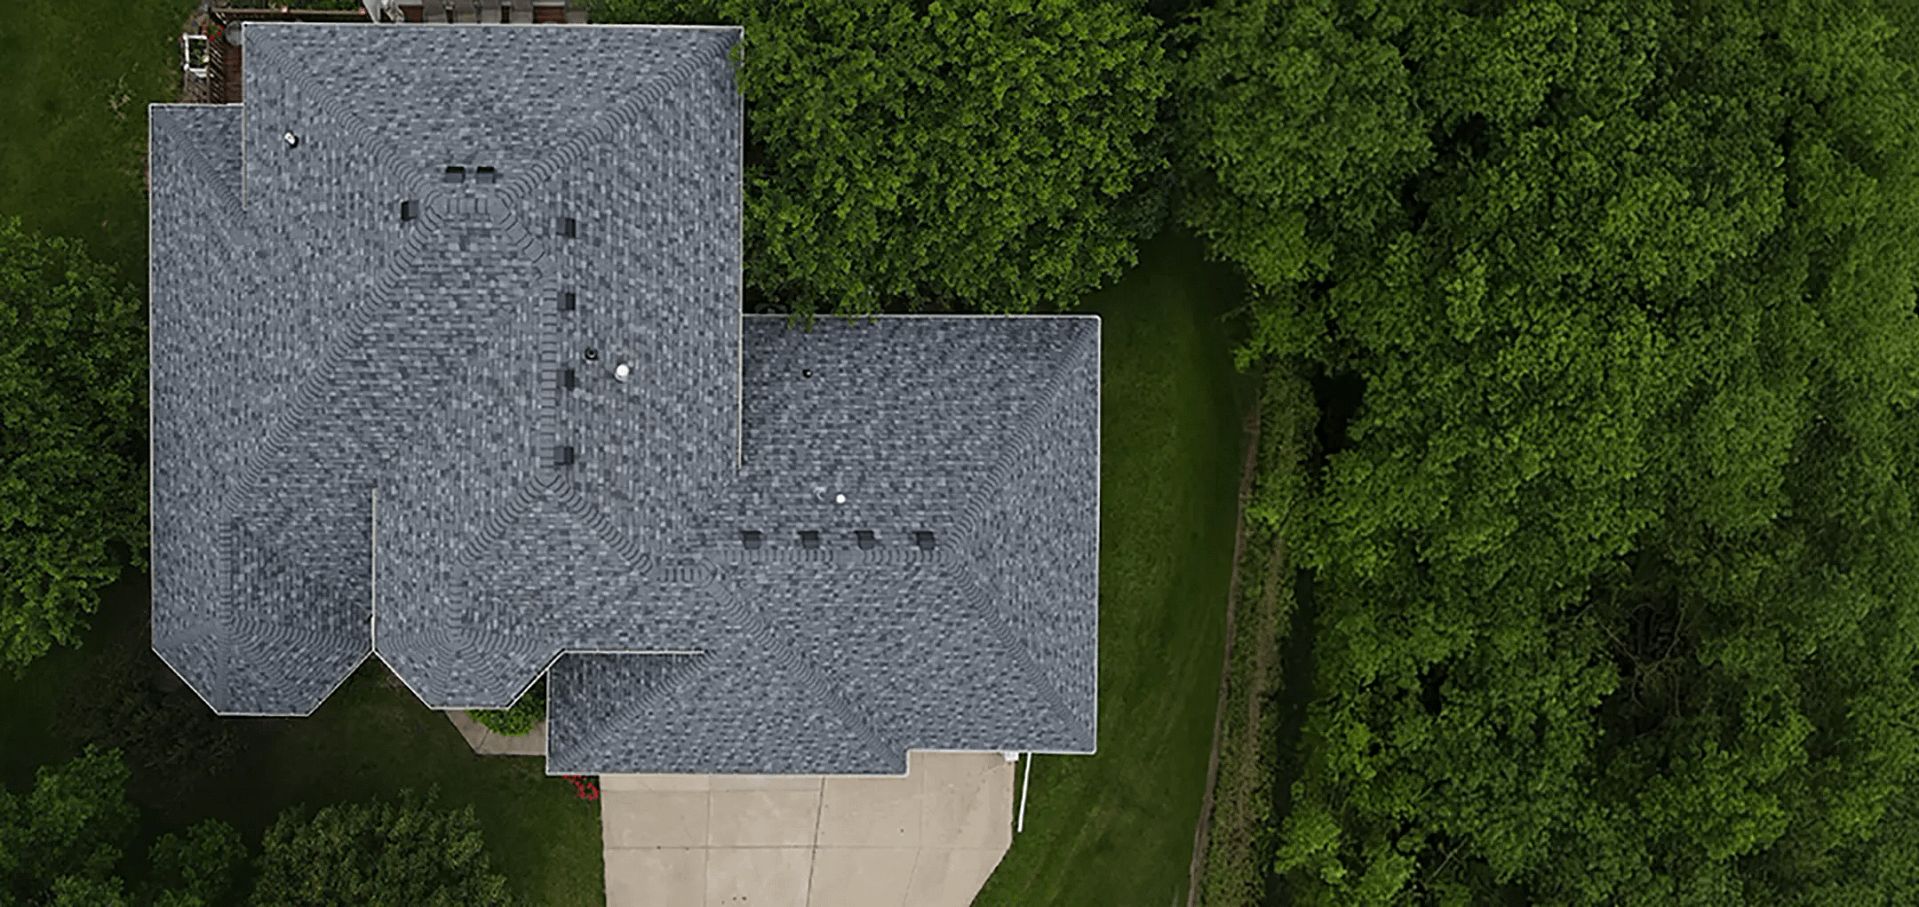
If you’re wondering how to install metal roofing on your home, you’ve come to the right place. Metal roofs are becoming an increasingly popular choice for homeowners due to their durability, energy efficiency, and sleek, modern aesthetic. While installing a metal roof may seem like a daunting task, with the right tools, preparation, and guidance, it’s entirely achievable. This guide will walk you through the process in manageable steps.
Here’s what we’ll cover in this guide:
- The benefits of installing a metal roof on your home.
- Essential tools and materials needed for the job.
- A step-by-step process that simplifies installation.
Why Choose a Metal Roof?
Before we get into the installation process, it’s important to know why metal roofing is a great choice for your home.
- Longevity: Metal roofs can last 40 to 70 years, making them a worthwhile investment compared to traditional roofing materials.
- Energy Efficiency: Metal roof panels reflect solar heat, reducing cooling costs in warm climates. Some systems are Energy Star certified.
- Low Maintenance: Unlike shingles, metal roofs are resistant to cracks and can withstand extreme weather conditions, making them low-maintenance.
With these benefits in mind, you’ll want your metal roof installed correctly to ensure you enjoy these advantages for years to come.
🛠️ Tools and Materials You’ll Need
To complete your metal roofing installation, gather the following tools and materials:
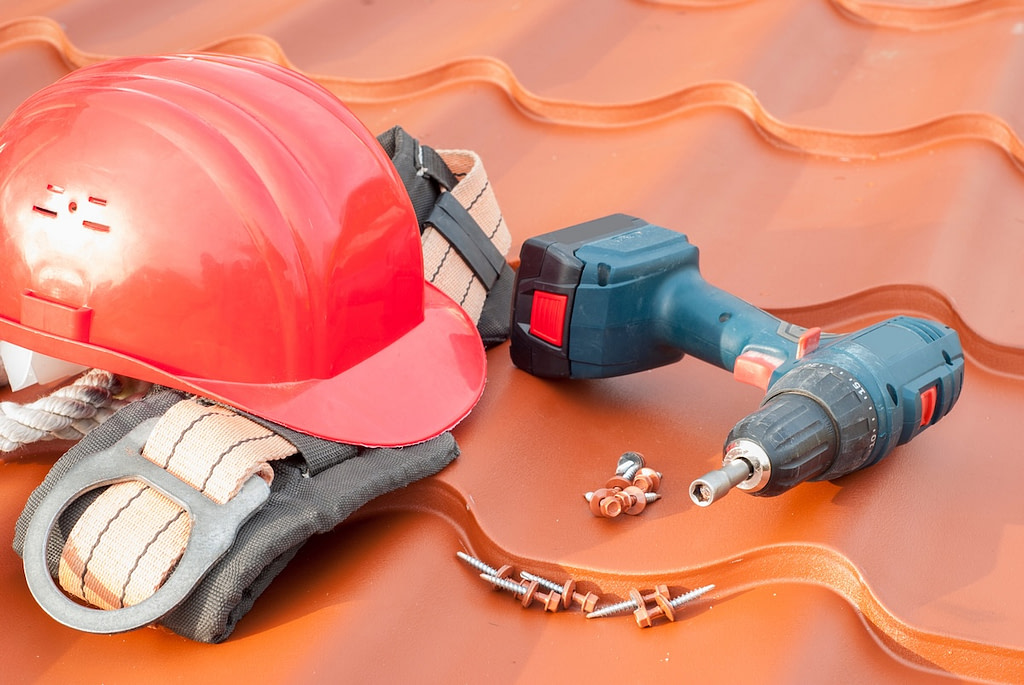
- Metal roof panels
- Roofing nails or screws with rubber washers
- Underlayment (synthetic or felt)
- Metal snips or a power shear
- Tape measure
- Chalk line
- Cordless drill
- Ladder
- Safety harness
- Utility knife
- Roofing sealant
Having the right tools and high-quality materials will make the process smoother, more efficient, and safer.
Step 1: Prepare the Roof Surface
Inspect and Repair the Existing Roof
Before installing a new metal roof, inspect your old roof for any damage. Replace rotten wood or repair weak areas on your roof deck to provide a solid base for the metal roof panels.
Remove Existing Materials
If your current roof has old shingles, remove them to expose the underlayment and roof deck. Scrape off debris and ensure the surface is clean and smooth.
Apply Underlayment
Underlayment is a moisture barrier that adds an extra layer of protection between the roof deck and metal roof panels. Roll out the underlayment parallel to the roof’s edge, overlapping the material as you go. Secure it using roofing nails.
Step 2: Measure and Plan Your Layout
Accurate Measurements
Use a tape measure to determine the dimensions of your roof. Record the width and length of the roof, including overhangs. This will help you calculate the number of metal roof panels needed.
Chalk Guidelines
Use a chalk line to mark where each metal roof panel will be placed. This ensures that the panels are aligned properly during installation.
Step 3: Install Drip Edge and Flashing
Attach the Drip Edge
The drip edge is a metal strip installed along the edges of your roof to direct water away from the fascia board. Nail the drip edge into place over the underlayment.
Add Flashing
Flashing is applied around roof penetrations and valleys to prevent water leaks. Use roofing nails to secure the flashing and seal any gaps with roofing sealant.
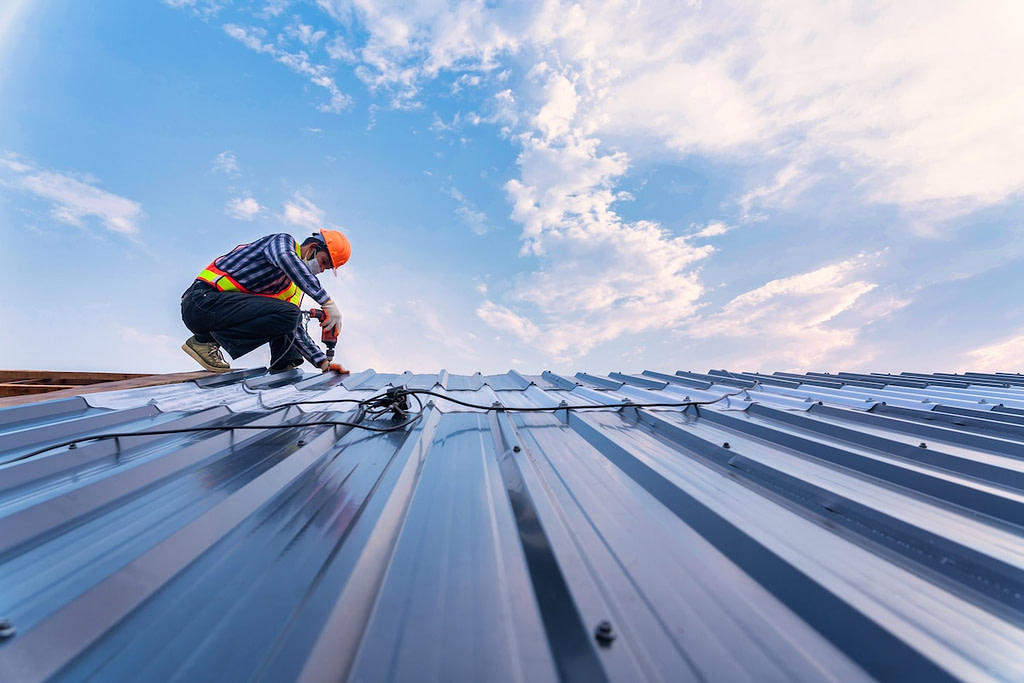
Step 4: Lay Down the Metal Roof Panels
This is the most important (and rewarding) part of the process. Follow these steps:
- Start from One Side: Begin at the edge of the roof. Lay the first metal roof panel and make sure it aligns with your chalk guidelines. Allow for a slight overhang to channel water into the gutters.
- Secure the Panel: Use roofing screws that come with rubber washers. These washers create a watertight seal to prevent leaks. Place screws along the ridges of the panel, following the manufacturer’s recommendations for spacing.
- Overlap Panels: Overlap each panel with the previous one to create a seamless barrier. When attaching the overlapping edges, use screws to ensure the panels are tight and flush against the roof.
- Work Towards the Ridge: Repeat these steps, working your way up to the roof ridge. Work row by row until the entire roof is covered.
Step 5: Cap the Ridge
To protect the roof’s peak, place ridge caps along the top. Ridge caps overlap the upper-most panels on both sides of the roof. Use screws and roofing sealant to ensure a proper seal along the ridge.
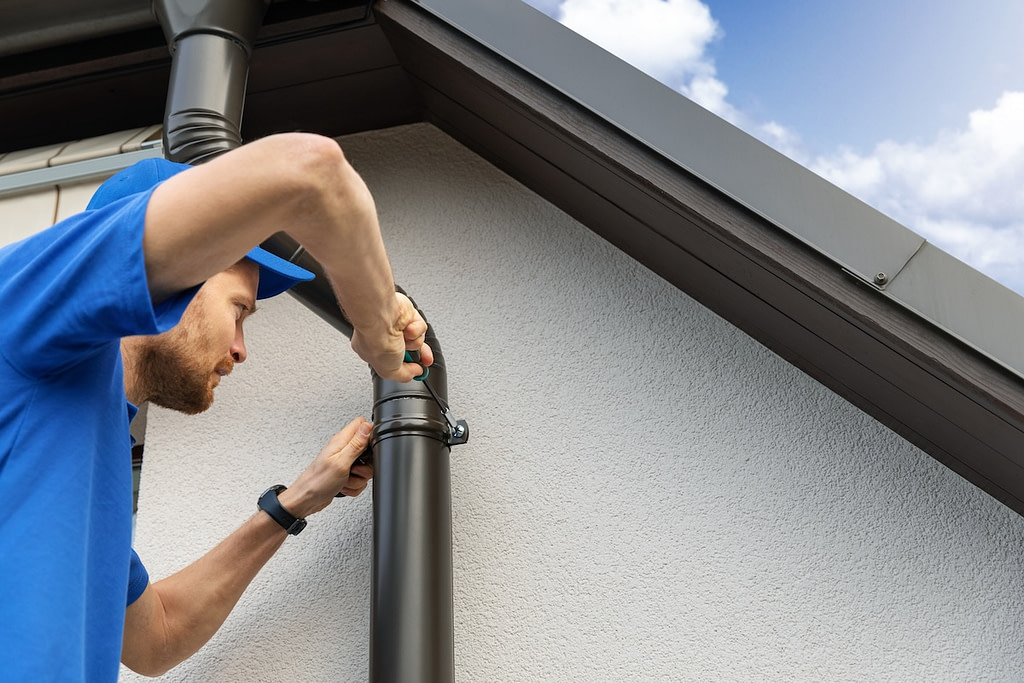
Step 6: Finish the Edges and Gutters
Add trim and edge pieces to cover any exposed metal ends. This not only improves the roof’s appearance but also provides additional water resistance. Ensure that gutters are properly attached to channel water away from your home.
Step 7: Inspect and Clean Up
Once you’ve finished installing the panels, flashing, and ridge caps, perform a thorough inspection of your work. Check for loose screws, gaps, or areas where sealant might be needed. Finally, clean up any leftover materials and debris from the job site.
💡 Tips for a Smooth Installation
Here are some additional tips to make your project go as smoothly as possible:
- Always wear a safety harness when working on a steep or high roof.
- Work during mild weather to avoid slipping on wet or icy surfaces.
- Follow the manufacturer’s guidelines and recommendations for your specific metal roof panels.
Why Choose Young Construction for Your Metal Roofing Needs?
Installing a metal roof can be a challenging but rewarding DIY project. However, if you’d prefer a professional touch, Young Construction is here to help.
- Experienced Professionals: Our team has decades of experience installing a wide variety of roofing systems, including metal roof panels.
- High-Quality Materials: We use top-grade materials to ensure your roof lasts for decades.
- Customer-Centric Service: From start to finish, we prioritize your satisfaction, offering transparent pricing and expert guidance.
Don’t leave your roofing project to chance. Contact Young Construction today for expert advice or a custom quote. Whether it’s a new metal roof or a repair, our team ensures quality craftsmanship every time.