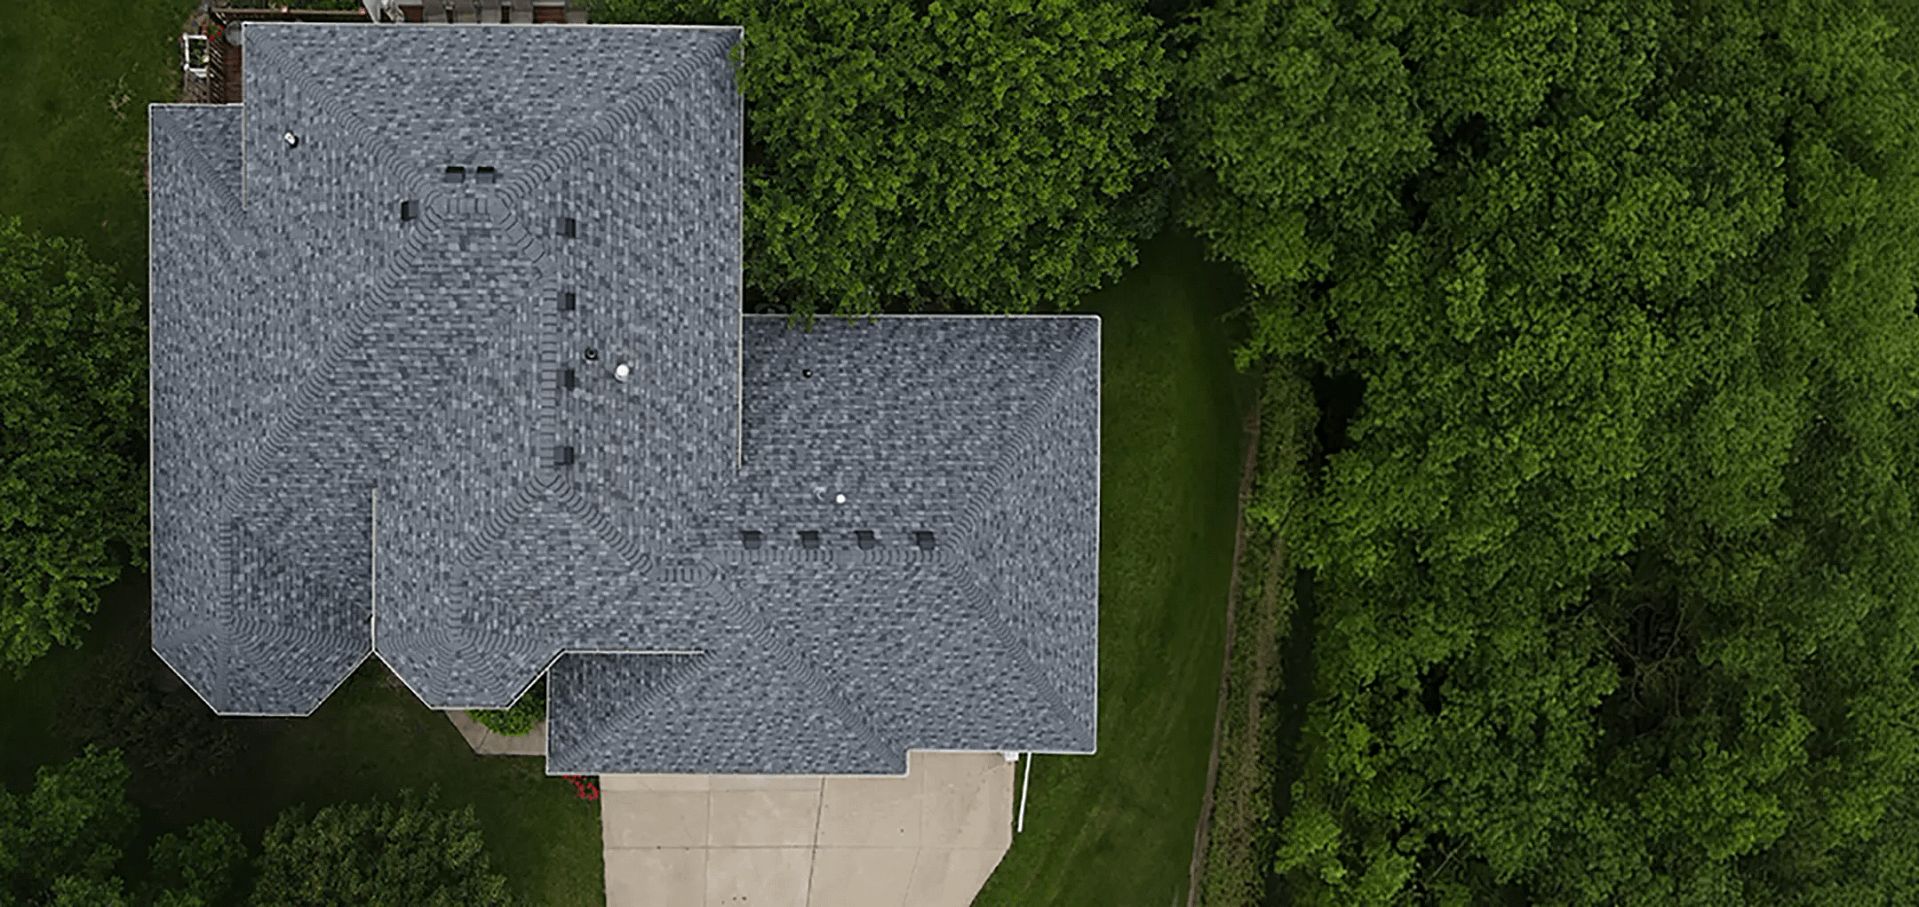
Learning how to install soffit vents correctly is one of the best ways to protect your attic from trapped heat and moisture, since these intake vents feed the fresh air that keeps your whole roof system breathing. Soffit vents pull cool air into the lowest point of the attic so it can flush warm, humid air out through the ridge, and getting the installation right means balanced airflow, a drier attic, and a longer-lasting roof. Done wrong, though, blocked or unbalanced vents can trap the very moisture they are meant to remove. Here is what this guide covers:
- Tools and materials: Everything you need on hand before you cut the first opening.
- Installation steps: The process from planning and measuring to sealing and airflow checks.
- Key mistakes: The common errors that quietly defeat a soffit vent installation.
Why Does Proper Soffit Vent Installation Matter?
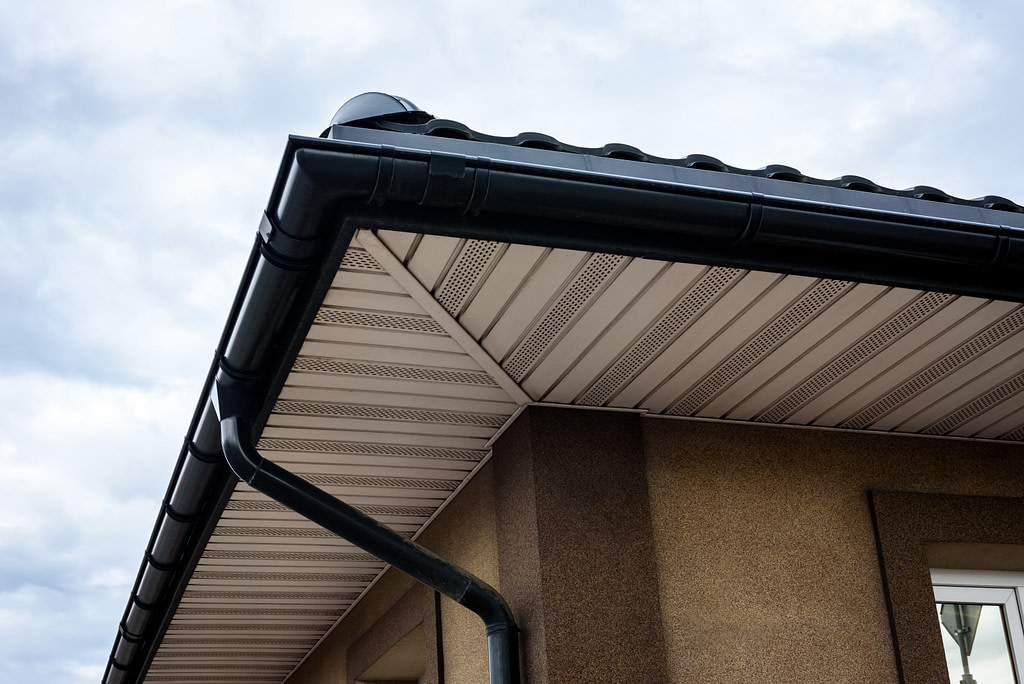
Proper soffit vent installation matters because these vents are the intake half of a balanced ventilation system, and without correct intake the whole system fails to move air. Get the installation right and you protect your shingles, insulation, and attic structure from heat and moisture damage for years.
How Do Soffit Vents Keep an Attic Healthy?
Soffit vents keep an attic healthy by drawing cool, dry outside air in at the eaves so it can rise, collect heat and moisture, and exit through exhaust vents at the roof peak. This continuous airflow regulates attic temperature, which eases the load on your heating and cooling systems, and it controls the humidity that otherwise leads to mold, wood rot, and ruined insulation. Establishing a clear path from the eaves to the ridge is what achieves that year-round thermal and moisture balance. Without functioning intake, an attic bakes in summer and traps condensation in winter. For homes in Hayward and surrounding areas, that steady airflow is essential through both humid summers and cold winters.
- Cool air intake: Soffit vents pull fresh air in at the lowest point of the attic.
- Temperature control: Steady airflow eases the load on heating and cooling.
- Moisture management: Venting humidity prevents mold, rot, and wet insulation.
- Clear airflow path: A route from eaves to ridge keeps the system balanced.
How Much Ventilation Does Your Attic Need?
The amount of ventilation your attic needs is set by a simple ratio, and hitting it is the foundation of any soffit vent installation. Building guidance calls for a minimum of 1 square foot of net free ventilation area for every 150 square feet of attic floor space, and industry best practice splits that area evenly between intake at the soffits and exhaust near the ridge. For a 1,500 square foot attic, that means roughly 5 square feet of total ventilation, with about 2.5 square feet coming from the soffit vents. Calculating this first tells you how many vents to install and how to space them. Getting the math right upfront prevents an underventilated or unbalanced attic, a common issue in older homes across Hayward and surrounding areas.
- Baseline ratio: Aim for 1 square foot of vent area per 150 square feet of attic.
- Balanced split: Divide the total roughly 50/50 between intake and exhaust.
- Worked example: A 1,500 sq ft attic needs about 2.5 sq ft of soffit intake.
- Plan first: The calculation determines vent count and spacing.
The ventilation target is not just a rule of thumb, it is grounded in the residential building code. The International Residential Code sets a minimum of 1 square foot of net free ventilation area for every 150 square feet of attic floor space, and balancing that area between soffit intake and ridge exhaust is the industry-recommended way to make the system work. Meeting that target is what keeps a soffit vent installation performing as designed.
What Tools and Materials Do You Need?
Gathering the right tools and materials before you start makes a soffit vent installation smoother and safer. Having everything on hand means you can work efficiently without dangerous trips up and down the ladder mid-cut.
Which Tools Are Essential for the Job?
The essential tools for installing soffit vents include a measuring tape and pencil for marking, a drill with a hole saw for circular vents or a jigsaw for rectangular ones, and a screwdriver or drill with a screw bit to fasten them. You will also want a utility knife, a caulk gun loaded with exterior-grade sealant, and corrosion-resistant stainless steel screws to secure the vents without rusting. A stable, secured ladder is non-negotiable for safe work at the eaves. Safety goggles protect your eyes from debris during cutting, and a respirator guards against insulation dust once you are in the attic. Having quality tools ready makes the difference between a clean job and a frustrating one.
- Cutting tools: A hole saw for round vents or a jigsaw for rectangular openings.
- Fastening tools: A drill or screwdriver with stainless steel screws that resist rust.
- Sealing supplies: A caulk gun with exterior-grade sealant for a weather-tight edge.
- Safety gear: A secured ladder, goggles, and a respirator for attic dust.
What Materials Should You Have Ready?
The materials you need are the soffit vents themselves and the rigid vent baffles that keep the airflow path clear inside the attic. Soffit vents come in continuous strips or individual rectangular and circular units, with common sizes around 8 by 16, 6 by 16, and 4 by 16 inches, so choose based on your soffit and airflow needs. Rigid foam or plastic baffles, also called rafter vents, are essential because they prevent insulation from sliding down and choking off the intake. Exterior-grade caulk seals the vent edges against moisture, and stainless screws hold everything securely. Having the right vents and baffles matched to your attic ensures the finished system actually moves air.
- Soffit vents: Continuous strips or individual units in common 16-inch widths.
- Vent baffles: Rigid rafter vents that keep insulation from blocking airflow.
- Sealant: Exterior-grade caulk to weatherproof the vent edges.
- Fasteners: Stainless steel screws that resist corrosion over time.
6 Steps to Install Soffit Vents
Installing soffit vents follows a clear sequence from planning through final airflow check. The six steps below walk through the process in order so the finished system delivers balanced, unobstructed intake.
1. Calculate and Plan Vent Placement
Calculating your ventilation needs and planning placement is the first step, because it determines how many vents you install and where they go. Using the 1 square foot per 150 square feet ratio, figure your total required ventilation, then divide it between intake and exhaust to size your soffit intake. Distribute the vents evenly along the soffit for consistent airflow around the entire attic perimeter, aiming for symmetrical, balanced placement. Individual vents are often spaced roughly 12 to 24 inches apart depending on vent type and attic size. Careful planning here prevents dead spots and uneven ventilation later.
- Run the math: Use the 1:150 ratio to size your total ventilation.
- Split intake and exhaust: Size soffit vents as the intake half of the system.
- Even distribution: Space vents for consistent airflow around the perimeter.
- Typical spacing: Individual vents often sit 12 to 24 inches apart.
2. Mark and Measure the Openings
Marking and measuring the openings accurately ensures each vent fits cleanly and lines up straight. Measure the length and width of your chosen vent, then transfer those dimensions to the soffit board, marking the cut lines with a pencil. Trace the vent’s perimeter but plan to cut the opening slightly smaller than the vent’s outer flange, leaving a small lip of material for the vent to fasten to. Double-check that your marked positions avoid structural elements like rafters and wall plates. Precise marking is what makes the cutting step clean and the finished vents sit flush.
- Measure the vent: Use the actual vent dimensions to size each opening.
- Cut slightly smaller: Leave a lip inside the flange for fastening.
- Avoid structure: Keep cuts clear of rafters and the wall plate.
- Mark clearly: Pencil lines guide a straight, accurate cut.
3. Cut the Vent Openings
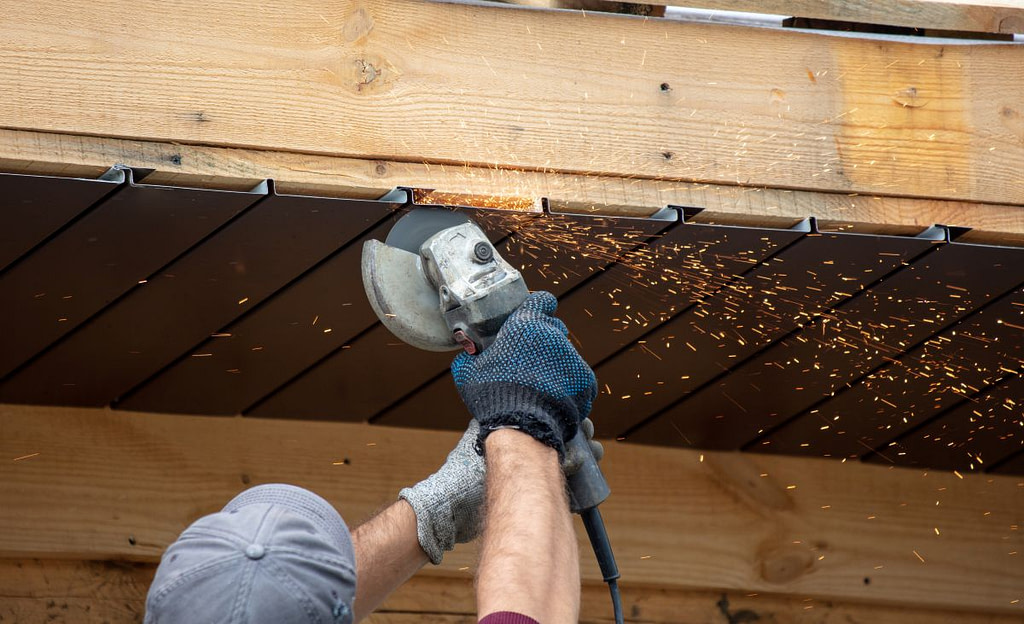
Cutting the openings carefully preserves the surrounding soffit and creates a clean seat for each vent. Use a hole saw for circular vents or a jigsaw for rectangular ones, following your marked lines and cutting just inside them to maintain that securing lip. Work steadily to keep the cut smooth and avoid cracking or splintering the soffit panel. Wear goggles throughout, since cutting overhead sends debris downward. A clean, correctly sized opening is the foundation for a vent that seals well and sits flush against the soffit.
- Right tool: Hole saw for round vents, jigsaw for rectangular ones.
- Cut inside the line: Preserve the lip that holds the vent in place.
- Work steadily: Smooth cuts prevent cracking the soffit panel.
- Eye protection: Goggles are essential for overhead cutting.
4. Clear the Airflow Path and Install Baffles
Clearing the airflow path and installing baffles is the step that makes the intake actually work, and it is the one most often skipped. From inside the attic, locate each new opening near where the roof deck meets the wall plate, and push back or remove any insulation blocking the channel. Install rigid baffles by stapling them to the underside of the roof sheathing so they extend from the soffit opening up past the insulation line, forming a clear chute. Space staples every 6 to 8 inches along each side so the baffle stays rigid and pressed against the deck. This clear path from vent to attic is what allows air to flow freely.
- Clear blockages: Push back insulation covering the vent opening.
- Staple baffles: Fasten rigid chutes to the underside of the roof deck.
- Extend past insulation: Baffles must reach above the insulation line.
- Secure spacing: Staple every 6 to 8 inches for a rigid, flush fit.
5. Secure and Seal the Vents
Securing and sealing the vents locks them in place and weatherproofs the installation. Set each vent into its opening, use a level to confirm it sits straight, and drive stainless steel screws through the pre-drilled holes into the soffit board until the vent is firm and stable. Then run a bead of exterior-grade caulk around the edges to block warm air infiltration and keep moisture out, which reduces the risk of mold and mildew. A firmly attached, well-sealed vent prevents air leaks and keeps water from entering the attic. This attention to sealing is what separates a durable installation from one that leaks.
- Check level: Confirm each vent sits straight before fastening.
- Screw securely: Drive stainless screws into the soffit for a firm hold.
- Seal the edges: Exterior caulk blocks air leaks and moisture.
- Prevent mold: A tight seal keeps humidity and water out of the attic.
6. Verify Airflow and Balance
Verifying airflow and balance confirms the finished system works as intended before you call the job done. From inside the attic during daylight, check that light comes through each baffle channel, a simple sign that air can travel freely from the vents into the attic. Confirm that no insulation has slid back over the openings and that intake roughly balances your exhaust ventilation. If exhaust far exceeds intake, or vice versa, the system will not perform correctly. This final check ensures your effort actually delivers the balanced airflow your attic needs.
- Daylight test: Light through the baffle means air can pass freely.
- Check for blockages: Confirm insulation has not slid back over vents.
- Balance the system: Intake and exhaust should be roughly equal.
- Final confirmation: Verify airflow before considering the job finished.
Should You Install Soffit Vents Yourself or Hire a Pro?
Deciding between a do-it-yourself installation and hiring a professional depends on your comfort working at heights, in attics, and with power tools. Some installations are manageable for a handy homeowner, while others are better left to experienced roofers.
When Is Professional Installation the Better Choice?
Professional installation is the better choice when your ventilation is unbalanced, your attic is hard to access, or you are unsure how to calculate and balance intake with exhaust. Pros correctly size the whole system, install baffles properly, and handle the safety hazards of ladder work and attic navigation. They also spot related issues like inadequate exhaust, blocked existing vents, or moisture damage that a homeowner might miss. While cutting a few vents can be a reasonable weekend job for the experienced, a balanced, code-aware system is where professional expertise pays off. For most homeowners in Hayward and surrounding areas, professional installation delivers reliable, worry-free results.
- System balance: Pros correctly match intake to exhaust ventilation.
- Safe access: Experienced crews handle ladder and attic hazards.
- Problem spotting: Professionals catch related ventilation or moisture issues.
- Reliable results: Expert installation ensures the system performs as intended.
Frequently Asked Questions
How many soffit vents do I need?
The number depends on your attic size, based on the guideline of 1 square foot of net free ventilation per 150 square feet of attic floor, split between intake and exhaust. A 1,500 square foot attic, for example, needs about 2.5 square feet of soffit intake. Measuring your attic and calculating the ratio tells you exactly how many vents to install.
Do I need baffles when installing soffit vents?
Yes, baffles are essential in most installations because they keep insulation from sliding down and blocking the vent openings. Without them, blown-in insulation can choke off the intake and defeat the whole system. Rigid rafter vents create a clear channel from the soffit up into the attic.
Can I install soffit vents myself?
A handy homeowner can install soffit vents, but it requires safe ladder work, accurate cutting, attic navigation, and correctly balancing intake with exhaust. Mistakes like blocked baffles or unbalanced ventilation can trap moisture. Many homeowners prefer a professional to ensure the system is sized and installed correctly.
How much does it cost to install soffit vents?
Soffit vent installation typically ranges from about $300 to $900 for individual vents on an average home, with continuous vented soffit or a full ventilation system running higher. Cost varies with attic size, soffit material, and whether baffles and exhaust vents are also needed. A detailed estimate gives you an accurate figure for your home.
What is the biggest mistake when installing soffit vents?
The most common and damaging mistake is failing to keep the airflow path clear, usually by letting insulation block the vent openings or skipping baffles. Blocked intake defeats the entire ventilation system and can trap moisture. Installing baffles and verifying airflow prevents this costly error.
Should intake and exhaust ventilation be balanced?
Yes, a balanced system with roughly equal intake at the soffits and exhaust at the ridge is essential for proper airflow. Too much exhaust with too little intake can pull conditioned air from the home, while the reverse starves the exhaust vents. The industry standard is a roughly 50/50 split.
Trust Young Construction for Balanced Attic Ventilation
When it comes to how to install soffit vents and build a properly balanced ventilation system, Young Construction brings over 20 years of local experience and a thorough understanding of how Iowa’s humid summers and cold winters stress an attic. We calculate the right intake for your attic, install baffles that keep airflow clear, balance your soffit intake with your ridge exhaust, and seal every vent against moisture so the system performs for the long haul. As a family-owned, fully licensed and insured company with more than 150 five-star reviews, we treat your home with genuine care and explain every step in plain terms. If your attic runs hot, your ventilation feels off, or you are planning an upgrade, you deserve a system installed to work correctly the first time. Contact Young Construction today to talk through your ventilation needs and request a detailed, written estimate, and let our team keep your attic breathing the way it should.