As winter approaches and temperatures drop, it’s more important than ever to make sure your home is ready to keep the cold out and the heat in. If you’ve ever wondered how to insulate house for winter effectively, you’re in the right place. Proper insulation not only keeps your living space warm and cozy, but it also helps you cut down on energy bills and prevent costly issues like frozen pipes and ice dams.
In this guide, we’ll walk you through the smartest and most cost-effective ways to insulate your home for winter whether you’re tackling a DIY project or working with a professional.
Insulating your home for winter is one of the smartest ways to cut heating costs and stay comfortable in Iowa’s harsh climate. Start with the attic and other high-loss areas, choose the right insulation type and R-value, and decide whether DIY or professional help makes the most sense. Done right, insulation can lower bills by up to 30% while protecting your home from cold-weather damage.
Key Takeaways from This Guide
- Insulation reduces heat loss, lowers bills, and protects Iowa homes.
- Prioritize attics, exterior walls, rim joists, basements, and drafty windows.
- Choose the right materials for each area, from spray foam to blown-in cellulose.
- DIY is fine for small projects, but pros are best for whole-home jobs.
- Avoid common mistakes like gaps, poor R-values, or blocking ventilation.
- Savings range from $100–$200 annually for attics to 20–30% for full-home insulation.
Why Winter Insulation Matters More Than You Think
When winter rolls in, your home becomes your primary defense against freezing temperatures and rising energy bills. Learning how to insulate your home for winter is essential to keeping your space warm and energy-efficient. Insulation acts as a thermal barrier, reducing heat loss and maintaining a cozy interior.
Main Benefits of Winter Insulation
- Lower Energy Bills
Proper insulation can reduce heating costs by up to 20%, putting money back in your pocket each winter. - Improved HVAC Efficiency
A well-insulated home keeps warm air in, so your heating system doesn’t have to work overtime. This can help extend the life of your furnace. - Moisture and Mold Prevention
Insulation helps control humidity and prevents condensation inside walls, reducing the risk of mold growth and rot. - Increased Home Durability
By reducing freeze-thaw cycles in your home’s structure, insulation protects against long-term weather damage common in Iowa homes.
Which Areas of Your Home Need Insulation First?
If you live in North Iowa, learning how to insulate your house for winter helps you prioritize where insulation matters most. While insulating your entire home is ideal, that’s not always practical. Start with the areas that deliver the biggest impact on comfort and energy savings:
1. Attic
- Heat rises, which makes the attic the #1 source of heat loss in most homes.
- North Iowa homes should have insulation rated R-49 to R-60 to withstand prolonged cold and high winds.
2. Exterior Walls
- North- and west-facing walls take the brunt of cold winds.
- Best options include spray foam or dense-pack cellulose to minimize air leaks.
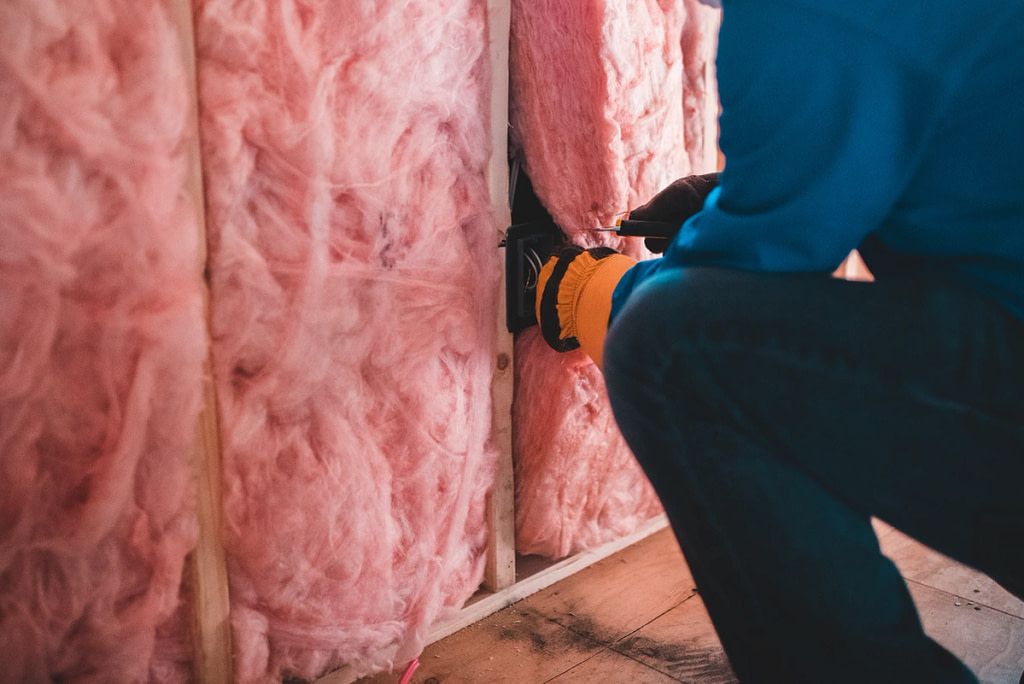
3. Rim Joists & Crawl Spaces
- Common weak points in older North Iowa homes.
- These act as thermal bridges where cold air sneaks in.
- Use rigid foam or spray foam for long-term sealing.
4. Basements
- Even finished basements can cause cold floors if not insulated.
- Apply foam board insulation along interior walls for better comfort.
5. Floors Above Unheated Areas
- Rooms above garages or crawl spaces often stay cold.
- Add batt insulation beneath floors and seal gaps for warmth.
6. Windows & Doors
- Small drafts can add up during Iowa’s harsh winters.
- Seal with caulk, weatherstripping, or insulated window kits.
- Critical when wind chills drop to -30°F.
Best Types of Insulation for Cold Climates
When you’re figuring out how to insulate house for winter, choosing the right materials is just as important as knowing where to install them. North Iowa’s climate, marked by extreme cold, strong winds, and heavy snow, requires insulation with high R-values and moisture resistance.
Here’s a breakdown of the best insulation types for different parts of the home:
| Area | Best Insulation Type | Ideal R-Value |
|---|---|---|
| Attic | Blown-in cellulose or fiberglass | R-49 to R-60 |
| Exterior Walls | Spray foam or dense-pack cellulose | R-13 to R-21 |
| Basement Walls | Rigid foam board or spray foam | R-11 to R-19 |
| Crawl Space Floors | Fiberglass batts + vapor barrier | R-25 to R-30 |
| Rim Joists | Closed-cell spray foam | R-10 minimum |
What Works Well in North Iowa?
- Blown-in cellulose is excellent for attics in older homes throughout North Iowa. It’s cost-effective, dense, and can be blown into tight areas.
- Spray foam (especially closed-cell) works great for sealing drafts in rim joists and older homes with irregular framing.
- Rigid foam boards are ideal for basement walls and rim joists—especially in farmhouses or split-level homes common in the region.
DIY vs. Hiring a Pro: What’s Right for You?
Insulating your home for Iowa’s cold winters is essential for comfort and energy savings. The big question is whether to tackle it yourself or hire a professional.
The decision usually comes down to your budget, skill level, and project size. DIY can save money but risks costly mistakes like gaps or poor material use. Professionals deliver expert installation and long-term efficiency, though at a higher upfront cost.
| Factor | DIY Insulation | Hiring a Pro |
|---|---|---|
| Best For | Small projects such as sealing attics, rim joists, or gaps | Whole-home insulation, spray foam, or complex older homes |
| Estimated Cost | $100–$500 depending on materials | $1,500–$5,000+ depending on home size and type of insulation |
| Tools Needed | Basic tools, insulation rolls or batts, caulk gun, safety gear | None – contractor provides all tools and equipment |
| Skill Level | Moderate – requires following guides and safety precautions | None – work completed by trained professionals |
| Pros | Affordable upfront cost, good for small areas, flexible schedule | Faster results, professional quality, meets local building codes, often includes warranty |
| Cons | Higher risk of mistakes, may miss hidden air leaks, could reduce energy efficiency if not done correctly | More expensive upfront, must schedule contractor availability |
5 Steps for Insulating Your Home
Figuring out how to insulate house for winter doesn’t have to be overwhelming. With the right tools and a solid plan, you can significantly boost your home’s warmth and energy efficiency. Whether you’re insulating an attic or improving what’s already there, follow these key steps:
What You’ll Need for the Job
Before you start learning how to insulate house for winter, make sure you’ve gathered these essentials:
- A sharp utility knife and straightedge for trimming insulation
- Step ladder to reach attic entry points
- Headlamp or flashlight to light dark spaces
- Kneeling board or piece of plywood to spread across joists for safe movement
- A non-metallic pole or broom handle to reach tight corners (never use metal)
- Protective gear: gloves, long sleeves, dust mask, and safety goggles
- Your chosen ceiling insulation batts (based on proper R-values for Iowa)
Step 1: Measure Before You Buy
Grab a tape measure and check the spacing between each ceiling joist. Measure from center to center. This tells you what size insulation batts to buy.
- If the joists are about 16 inches apart, get 15-inch wide batts.
- If they’re around 24 inches apart, go for 23-inch batts.
Tip: Joist spacing may vary slightly, so check multiple spots.
Step 2: Calculate How Much Insulation You’ll Need
Next, figure out the total square footage of the area you’re insulating. If you don’t have access to house plans, just measure the length and width of your attic and multiply them together.
Then check the label on your insulation packs to see how much area each one covers. Divide your total square footage by that number.
Step 3: Choosing the Right R-Value
We recommend using attic insulation rated between R-49 and R-60. That’s the level needed to hold up against subzero temperatures and wind chills.
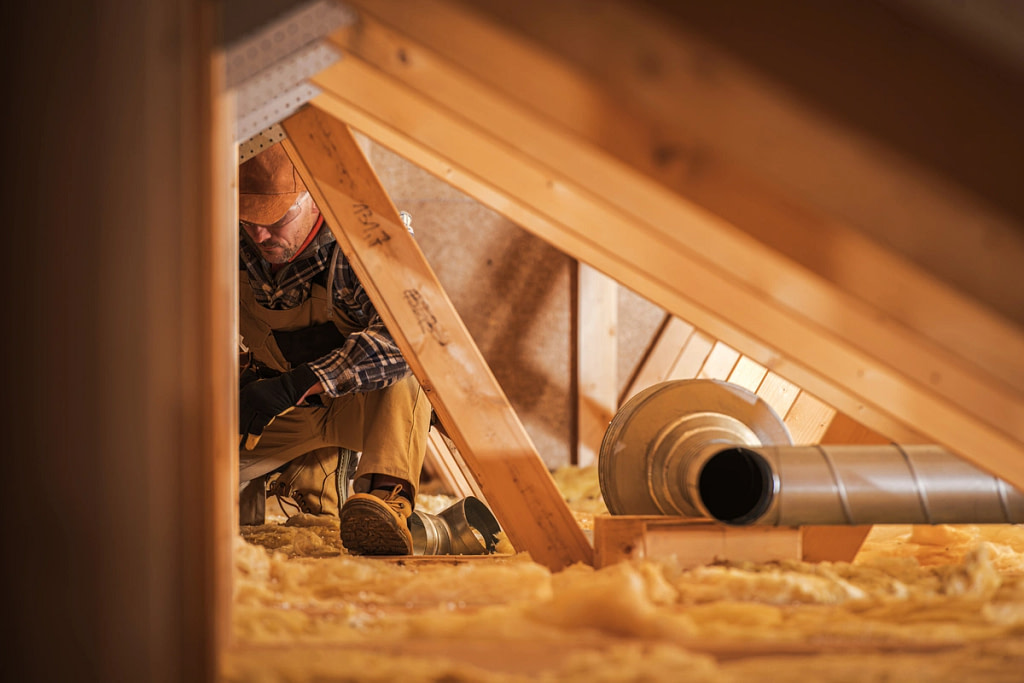
Step 4: Prep the Space and Stay Safe
Before crawling into the attic, do a quick safety check:
- Turn off power at your electrical panel — especially if there are exposed wires or lights in the attic.
- Work early in the day if temps are high; attics can become dangerously hot, even in early fall.
- Hydrate and wear protective clothing. Some insulation can cause skin or throat irritation.
- Lay a kneeling board across at least two joists so you can move safely without stepping on the ceiling drywall.
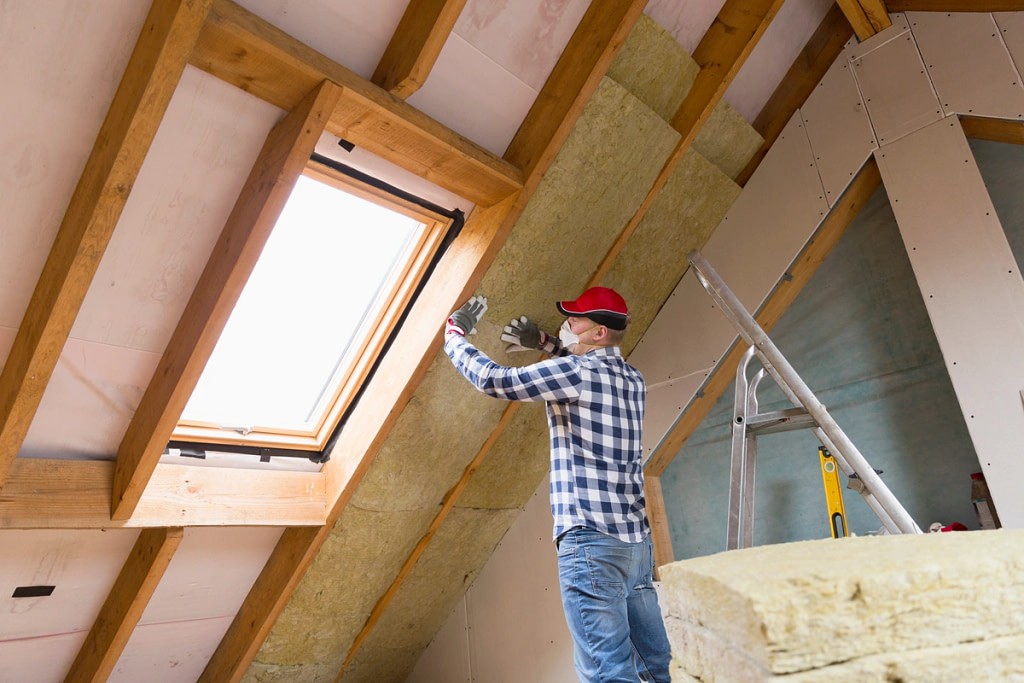
Step 5: Install Your Insulation Like a Pro
Now that you’re prepped, here’s how to insulate house for winter efficiently:
- Take the sealed insulation packs into the attic before opening them. They expand quickly once unpacked.
- Start at the outer edges (near the eaves) and work your way back toward the attic opening.
- Lay each batt snugly between joists, ensuring they rest flat without being compressed.
- Use offcuts to fill awkward or smaller spaces. No gaps should be left behind.
- Leave a small air gap (about 20mm or ¾ inch) between the insulation and the roof to allow for ventilation and reduce moisture issues.
- Use your broom handle or poker to gently push insulation into tight areas without stepping off your kneeling board.
Common Insulation Mistakes to Avoid
Even with the right materials and tools, a few common mistakes can dramatically reduce your insulation’s effectiveness or even cause long-term damage. Here are the top issues to watch out for and how to prevent them:
1. Skipping Air Sealing
Insulation slows heat transfer, but it doesn’t stop air leaks.
- Seal gaps around pipes, vents, attic hatches, and wiring before installing insulation.
- Use caulk or spray foam for best results.
- Without sealing, warm air escapes and cold air enters freely.
2. Compressing the Batts
Stuffing insulation too tightly lowers its effectiveness.
- Batts should fit snugly, not tightly.
- Flattened insulation can lose up to 50% of its R-value.
3. Blocking Attic Ventilation
Proper airflow is key to preventing moisture buildup and ice dams.
- Never cover soffit or ridge vents with insulation.
- Install baffles to keep ventilation paths open.
4. Leaving Gaps or Overlaps
Missed spots lead directly to cold spots.
- Fill every inch between joists neatly.
- Patch small gaps with insulation offcuts.
- Pay extra attention to edges and corners.
5. Using the Wrong R-Value
Insulation levels that work in mild climates won’t cut it in Iowa.
- Attics should have R-49 to R-60 insulation.
- Lower R-values won’t hold up against sub-zero wind chills.
6. Insulating Over Wet or Moldy Areas
Covering moisture problems only makes them worse.
- Check for roof leaks or past water damage first.
- Always fix the source of moisture before insulating.
How Much Can You Save on Heating Bills?
One of the biggest reasons to insulate your home before winter is simple: insulation saves money. In North Iowa, where furnaces run for months, proper insulation can make a noticeable difference in your monthly bills.
Estimated Energy Savings for Homeowners
- Attic insulation: Save an average of $100–$200 per year just by insulating the attic.
- Whole-home insulation: Adding insulation to your attic, walls, basement, and rim joists can reduce heating costs by 20–30%.
- Local rebates and incentives: Programs from MidAmerican Energy, NIMECA, and other utilities may offset part of the installation cost.
Proper insulation doesn’t just save money, it improves comfort and helps your furnace run more efficiently during Iowa’s harshest winters.
Keep the Cold Out, Keep the Comfort In
Learning how to insulate house for winter is one of the smartest investments you can make—especially in North Iowa, where temperatures regularly drop below zero. From sealing drafts to laying attic batts, every step you take brings you closer to a warmer, more energy-efficient home.
And now that you know how to insulate house for winter, you’re ready to take action—whether that means a full DIY project or calling in a pro for the tough spots.
Want help figuring out where your home is losing heat? Contact Young Construction today! We’ll walk your home, spot problem areas, and recommend the best solutions based on North Iowa’s unique climate.
FAQ’s
When is the best time to insulate my home for winter?
The best time to start learning how to insulate house for winter is in late summer or early fall. This gives you time to assess your needs, gather materials, and complete the project before the deep freeze sets in.
How do I know how much insulation to buy?
If you’re figuring out how to insulate house for winter, start by measuring the area (length × width). Then divide by the coverage listed on your insulation packs. Always round up and buy one extra pack to account for trimming and gaps.
What’s the best way to insulate rim joists in an old home?
If you’re researching how to insulate house for winter in an older home, rim joists should be sealed with closed-cell spray foam. It blocks airflow and adds a moisture barrier which is especially useful in basements.