Measuring your roof for shingles might seem like an intimidating task, but with the right process in place, you can save both time and money while ensuring you purchase the right amount of materials. Whether you’re a DIY enthusiast preparing for a weekend roofing project or simply want to estimate costs ahead of hiring a professional, learning how to measure a roof for shingles is a crucial first step. This guide will walk you through everything you need to know about measuring a roof for shingles, including:
- Why accurate roof measurement matters
- 5 steps to measure a roof for shingles (step-by-step guide)
- Pro tips for an accurate roof measurement
- Additional tips for complex roofs
🤔 Why Accurate Roof Measurement Matters
Before you start any roofing project, taking precise roof measurements is critical to its success. Proper measurements are the foundation for an efficient, cost-effective, and hassle-free process. Here’s why accuracy is absolutely essential when determining the amount of shingles or materials your roof needs:
- Reduces Waste: Overestimating your roofing materials can lead to buying excess shingles, costing you more money than necessary and contributing to unnecessary material waste. Excess materials often end up in storage or the landfill, which isn’t ideal for your wallet or the environment. Accurate measurements help minimize this waste and ensure you’re only purchasing what you need.
- Prevents Shortages: On the flip side, underestimating the amount of materials can leave you short halfway through your project. This can cause frustrating delays as you scramble to order more shingles or other materials, possibly even impacting your budget if the price has changed. With precise measurements, you’ll have everything you need from the start, ensuring a seamless workflow.
- Accurate Costing: Roofing projects can be expensive, and the last thing you want are unexpected costs popping up. Proper measurement allows you to budget accurately, giving you a clear understanding of how much the project will cost upfront. This means no unwelcome surprises and better financial planning for both materials and labor.
- Smooth Project Execution: Whether you’re taking on the job yourself or hiring a professional contractor, detailed roof measurements set the stage for a smoother, more efficient process. Contractors rely on accurate measurements to plan their work, avoid setbacks, and complete the project on time. If you’re tackling the project solo, precision makes it easier to plan your steps and avoid unnecessary complications.
- Improved Material Efficiency: Many roofing materials come in standard sizes, and accurate measurements allow you to plan for the most efficient use of each piece. This means fewer cuts and less waste, saving time and effort during installation.
- Enhanced Structural Safety: Having the correct amount of shingles and materials ensures that your roof is evenly covered without gaps or overlaps, contributing to better structural integrity. Properly installed materials also improve the roof’s ability to withstand weather conditions, keeping your home safe and secure.
Accurate roof measurements are more than just numbers—they are the key to a successful roofing project. From reducing costs and waste to ensuring a smooth process and better results, precision is non-negotiable. Taking the time to measure correctly will save you effort, money, and stress, making your roofing experience far more rewarding.
📐 5 Steps to Measure a Roof for Shingles
Measuring a roof accurately is essential for estimating the number of roof shingles you’ll need. Here’s how to break it down step-by-step.
Essential Tools for Measuring a Roof
Measuring your roof is straightforward with the right tools. Here’s what you’ll need to have on hand:
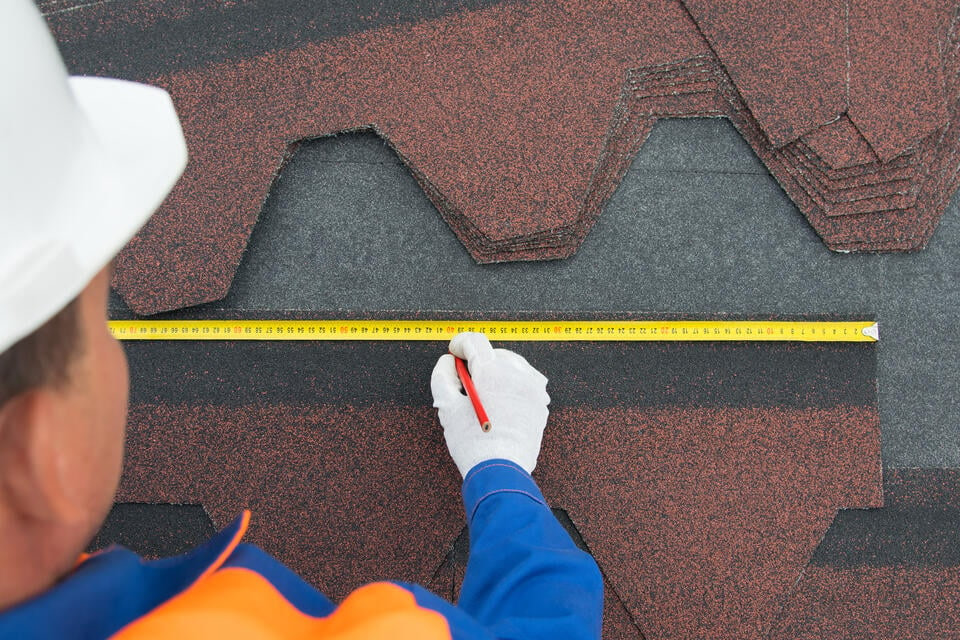
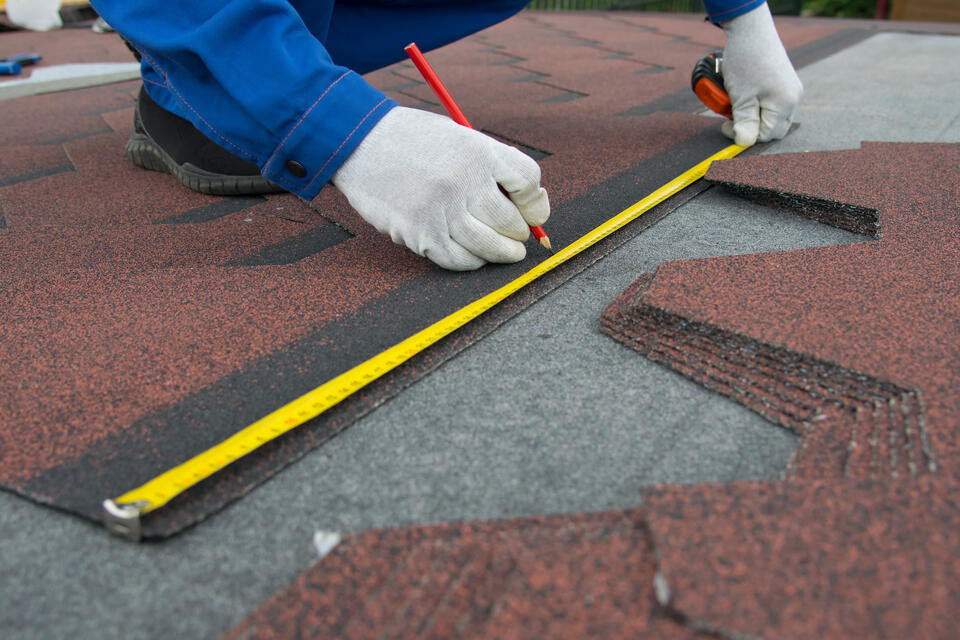
- Measuring Tape: A 100-foot tape is ideal for most residential roofs. Flexible enough for edges and long enough for accurate measurements.
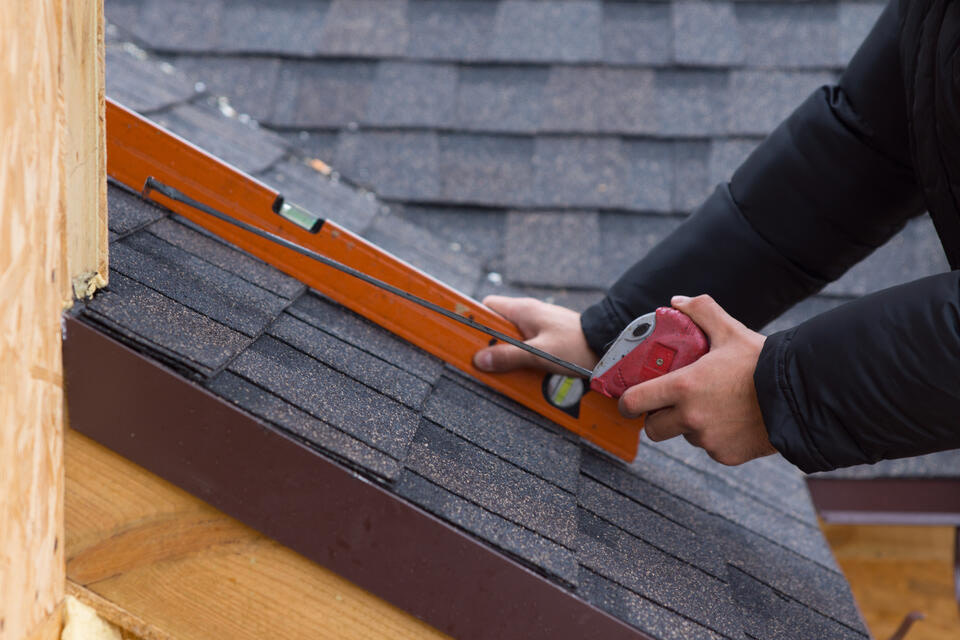
- Ladder: A sturdy extension ladder to climb and access the roof safely. Always follow safety guidelines when using it.
- Calculator: To perform calculations like multiplying and converting square footage into roofing squares.
- Paper and Pencil: Notes are essential to track your measurements accurately and avoid mistakes.
- Roof Pitch Finder App (Optional): These apps can quickly calculate the roof pitch using your phone.
For steeply pitched or complex roofs, it’s wise to wear non-slip shoes and consider a spotter for added safety while climbing.
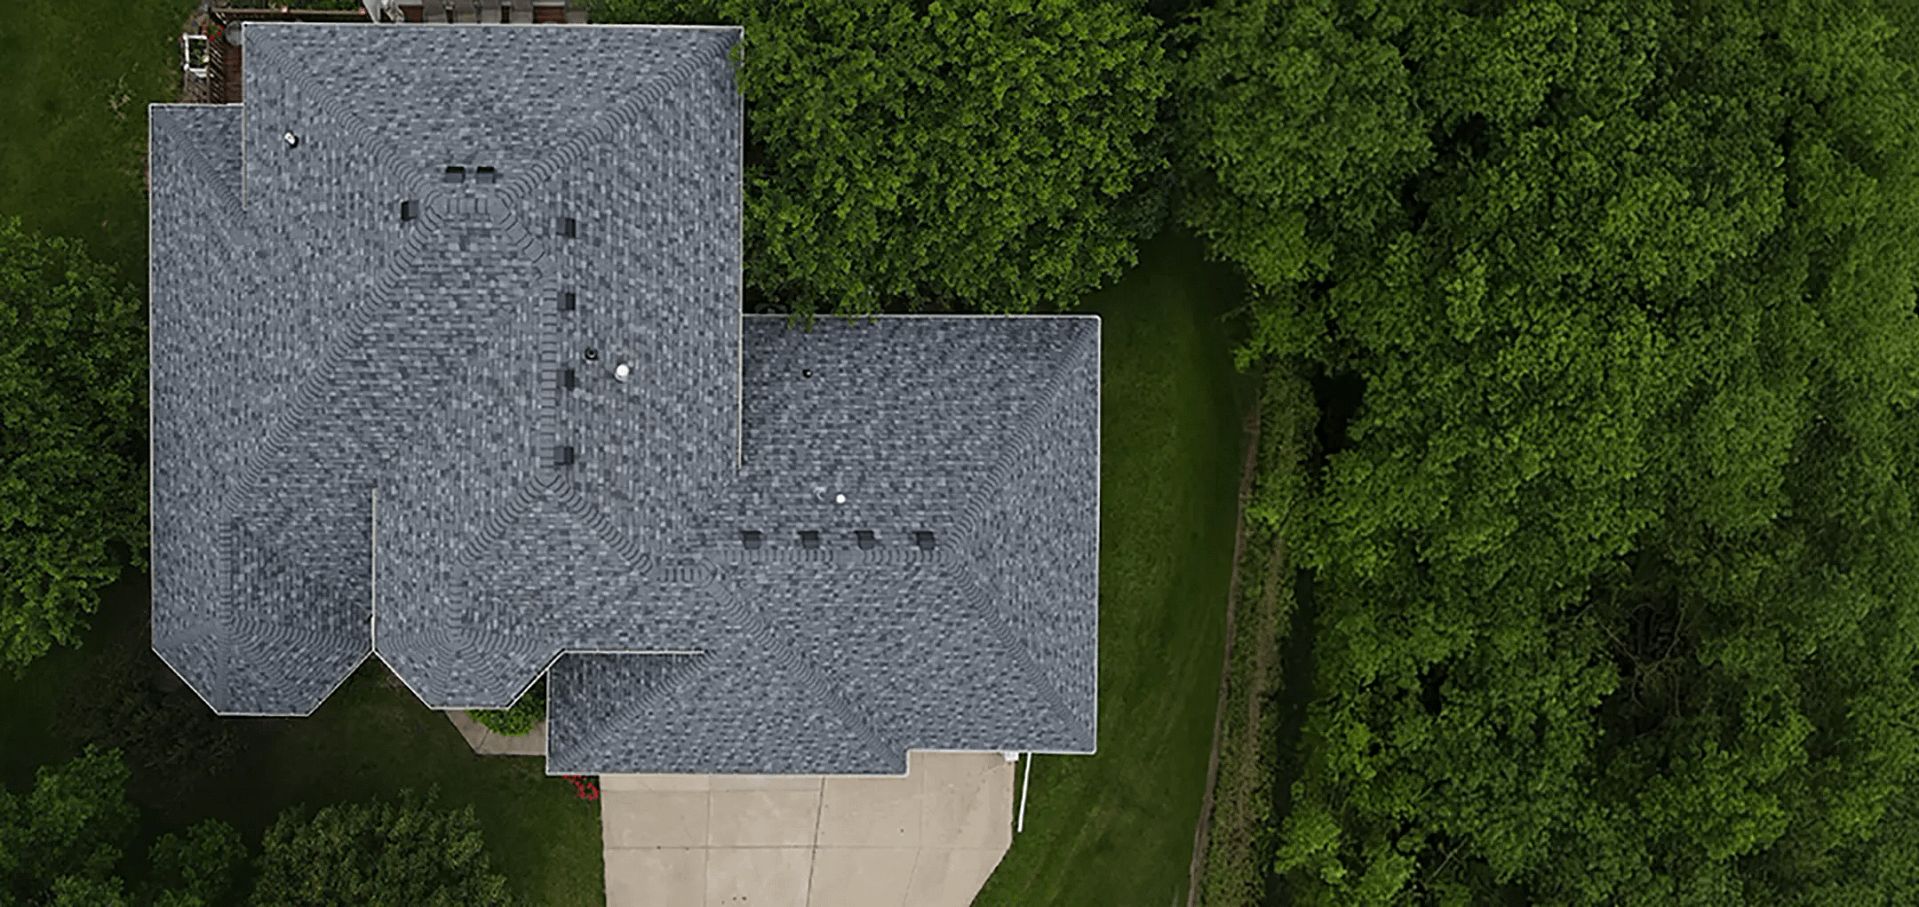
1. Measure the Roof Footprint
Start by determining the length and width of each roof section. You can do this from the ground using a measuring tool or directly on the rooftop if accessible and safe. If your roof has irregular shapes, like peaks or dormers, divide these into smaller, manageable sections such as triangles, squares, or rectangles. This approach makes it easier to calculate individual areas before combining them for the total footprint.
2. Calculate the Roof Area
Once you have the measurements for each section, multiply the length by the width to find the square footage. For triangles, use the formula (base × height) ÷ 2 to determine their area. Add up the areas of all sections to get the total flat roof area, which serves as the base measurement before factoring in slopes or other adjustments.
3. Factor in the Roof Pitch
The pitch of your roof—essentially its steepness—affects how much material is needed. To measure, use a level and a tape measure to determine the rise (vertical height) over a 12-inch horizontal span. For example, if your roof rises 6 inches over 12 inches of run, it has a 6/12 pitch. A steeper pitch requires more shingles to cover the same area.
4. Apply a Pitch Multiplier
The roof pitch impacts the actual surface area, so you’ll need to adjust your calculations using a pitch multiplier. These multipliers account for the extra shingles required due to the angle. For instance, a 6/12 pitch has a multiplier of 1.118, while a 9/12 pitch uses 1.25. Multiply your total flat roof area by the appropriate multiplier to get the adjusted roof area, which reflects the true surface you’ll need to cover.
5. Convert to Roofing Squares
Roofing materials are sold in “squares,” with one square equal to 100 square feet. Divide your adjusted roof area by 100 to determine the number of squares required. To ensure you have enough shingles to account for overlaps, starter strips, and ridge caps, add an extra 10% to your total. This final measurement will guide your shingle purchase, ensuring you have what you need for the job without unnecessary waste.
💡 Pro Tips for an Accurate Roof Measurement
Measuring a roof can be challenging, but there are several tips to help ensure accuracy and safety. First, always account for roof features such as skylights, chimneys, or other fixtures by subtracting their areas from your total measurements. Safety should also be a top priority, so it’s a good idea to have a spotter or helper to hold the ladder and assist during the process.
Using an online roof calculator can be a useful tool to double-check your manual measurements and ensure they’re correct. When in doubt, it’s always better to measure twice and cut once—re-checking your dimensions can save you time and effort down the road. Lastly, for unusually large or complex roofs, consider hiring a professional for measurements. It’s an investment that can save you significant hassle and ensure accuracy.
Additional Tips for Complex Roofs
Not all roofs are simple rectangles, and more intricate designs require extra attention during planning and installation. If your roof includes dormers, multiple hips, or valleys, here are some extra steps to ensure accuracy:
- Subdivide the Roof: Break the roof into smaller, manageable geometric shapes like triangles or trapezoids. This makes it easier to calculate the surface area accurately and avoid mistakes.
- Measure Valleys and Ridges Separately: These areas often need specialized shingles or materials to handle water flow and weather exposure effectively. Take exact measurements to ensure you have enough.
- Add Extra Material for Valleys: Valleys and other intricate features usually need double layering to seal properly against leaks, so it’s best to order additional shingles or materials to account for this.
For multi-level homes or unique architectural designs, consider consulting a professional roofer to ensure all measurements and materials are accurate. Tackling complex roofs can be tricky, and expert advice can save time and prevent costly errors.
🙌 Accurate Roof Measurements and Expert Installation You Can Trust
At Young Construction, we understand that measuring your roof for shingles can feel like a daunting task, especially when dealing with complex roof designs. Our experienced team is here to ensure the process is as smooth and accurate as possible, saving you time, effort, and costly mistakes. With years of expertise and a commitment to top-notch service, we take pride in delivering reliable solutions tailored to your unique roofing needs. Whether it’s advice, precise measurements, or a full roofing installation, you can count on us to handle the job with care and professionalism. Contact Young Construction today to schedule a consultation and take the first step toward a durable, beautifully finished roof!