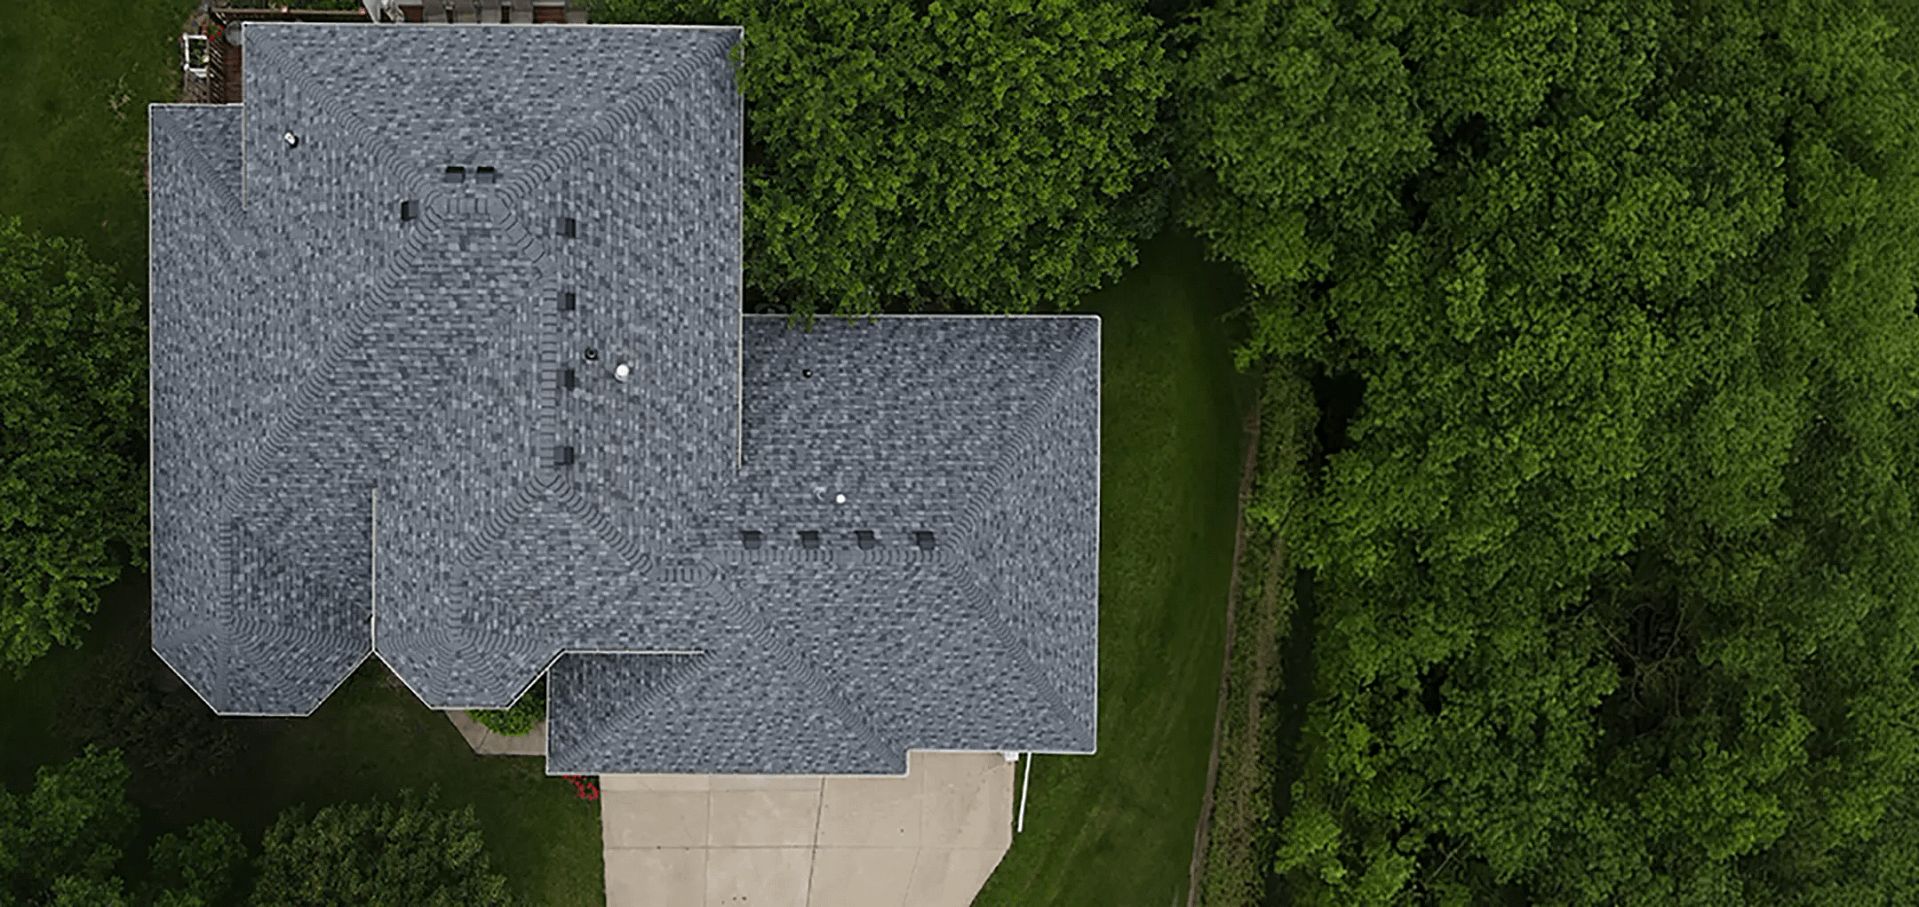
Knowing how to replace fascia board gives you a clear picture of the tools, cost, and process involved before you decide whether to tackle it yourself or hire a professional. Fascia is the long board running along your roof’s edge that holds your gutters and seals the roofline, so when it rots or warps, replacing it promptly protects your gutters, roof deck, and the framing behind it. Understanding what the job entails helps you budget accurately, ask a contractor the right questions, and recognize quality work. Here is what this guide covers:
- Tools and materials: What you need on hand to remove old fascia and install new boards.
- Cost expectations: What fascia replacement typically runs per linear foot and per home.
- The process: The step-by-step sequence and what to expect from start to finish.
When Does Fascia Board Need Replacing?
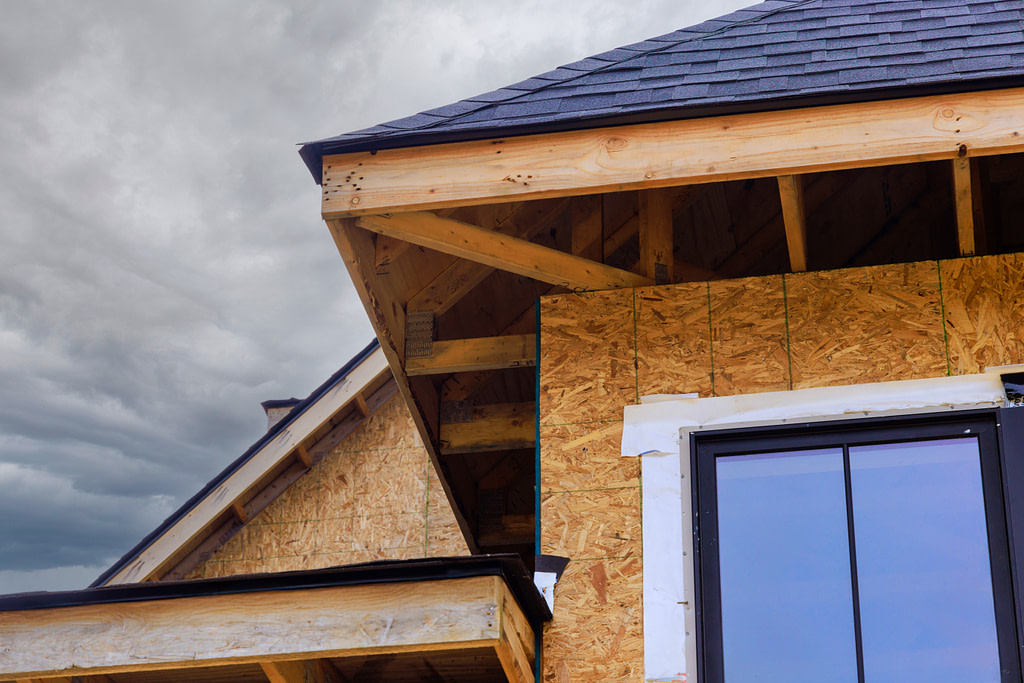
Fascia board needs replacing when it becomes rotted, warped, cracked, or so water-damaged that it can no longer support the gutters or seal the roofline. Catching the signs early is what keeps a straightforward board swap from turning into a larger repair of the roof deck and framing behind it.
What Are the Signs of Failing Fascia?
The clearest signs of failing fascia are soft or spongy wood, peeling paint, visible rot or cracks, and gutters that sag or pull away from the house. Because gutters attach directly to the fascia, drooping or detached gutters often point straight to a board that can no longer bear the weight. Water stains along the roofline, pest activity, and a musty smell near the eaves are also red flags. Since fascia sits high and behind the gutters, problems are easy to miss until they are advanced. Homeowners in Manly and surrounding areas often spot trouble only during gutter cleaning or a roof check.
- Soft or spongy wood: A sign that rot has taken hold and the board is failing.
- Peeling paint: Often the first visible clue that moisture is reaching the wood.
- Sagging gutters: Drooping or detached gutters usually mean weakened fascia.
- Rot or cracks: Visible decay or splitting calls for prompt replacement.
What Happens If You Wait Too Long?
Waiting too long to replace failing fascia allows the damage to spread into the roof decking, rafters, and soffit, turning a modest repair into a costly one. Rotted fascia lets water track back into the roof structure, where it causes wood decay, mold, and weakened framing. Detached gutters can dump water against your foundation, and open gaps invite birds, squirrels, and insects into the roof cavity. What starts as one soft board can become a multi-area repair if ignored. For homeowners in Manly and surrounding areas, acting early keeps the scope small and the cost manageable.
- Spreading rot: Damage moves from fascia into decking, rafters, and soffit.
- Water intrusion: Failing fascia lets moisture reach the roof structure.
- Gutter failure: Loose gutters can send water against the foundation.
- Pest entry: Gaps in the roofline open the door to birds and rodents.
What Tools and Materials Do You Need?
Replacing fascia board calls for a specific set of tools and materials, most of which are common to exterior home work. Having everything ready before you start makes the job safer and smoother, since fascia work happens at height along the roof edge.
Which Tools Are Essential?
The essential tools for replacing fascia include a sturdy ladder, a pry bar and hammer for removing old boards, a circular saw or miter saw for cutting new ones, and a drill or nail gun for fastening. You will also want a measuring tape, a level, a caulk gun for sealing, and safety gear including glasses, gloves, and a face mask when working with power tools. A helper is important, since fascia boards are long and awkward to lift and hold in place solo. Working from a stable, secured ladder is non-negotiable for safety. Having the right tools ready prevents dangerous improvising mid-job.
- Removal tools: A pry bar and hammer to pop off old boards in sections.
- Cutting tools: A circular or miter saw for clean, accurate board cuts.
- Fastening tools: A drill or nail gun with corrosion-resistant fasteners.
- Safety gear: A secured ladder, glasses, gloves, and a face mask.
What Materials Should You Choose?
The materials you choose come down to the fascia board type, plus fasteners, primer, paint or sealant, and caulk to finish the job. Wood is the most affordable at roughly $1 to $3 per linear foot for the lumber, but it needs regular painting and sealing to resist rot. PVC and vinyl resist moisture entirely and never need painting, while aluminum wrap or cladding offers durability with low maintenance, and fiber cement delivers a wood look with strong weather resistance. Matching the material to your budget and maintenance tolerance is a key decision. The right material choice shapes both the cost and the long-term upkeep of your fascia.
- Wood: Cheapest upfront at about $1 to $3 per linear foot, but needs upkeep.
- PVC and vinyl: Moisture-proof and paint-free, with less maintenance.
- Aluminum: Durable, low-maintenance cladding often wrapped over a board.
- Fiber cement: A wood-like look with excellent weather resistance.
How Much Does Fascia Board Replacement Cost?
Fascia board replacement typically costs between $6 and $25 per linear foot installed, with most full replacements landing between $1,000 and $5,000 depending on home size, material, and access. The material you pick and the complexity of your roofline are the biggest factors in where your total lands.
What Drives the Cost Up or Down?
The main factors driving fascia replacement cost are material choice, roof accessibility, home size, and whether related components need attention. Premium materials like PVC, vinyl, and aluminum cost more than basic wood, and steep or multi-story roofs raise labor because of the added time and safety equipment. Larger homes with more linear feet of fascia naturally cost more, and complex rooflines with many corners add labor hours. Replacing soffit, drip edge, or gutters at the same time increases the total but is often efficient to bundle. Understanding these factors helps you read an estimate and anticipate your number.
- Material grade: Synthetic and metal options cost more than basic wood.
- Accessibility: Steep or multi-story roofs add labor and safety costs.
- Home size: More linear feet of fascia means a higher total.
- Bundled work: Soffit, drip edge, or gutter work adds to the cost.
According to This Old House, installing fascia board runs about $1 to $20 per linear foot for materials and $6 to $20 per linear foot for labor, which is why doing the work yourself mainly saves on that labor portion. Comparing a contractor’s quote against those per-foot ranges helps you judge whether a bid is fair.
6 Steps to Replace a Fascia Board
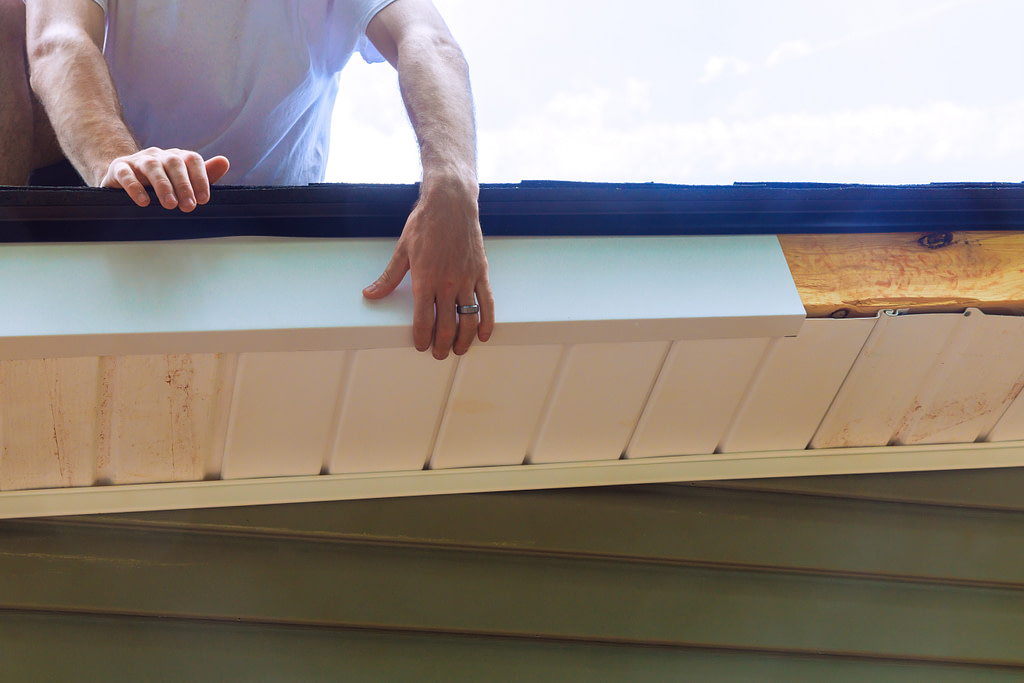
Replacing fascia board follows a clear sequence from removing the old boards to sealing the new ones. The six steps below outline the process so you know exactly what to expect at each stage.
1. Detach the Gutters
Detaching the gutters is the first step, since on most homes the gutters mount directly to the fascia and block access to it. Work with a helper to support the gutters while you gently pry them back with a pry bar, being careful not to bend or damage them. Set the gutters aside safely so they can be reinstalled once the new fascia is in place. Inspect them for damage while they are down, since this is a convenient time for repairs. Careful gutter removal protects both the gutters and the surrounding roofline.
- Use a helper: A second person supports the gutters during removal.
- Pry gently: Ease gutters back with a pry bar to avoid bending them.
- Set aside safely: Store gutters where they will not be damaged.
- Inspect while down: Check and repair gutters before reinstalling.
2. Remove the Old Fascia
Removing the old fascia involves prying the damaged boards off in sections without harming the roof shingles or the framing behind them. Use a pry bar and hammer to pop the boards loose gently, and cut long boards into smaller pieces if that makes removal easier. Take care around the roof edge so you do not disturb the shingles or drip edge. Removing old fascia cleanly sets up an easier, better-fitting installation of the new boards. Patience here prevents accidental damage that adds to the job.
- Work in sections: Pry boards off a portion at a time for control.
- Protect the shingles: Avoid damaging the roof edge and drip edge.
- Cut if needed: Break long boards into smaller pieces for removal.
- Go gently: Careful removal prevents damage to the framing.
3. Inspect and Repair the Backing
Inspecting and repairing the backing is a critical step, because any rot in the wood behind the fascia must be fixed before new boards go on. With the old fascia off, examine the rafter tails and any subfascia for decay, moisture, or pest damage. Replace or treat rotted wood so the new fascia mounts to a sound, dry surface. Skipping this step traps the underlying problem behind fresh boards, where it will keep spreading. Addressing the backing now is what makes the repair last.
- Check the rafter tails: Look for rot or moisture behind the old fascia.
- Replace bad wood: Any decayed backing must be fixed before proceeding.
- Confirm it is dry: New fascia needs a sound, dry surface to mount to.
- Prevent recurrence: Fixing the backing stops the problem from returning.
4. Measure and Cut the New Boards
Measuring and cutting the new boards accurately ensures a clean, tight fit along the roofline. Measure the length across the front of each board run and the thickness at the ends, and transfer those dimensions to your new material. Use a circular or miter saw for straight, clean cuts, and dry-fit each piece before fastening to confirm the fit. Cutting carefully and checking the fit avoids gaps and wasted material. Precise boards are what give the finished fascia a professional, seamless look.
- Measure carefully: Get the length and thickness of each board run.
- Cut clean: A circular or miter saw makes straight, accurate cuts.
- Dry-fit first: Test each piece before fastening to confirm the fit.
- Avoid gaps: Precise cuts keep the finished line tight and even.
5. Install and Fasten the New Fascia
Installing and fastening the new fascia secures the boards to the rafter tails or subfascia with corrosion-resistant nails or screws. Lift each board into place with a helper, level it, and fasten it firmly at each rafter, driving fasteners straight so the board sits flush. Take care to align the boards so the run stays straight and level along the entire eave. Firm, even fastening is what allows the fascia to carry the gutters and hold up against weather. Secure installation is the core of a lasting repair.
- Lift with help: A helper holds long boards while you fasten them.
- Level each board: Keep the run straight and even along the eave.
- Fasten at rafters: Secure into rafter tails or subfascia for a firm hold.
- Drive flush: Even fastening keeps boards flat and gutter-ready.
6. Seal, Paint, and Reattach Gutters
Sealing, painting, and reattaching the gutters completes the job and weatherproofs the new fascia. Caulk the seams and edges to block moisture, then prime and paint wood boards, or skip painting if you chose a pre-finished material like PVC or aluminum. Once the finish is dry, reinstall the gutters, checking that they are pitched correctly for drainage. A final look confirms the boards are flush, sealed, and straight. This finishing pass is what protects the fascia and restores your roofline’s clean appearance.
- Seal the seams: Caulk edges and joints to keep moisture out.
- Paint if needed: Prime and paint wood, or leave pre-finished material as is.
- Reattach gutters: Reinstall and confirm proper drainage pitch.
- Final check: Verify boards are flush, sealed, and level.
Should You Replace Fascia Yourself or Hire a Pro?
Deciding between a do-it-yourself replacement and hiring a professional depends on your comfort with heights, your experience, and the extent of the damage. A small, accessible section may suit an experienced homeowner, while larger or higher jobs call for a pro.
When Is Professional Replacement the Better Choice?
Professional replacement is the better choice when the damage is widespread, the roof is steep or multi-story, or hidden rot in the backing needs expert repair. Pros work safely at height, spot related problems in the soffit and roof deck, and ensure the fascia is properly sealed and gutter-ready. Mistakes during a do-it-yourself job can lead to water intrusion and costly follow-up repairs, so the stakes rise with the size and height of the work. While a small ground-accessible board might be a reasonable weekend task, most full replacements benefit from professional experience. For lasting, watertight results, homeowners in Manly and surrounding areas usually find a qualified contractor worth it.
- Widespread damage: Extensive rot is best handled by professionals.
- Height and safety: Steep or multi-story roofs are risky to do solo.
- Hidden repairs: Pros properly fix rot in the backing and framing.
- Reliable results: Expert work ensures a sealed, gutter-ready fascia.
Frequently Asked Questions
How much does it cost to replace fascia board?
Fascia board replacement typically costs $6 to $25 per linear foot installed, with most full replacements running $1,000 to $5,000 depending on home size, material, and access. Wood is the most affordable material, while PVC, vinyl, and aluminum cost more but last longer. A detailed, written estimate gives you an accurate figure for your home.
How long does it take to replace fascia?
Replacing fascia on a typical home usually takes one to two days depending on the amount of fascia, roofline complexity, and whether gutters and soffit are also involved. A small, accessible section can be done in a few hours. Hidden rot discovered during removal can extend the timeline.
Can I replace fascia board myself?
An experienced homeowner comfortable working at height can replace a small, accessible section of fascia, but the work requires a helper, the right tools, and care around the roof edge and gutters. Mistakes can cause water intrusion and costly repairs. Larger or higher jobs are best left to a licensed, insured professional.
Do I have to remove the gutters to replace fascia?
Yes, in most cases the gutters must be temporarily detached because they mount directly to the fascia board. A helper should support the gutters during removal to avoid bending them. It is a good opportunity to inspect and repair the gutters before reinstalling.
What is the best material for fascia board?
The best material depends on your priorities, with wood being the most affordable, PVC and vinyl offering rot-proof low maintenance, aluminum providing durable low-upkeep cladding, and fiber cement delivering a wood look with strong weather resistance. Synthetic and metal options cost more but last longer. A professional can help you match material to your budget and climate.
Will insurance cover fascia replacement?
Homeowners insurance may cover fascia replacement when the damage results from a sudden covered event like a storm, but it typically excludes gradual rot and wear. Coverage depends on your policy and the cause of the damage. Documenting storm damage with photos and a professional assessment supports a claim.
Trust Young Construction for Fascia Replacement
When it comes to how to replace fascia board and get it done right, Young Construction brings over 20 years of local experience and a complete understanding of how Iowa’s weather tests every part of your roofline. We inspect your fascia, soffit, and gutter system together, repair any hidden rot in the backing, and install durable new fascia in the material that best fits your home and budget, sealing and finishing it for a clean, watertight edge. As a family-owned, fully licensed and insured company with more than 150 five-star reviews, we treat your home with genuine care and clear communication at every step. If you have noticed sagging gutters, peeling paint, or soft spots along your roof edge, you deserve a lasting fix before the damage spreads. Contact Young Construction today to talk through your fascia needs and request a detailed, written estimate, and let our team keep the edge of your roof strong and looking its best.