Your roof is your first and most important defense against the elements, making it essential to protect your home. That’s why many homeowners are choosing impact resistant shingles—a durable option built to withstand severe weather like hailstorms, wind, and debris. If you’re considering upgrading your roof, this guide will cover everything you need to know, including:
- What impact resistant shingles are and how they work
- The benefits they provide compared to standard shingles
- Key steps to installing these shingles on your home
- How to maintain your impact resistant shingle roof
🤔 What Are Impact Resistant Shingles?
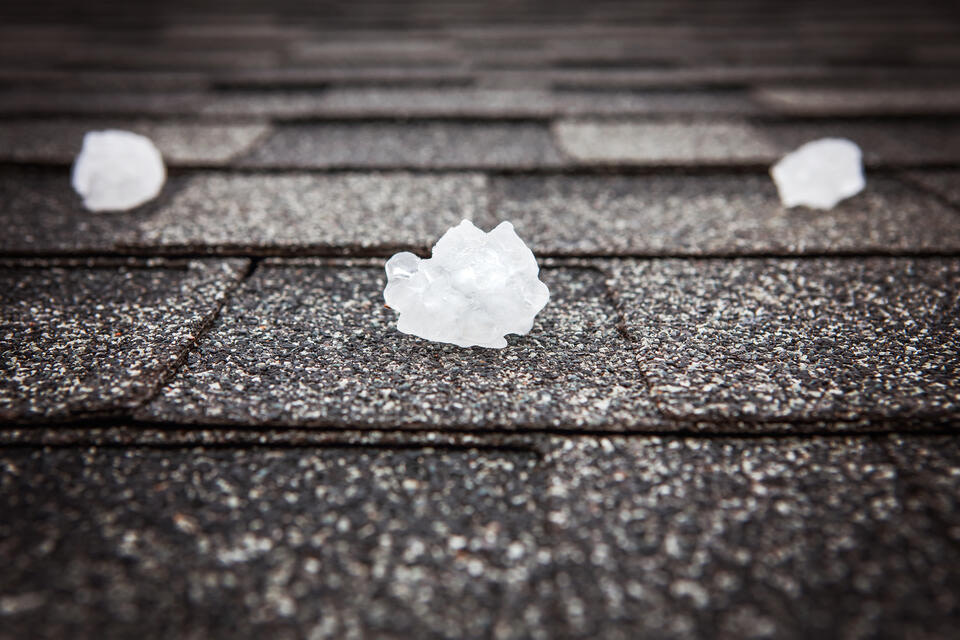
Impact resistant shingles are roofing materials designed to endure significant wear and tear from extreme weather events. Unlike traditional asphalt shingles, these are crafted with advanced materials, such as rubber-like polymers or metal, to absorb and dissipate impact. Most impact resistant shingles meet Class 4 standards—the highest rating given by the Underwriters Laboratories (UL)—which means they can handle simulated hail impacts at high speeds without cracking.
Not only are these shingles functional and durable, but manufacturers are now offering them in a wide range of colors and styles to complement any home.
Benefits of Impact Resistant Shingles
Upgrading to impact resistant shingles offers a wealth of advantages. Here’s what makes them stand out:
- Enhanced Durability: Impact resistant shingles are designed to withstand harsh weather conditions, including hail, high winds, and flying debris. They’re less likely to crack, split, or tear compared to standard shingles.
- Potential Insurance Discounts: Many insurance providers offer discounts for homeowners who make proactive steps to protect their property. Installing Class 4-rated shingles could potentially lower your premiums—be sure to check with your insurer!
- Extended Roof Lifespan: Because these shingles are tougher than regular ones, they tend to last longer. That means fewer repairs and replacements over the life of your roof.
- Curb Appeal and Resale Value: Impact resistant shingles come in a variety of styles, so you don’t have to sacrifice aesthetics for durability. Plus, this upgrade can increase your home’s resale value by appealing to buyers looking for peace of mind.
- Eco-Friendly Option: Since these shingles last longer, they reduce waste by minimizing the number of times roofing materials need to be replaced. Some manufacturers also use recycled materials in production.
🛠️ 6 Steps to Install Impact Resistant Shingles

Installing impact-resistant shingles is more than simply laying down materials; it’s a detailed and precision-driven process designed to ensure your roof offers the highest level of protection against the elements. Here’s a closer look at the steps professionals follow to complete the installation correctly:
1. Inspection and Preparation
The first step involves thoroughly inspecting the existing roof to identify any damage or structural issues that need to be addressed before installation begins. This step is crucial to ensure the roof deck can provide a stable foundation for the new shingles. Once the inspection is complete, the old shingles and debris are carefully removed, leaving behind a clean and prepared roof deck. A clean and solid surface is essential for the proper application of the new materials and to prevent future issues like uneven installation or water damage.
2. Install Underlayment
Before the shingles are installed, a waterproof underlayment is applied across the entire roof deck. This underlayment acts as a secondary barrier, protecting your home from moisture infiltration and leaks in case water manages to get under the shingles. It is especially important in regions prone to heavy rain or snow, as it adds an extra layer of protection between the shingles and the structure of the roof itself. Properly applying the underlayment is critical to ensure full coverage and durability.
3. Reinforce Roof Deck (If Needed)
Depending on the existing structure of your home, the roof deck might need additional reinforcement to handle the weight of the impact-resistant shingles and to withstand extreme weather conditions. Reinforcement may involve adding extra support beams or upgrading the materials to ensure the roof can endure the added stress of severe storms, heavy winds, or hail. This step is particularly important for older homes that may have weaker or outdated roofing systems.
4. Shingle Placement
Once the roof deck is prepared, the impact-resistant shingles are carefully positioned. The process begins at the edge of the roof, with shingles being laid row by row, working upwards toward the roof’s peak. Each shingle is placed with precision to ensure proper overlap, which helps create a secure, weather-tight barrier. This overlapping design is crucial for preventing water from seeping through the roof during heavy rain or snowstorms. The placement process demands attention to detail to ensure the shingles align correctly and provide maximum protection.
5. Nailing and Sealing
After the shingles are in place, they are secured using the manufacturer’s recommended nailing pattern. This pattern ensures that each shingle is firmly attached to the roof deck and can withstand high winds or severe weather conditions. In addition to nailing, adhesive strips are applied to create a tight seal, further reinforcing the shingles and preventing them from coming loose over time. Proper nailing and sealing are critical for long-term durability and ensuring the roof can handle the unique challenges of impact-resistant materials.
6. Final Inspection
The last step in the process is a thorough inspection of the completed roof. Professionals check for any loose shingles, gaps, or imperfections that could compromise the roof’s integrity. This step ensures that the installation has been flawlessly executed and that the roof is ready to provide long-lasting protection. The final inspection is essential for catching any potential issues before they become major problems, giving homeowners peace of mind knowing their roof is installed to the highest standards.
💡 How to Maintain Your Impact Resistant Shingle Roof

Proper maintenance is key to ensuring the longevity and performance of your impact resistant shingle roof. Regularly cleaning your roof to remove debris such as leaves, branches, and dirt helps to prevent blockages and moisture buildup that could lead to damage over time. It’s also important to inspect your roof periodically, especially after severe weather events, to check for any signs of wear or damage, such as cracked or loose shingles.
Gutters play a vital role in roof maintenance as well. Keeping them clear of obstructions allows water to flow away from your home, preventing potential water-related issues. If you notice any areas of concern, such as missing shingles or potential leaks, contacting a roofing professional promptly can prevent minor problems from escalating into costly repairs. By staying proactive and attentive, you can protect your investment and enjoy the peace of mind that comes with a well-maintained roof.
🙌 Protect Your Home with Impact Resistant Shingles Today
At Young Construction, we understand that your roof is more than just a covering—it’s your home’s first line of defense. That’s why our team goes above and beyond to deliver superior craftsmanship and lasting results with every project. With our expertise, reliable service, and dedication to customer satisfaction, you can feel confident knowing you’re making the right choice for your roofing needs. Don’t settle for less when it comes to protecting your home and family. Contact Young Construction today to schedule your free consultation and take the first step toward a stronger, safer roof!