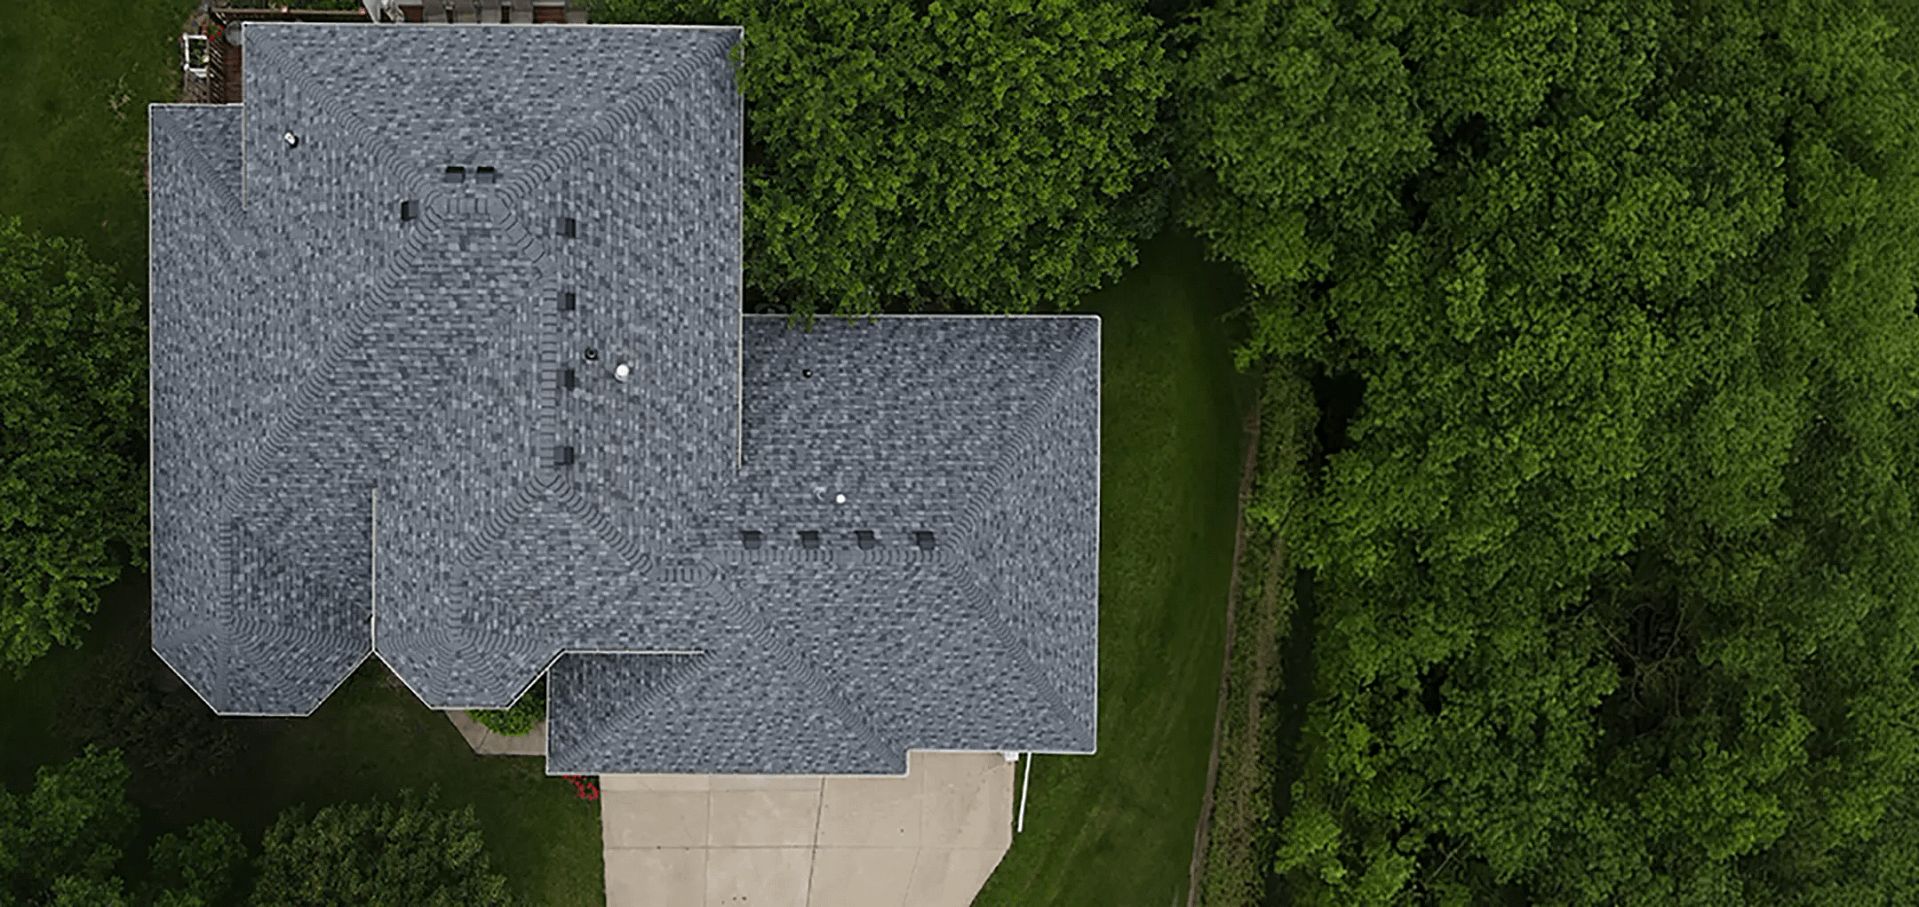
Missing shingles on your roof can be more than just an eyesore—they can leave your home vulnerable to water damage, mold growth, and increased energy costs. Fixing the problem sooner rather than later is essential to maintaining your roof’s integrity and your home’s safety. This blog will cover everything you need to know about replacing missing shingles, including:
- Why shingles go missing in the first place
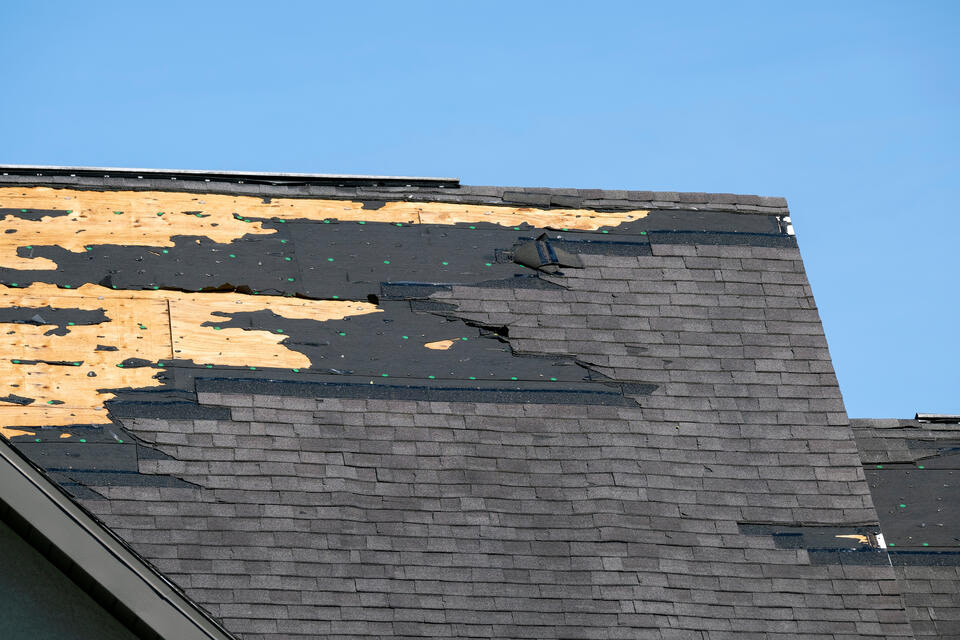
- The risks of leaving missing shingles unrepaired
- The tools and materials you’ll need for the repair
- 6 Steps to replace missing shingles on your roof
- When to call in roofing professionals
🤔 Why Do Shingles Go Missing?
Shingles can come loose for several reasons. Severe weather, such as high winds, heavy rain, and hail, is one of the most common causes. The age of the roof also plays a role, as shingles become brittle over time and are more likely to crack or break off. Poor installation can make shingles more susceptible to damage, while tree branches brushing against the roof during storms can knock them loose. Understanding why your shingles are missing can help you address the problem and prevent further issues in the future.
Why You Shouldn’t Ignore Missing Shingles
If you’re tempted to put off fixing a few missing shingles, think again. The risks of delaying repairs include:
- Water Damage: Missing shingles leave your roof exposed, allowing water to seep into your home and damage ceilings, walls, and insulation.
- Mold Growth: Moisture from leaks creates the perfect environment for mold, which can lead to health issues and expensive remediation.
- Higher Energy Costs: Exposed areas disrupt your roof’s insulation, leading to increased heating and cooling costs.
- Compromised Roof Integrity: Small issues can expand over time, turning a quick fix into a full roof replacement.
Don’t gamble with your home’s safety; act swiftly to address missing shingles as soon as you spot them.
🛠️ 6 Steps to Replace Missing Shingles on Your Roof
Replacing missing shingles may seem intimidating, but with the right tools and guidance, it’s a task many homeowners can confidently handle on their own. Here’s a step-by-step guide to help you restore your roof and keep your home protected from the elements.
Tools and Materials You’ll Need to Replace Missing Shingles
Before starting your repair, ensure you have the following tools and materials:
- Replacement shingles (matching your existing roof as closely as possible)
- Roofing nails
- Roofing adhesive or sealant
- Hammer
- Flat pry bar
- Utility knife
- Ladder and safety harness
Safety first! Always make sure you’re using proper precautions when working on your roof.
1. Assess the Damage
Start by thoroughly inspecting your roof to locate the missing shingles and identify any other areas that may be damaged. You’ll need to ensure that the underlying roofing material, such as the underlayment or flashing, hasn’t been compromised. Take note of how many replacement shingles you’ll need and check that the new shingles match the color and style of your existing ones. If you’re unsure about the extent of the damage, consider having a professional roofer assess the situation to avoid any missed issues.
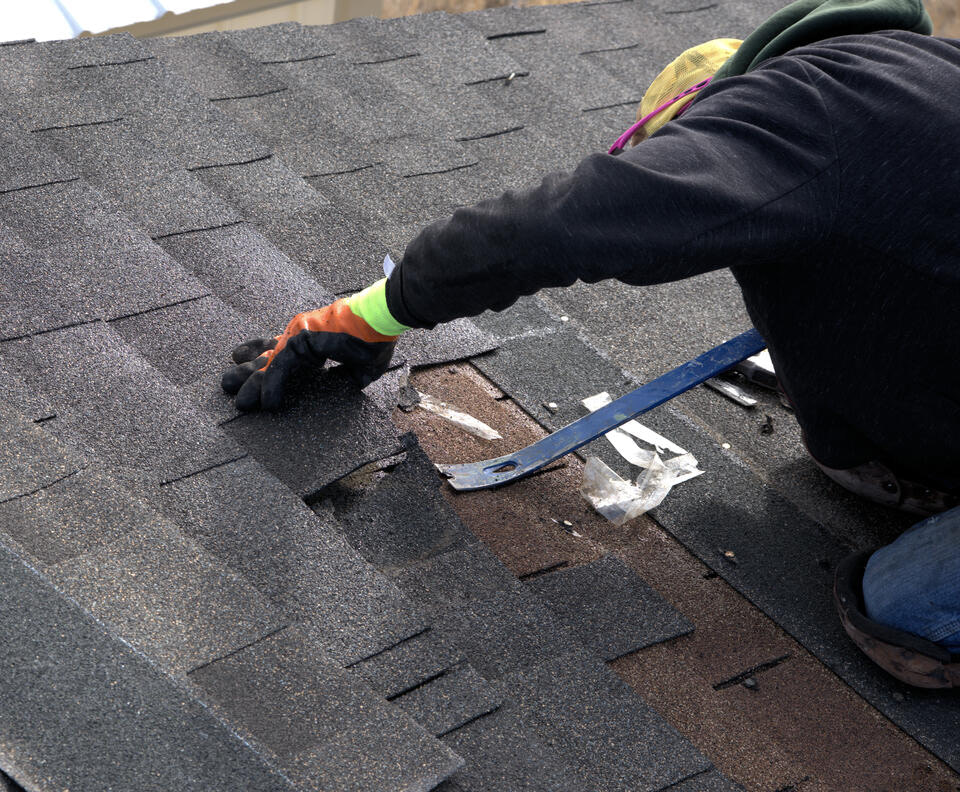
2. Remove Damaged Shingles
Before replacing the missing shingles, you’ll need to remove any partially damaged shingles in the area. Use a flat pry bar or roofing tool to gently lift the edges of the shingles surrounding the damaged section. This will expose the nails holding the old shingles in place. Carefully remove the nails without damaging nearby shingles, and then slide the damaged pieces out. Take your time during this step to avoid causing further damage to your roof.
3. Prepare the Area
Once the damaged shingles are removed, clean the exposed area thoroughly. Remove any old nails, roofing adhesive, or leftover debris to create a smooth surface for the new shingles. Check the roof deck for signs of rot or water damage. If you notice any issues, such as soft or weakened wood, replace the affected section of the decking before proceeding. A clean and stable surface is essential for ensuring the longevity of your repair.
4. Fit the New Shingle
Take your replacement shingle and slide it into position, ensuring it aligns perfectly with the rows of existing shingles. If the replacement shingle is slightly larger than the space, use a utility knife to trim it to the correct size and shape. Make sure the edges fit snugly under the overlapping shingles above and match the pattern of the surrounding roof. A proper fit not only ensures a seamless look but also helps maintain the weatherproof integrity of your roof.
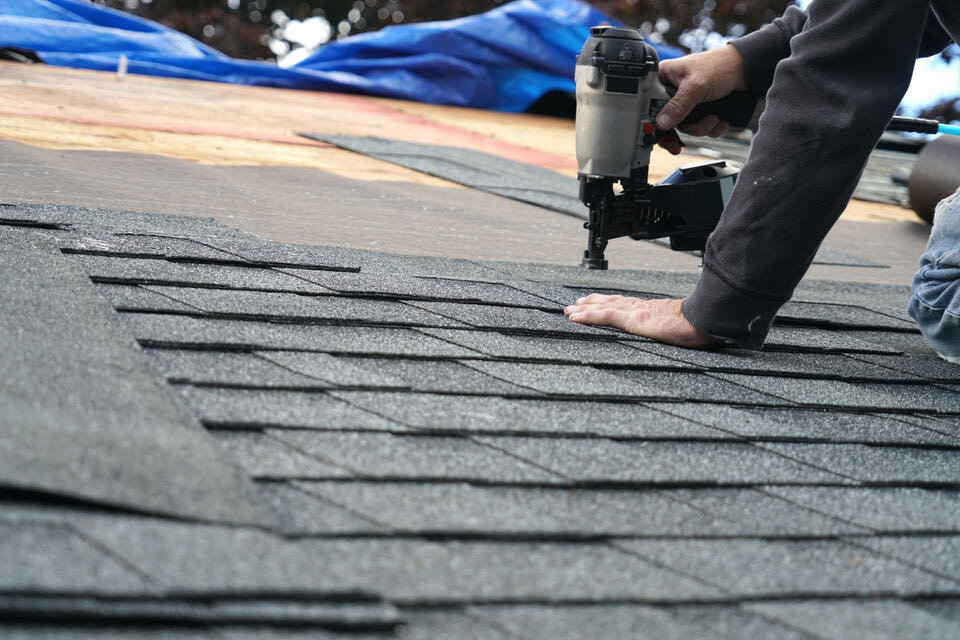
5. Nail It Down
With the new shingle in place, secure it with roofing nails. Place nails along the nail strip, typically located about an inch or two above the shingle’s edge. Ensure the nails are driven in straight and sit flush with the surface of the shingle without puncturing it. For added stability, especially in areas prone to high winds, consider adding extra nails near the corners of the replacement shingle. Avoid overdriving the nails, as this can weaken the shingle and reduce its effectiveness.
6. Seal the Edges
To finish the repair, apply roofing adhesive or sealant along the edges of the new shingle. This step is crucial for preventing water infiltration and keeping the shingle securely in place during storms or high winds. Use a caulking gun to apply a thin bead of adhesive, then press the shingle down firmly to seal it. If you live in a colder climate, you may need to use a heat gun to help the adhesive bond properly. Allow the adhesive to cure according to the manufacturer’s instructions before inspecting your work.
👨🔧 When to Call the Professionals
While small repairs might be manageable for some handy homeowners, certain situations call for the expertise and experience of professional roofers. Attempting to handle complex or risky repairs on your own can lead to further damage, safety hazards, or costly mistakes. Here are a few scenarios when it’s best to leave the work to the experts:
- If the damage spans a large area: Minor damage, such as replacing a single shingle, might be doable on your own. However, when the problem covers a larger section of your roof, professional attention is essential to ensure the repair is thorough and prevents future issues.
- If you’re unsure about walking on your roof safely: Climbing on a roof can be dangerous, especially if you’re unfamiliar with proper safety precautions or if the roof is steep or slippery. Professionals are trained to navigate these risks safely.
- If the age or condition of your roof suggests more extensive repairs may be needed: Older roofs or those with widespread wear and tear often require more than a quick fix. A professional inspection can help identify underlying issues that might not be immediately visible.
At Young Construction, we’re here to take the stress out of roofing problems. With over 20 years of experience, we’ve built a reputation for delivering premium roofing services tailored to your needs. From emergency repairs to full roof replacements, our skilled local team ensures every project is handled with unmatched craftsmanship, clear communication, and a commitment to integrity. Whether it’s storm damage, leaks, or age-related wear, you can trust us to restore your roof and give you peace of mind. Don’t take chances with your safety or your home—let the experts at Young Construction handle it.
🙌 Protect Your Roof with Young Construction
At Young Construction, we understand that your roof is one of the most critical components of your home. Our team is committed to providing reliable, high-quality roofing solutions to ensure your home remains safe and protected, no matter the weather. With decades of experience and a reputation for excellence, you can trust us to handle your roofing needs with care and precision. Don’t wait until minor issues turn into major problems—contact Young Construction today for a free inspection and estimate. Call us now or visit our website to schedule your service and experience the difference of working with a team you can trust!