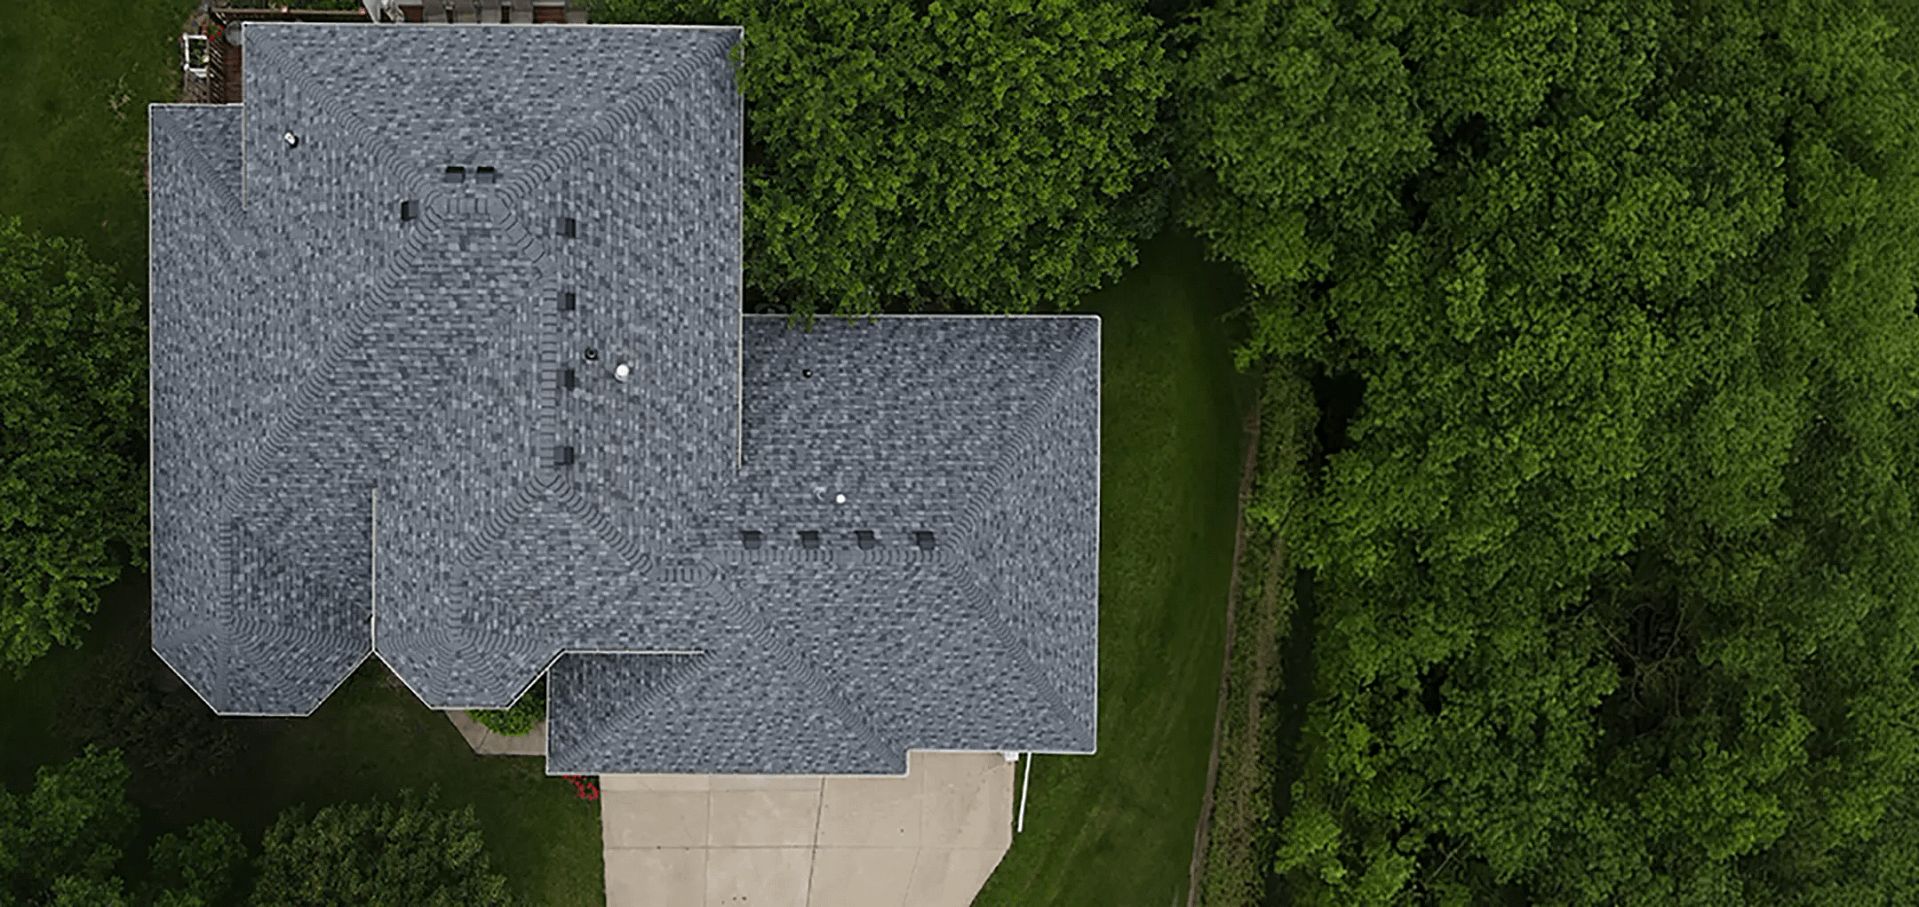
When researching roof drip edge types, many homeowners discover that this small detail plays a big role in protecting their home. A drip edge is a thin strip of metal installed along the edges of your roof that directs water into the gutters, preventing leaks, rot, and damage to the fascia and soffit. Though often overlooked, drip edges are essential for maintaining your roof’s long-term strength and appearance.
- Water protection: Keeps rain from seeping under shingles and damaging wood components.
- Structural support: Reinforces roof edges and prevents shingle curling.
- Long-term performance: Extends the lifespan of both roofing materials and gutters.
What Is a Roof Drip Edge and Why It Matters
A drip edge acts as your roof’s first line of defense against moisture. Without it, rainwater can flow directly off the roof and seep into the fascia board, causing wood rot, mold, and structural decay over time. It also helps guide water into the gutter system, preventing overshooting during heavy storms.
This small but crucial component also plays an aesthetic role by giving the roof a clean, finished appearance. While older homes sometimes lack drip edges, modern building codes now require them because of the proven protection they provide.
Benefits of Installing a Roof Drip Edge
Adding or upgrading your drip edge offers multiple benefits that go beyond simple water redirection.
Prevents Water Damage
A drip edge channels rainwater away from roof decking and fascia boards, keeping them dry even during heavy rainfall.
- Moisture control: Prevents wood rot, mold, and mildew formation.
- Leak prevention: Stops water from backing up under shingles.
- Structural protection: Keeps roof edges firm and intact.
Improves Roof Lifespan
By keeping the roof edges sealed and dry, a drip edge minimizes material deterioration.
- Shingle support: Reduces curling or lifting caused by moisture exposure.
- Long-term durability: Extends roof lifespan by preventing premature wear.
- Enhanced ventilation: Helps maintain proper airflow near the roofline.
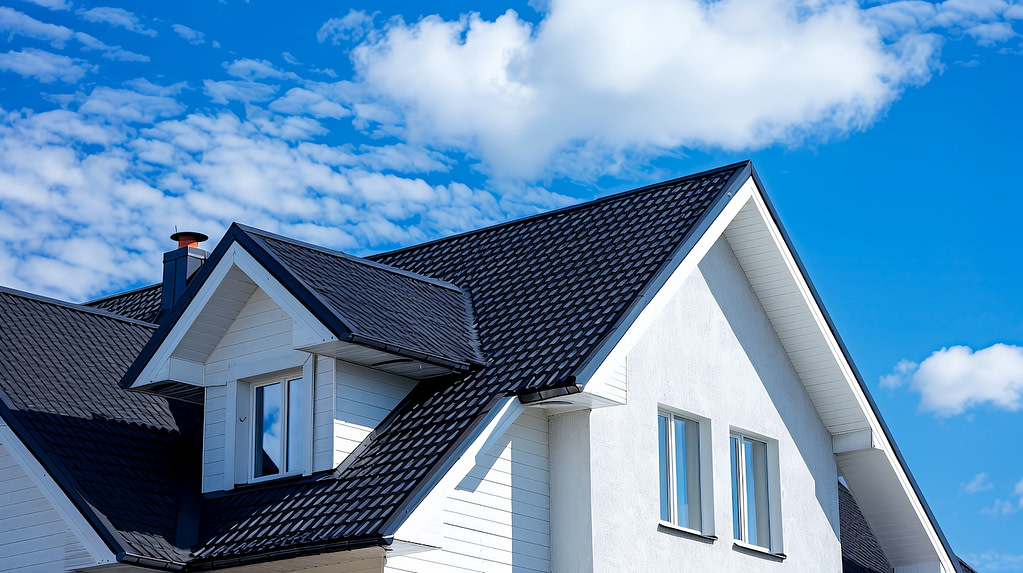
Enhances Curb Appeal
While functional, drip edges also improve the visual finish of your roof.
- Clean lines: Creates a polished appearance along roof edges.
- Color options: Available in matching or complementary shades.
- Custom fit: Designed for various roof pitches and styles.
5 Roof Drip Edge Types Compared
Different roof drip edge types offer varying levels of protection, performance, and style. Knowing the differences helps you select the best option for your home’s design, climate, and budget.
1. Type C (L-Style Drip Edge)
Type C, also called L-style, is one of the most common drip edge profiles. It features a simple 90-degree angle that fits neatly along the edge of the roof deck.
- Design: Straight vertical face that directs water away from the fascia.
- Best for: Homes with simple rooflines or moderate rainfall areas.
- Pros: Affordable, easy to install, and compatible with most shingle roofs.
- Cons: Provides minimal overhang, so not ideal for high-rain regions.
This classic style works well for budget-conscious homeowners seeking reliable, no-fuss protection.
2. Type D (T-Style Drip Edge)
Type D, often referred to as “T-style” or “Hemmed Drip Edge,” has a forward-facing lip that extends farther away from the fascia, offering better water control.
- Design: Shaped like a “T” to push water clear of the roof’s edge.
- Best for: Regions with heavy rain or strong winds.
- Pros: Superior water redirection and enhanced wind resistance.
- Cons: Slightly more expensive and requires professional installation for best results.
Type D drip edges are popular for modern homes and coastal properties where rainfall and wind exposure are higher.
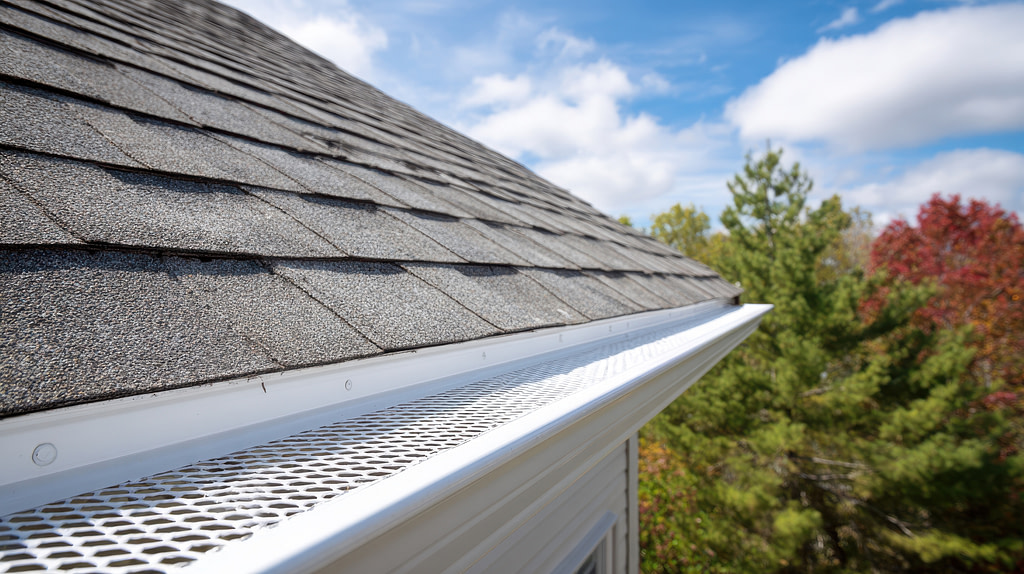
3. Type F (Gutter Apron Drip Edge)
Type F, also known as a “Gutter Apron,” extends further under the shingles and over the fascia, providing a wide coverage area.
- Design: Features a long lower flange that directs water directly into the gutters.
- Best for: Roofs with large overhangs or deep gutters.
- Pros: Excellent water management and added fascia protection.
- Cons: May require custom fitting for unique roof shapes.
This style is ideal for homes in climates with frequent heavy rain since it eliminates the risk of overflow between the roof and gutter system.
4. Hemmed Drip Edge
A hemmed drip edge includes a folded edge along the lower flange, creating a smooth finish that resists sharp edges and prevents water from clinging.
- Design: Smooth, folded lip that promotes water runoff.
- Best for: Roofs exposed to strong winds or frequent freeze-thaw cycles.
- Pros: Provides enhanced durability and safety during installation.
- Cons: Higher material cost than standard profiles.
This type of drip edge combines sleek aesthetics with top-tier performance, making it a favorite for premium roofing projects.
5. Custom Drip Edge Profiles
Some homes benefit from custom-made drip edges designed to match unique roof structures or architectural styles.
- Design: Tailored shape and size for complex rooflines or non-standard eaves.
- Best for: Historic or high-end homes requiring precise detailing.
- Pros: Maximum fit, seamless appearance, and superior water control.
- Cons: Custom fabrication increases cost and lead time.
Custom options allow homeowners to choose materials like copper, steel, or aluminum for a perfect blend of form and function.
Common Materials Used for Drip Edges
Drip edges are available in several materials, each offering different benefits for performance and longevity.
- Aluminum: Lightweight, affordable, and resistant to rust.
- Galvanized steel: Strong and durable, ideal for regions with harsh weather.
- Copper: Elegant appearance and exceptional corrosion resistance.
- Vinyl or PVC: Budget-friendly but less durable under extreme conditions.
Aluminum and steel remain the most common choices for residential applications, offering a reliable balance of cost and durability.
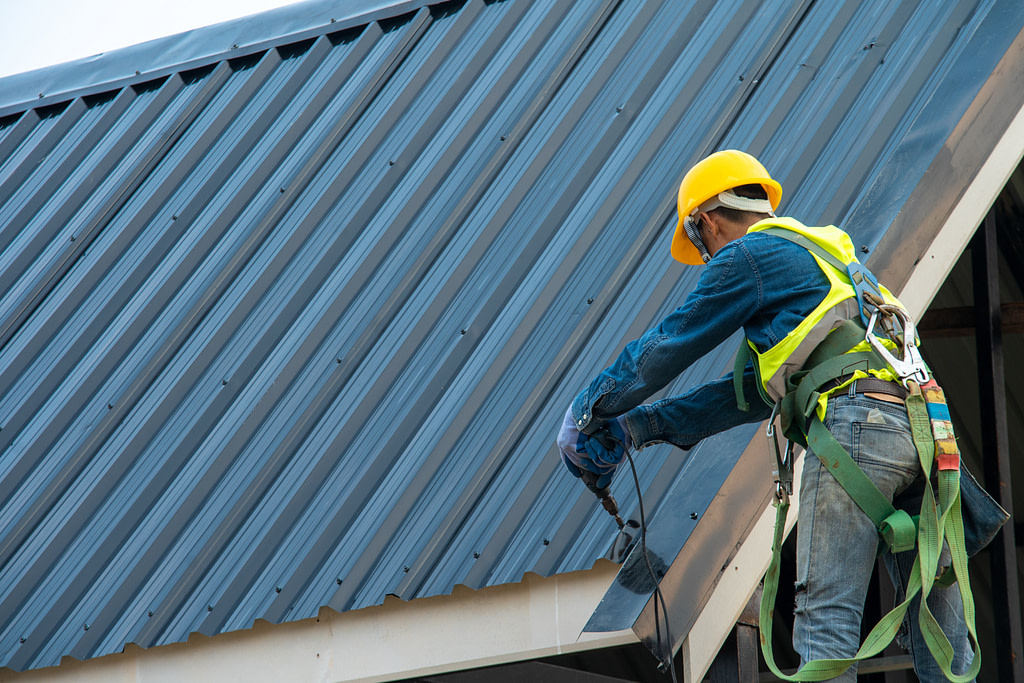
Proper Drip Edge Installation
Correct installation ensures your drip edge performs effectively and protects your roof from moisture damage. Even the best materials won’t perform as intended if installed incorrectly.
Step-by-Step Overview
- Step 1: Install the drip edge along the eaves before applying underlayment.
- Step 2: Nail it every 12 to 16 inches, keeping the flange tight against the roof deck.
- Step 3: Overlap each section by at least two inches to prevent water seepage.
- Step 4: Apply sealant at joints and corners for added waterproofing.
- Step 5: Finish by installing drip edges along the rake edges after shingles are in place.
Taking time to follow these steps ensures long-term performance and helps prevent costly water-related repairs.
Maintenance Tips for Drip Edges
A properly installed drip edge requires little maintenance, but periodic inspections help keep it in top condition.
- Inspect annually: Check for rust, bent sections, or lifted nails.
- Clean gutters regularly: Debris buildup can affect water flow along the drip edge.
- Repaint as needed: Touch up painted drip edges to prevent corrosion.
- Replace damaged sections: Address small issues promptly to avoid leaks.
Routine upkeep ensures your drip edge continues to protect your roof effectively for decades.
Beyond the Edge: Protecting Your Entire Roof System
A drip edge may seem small, but it’s part of a larger defense system that keeps your roof performing at its best. Protecting your roof means taking a complete approach that includes regular inspections, proper ventilation, and timely repairs.
Your home deserves every layer of protection possible. Contact Young Construction today for a free estimate and learn how proactive roof care can extend the life, performance, and appearance of your home for years to come.