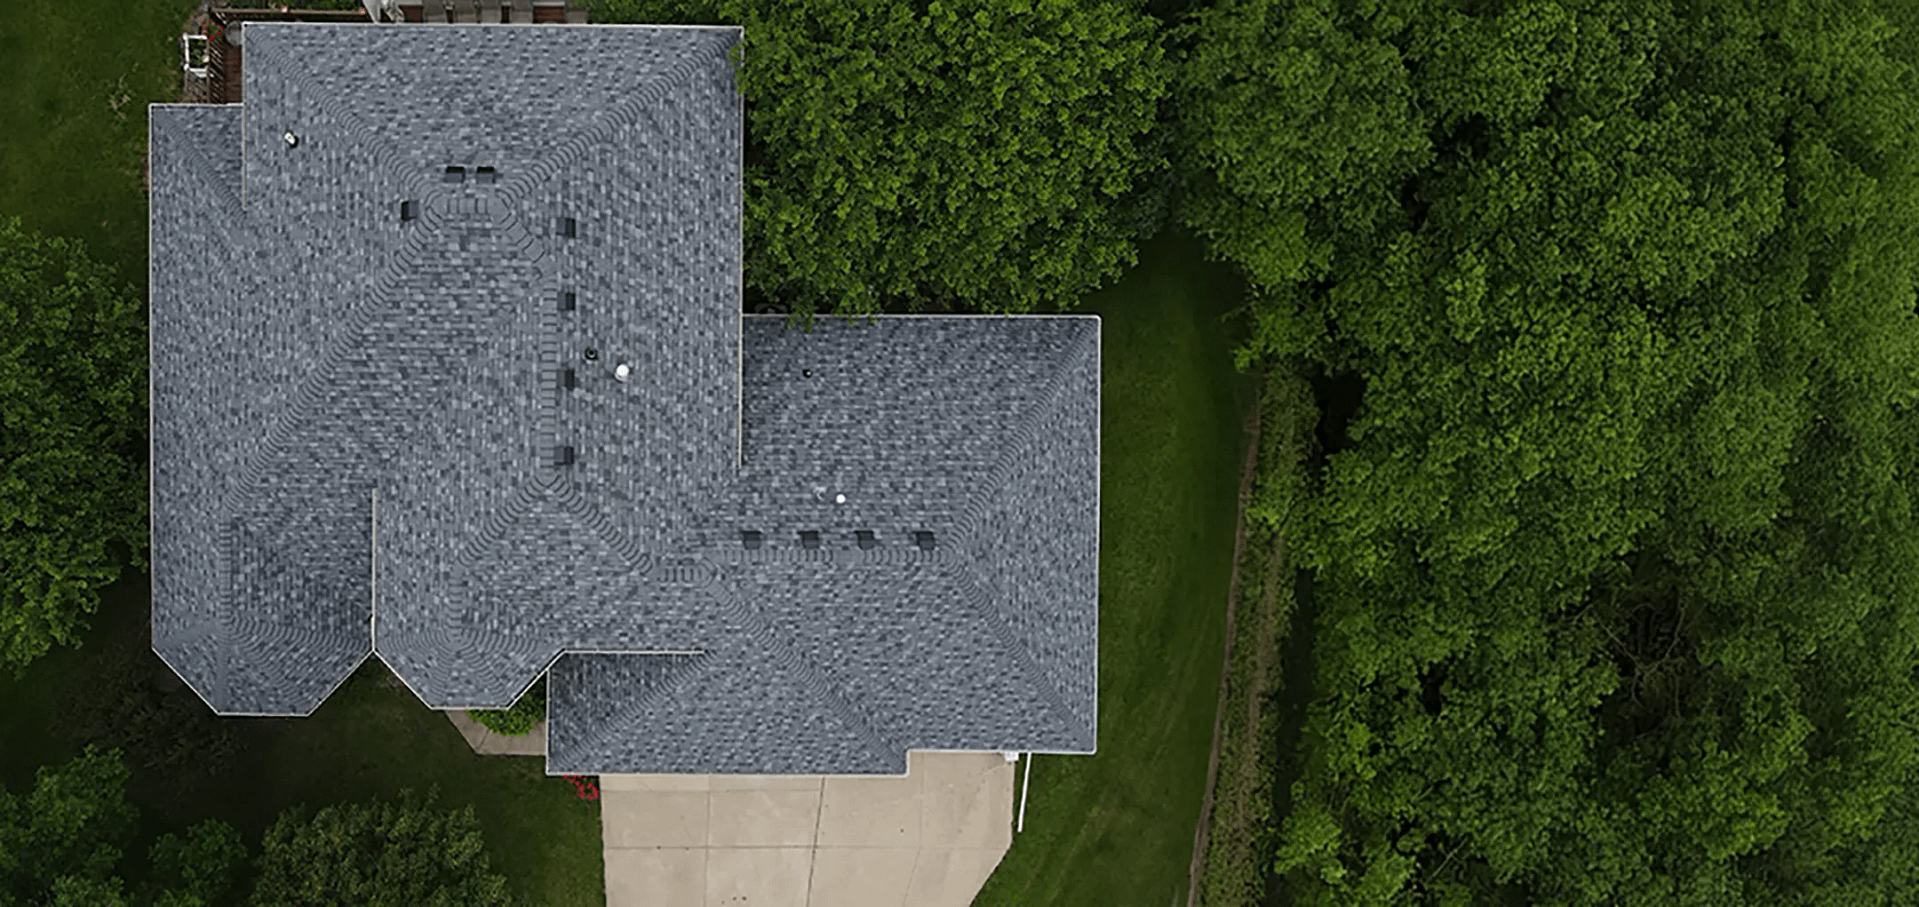
Understanding the roof replacement process from start to finish takes the uncertainty out of one of the biggest home improvements a homeowner will undertake, so you know exactly what to expect on build day. A quality roof replacement follows the same clear sequence every time, from the first inspection and estimate through tear-off, deck repair, installation, and final cleanup. Knowing each stage helps you prepare your home, ask the right questions, and recognize the difference between an average job and an exceptional one. Here is what this guide covers:
- The full sequence: Each stage of a roof replacement from start to finish.
- What to expect: How long it takes and what build day looks like.
- Quality markers: The details that separate a great installation from a rushed one.
What to Know Before Your Roof Replacement Begins
Before your roof replacement begins, it helps to understand that the process is a well-organized construction job that follows a predictable order. Knowing the sequence and timeline ahead of time lets you prepare your home and family and removes most of the surprises.
A Roof Replacement Follows a Predictable Sequence
A roof replacement follows a predictable sequence every time, regardless of which contractor you hire. It moves from inspection and estimate, to choosing materials and scheduling, to material delivery and site protection, then tear-off, deck inspection and repair, installation of the new roofing system, and finally cleanup and a walkthrough. This consistent order means you can prepare for each stage and know what comes next. The difference between contractors lies not in the sequence but in how carefully each step is done. For homeowners in Waverly and surrounding areas, knowing this sequence makes the whole job feel manageable.
- Clear order: The process follows the same stages every time.
- Predictable flow: Inspection to estimate to install to cleanup.
- Easy to prepare: Knowing the sequence lets you plan ahead.
- Quality varies: The care at each step separates good from average.
Preparing Your Home Helps Things Go Smoothly
Preparing your home ahead of build day helps the roof replacement go smoothly and safely. Moving vehicles out of the driveway and away from the house gives the crew room to work and keeps your cars safe from debris, and clearing the area around your home helps the process run efficiently. It is also wise to arrange for pets and young children to stay elsewhere during the loud tear-off phase, and to remove or secure wall hangings that vibrations might loosen. A little preparation makes build day easier for everyone. Your contractor can tell you exactly what to do to get ready.
- Move vehicles: Clear the driveway and nearby street for the crew.
- Clear the area: Remove obstacles around the home’s perimeter.
- Plan for pets: Arrange for pets and kids during noisy tear-off.
- Secure interiors: Take down wall hangings that vibrations may loosen.
6 Steps in the Roof Replacement Process
A roof replacement moves through a clear series of steps from the first inspection to the final nail swept off your driveway. The six steps below walk through the full process so you know exactly what happens at each stage.
1. Inspection and Written Estimate
The process begins with a thorough roof inspection and a detailed written estimate. A qualified contractor examines your shingles, flashing, decking, and attic to determine whether you need a full replacement or a repair, then provides a line-item estimate covering materials, labor, tear-off, disposal, and any decking repair rates. This written scope should specify the exact shingle and underlayment, new flashing, ventilation, and cleanup standards so you know precisely what you are paying for. A real inspection, not a number guessed from the curb, is the foundation of a good outcome. Reviewing the estimate carefully sets clear expectations from the start.
- Full inspection: Examines shingles, flashing, decking, and attic.
- Line-item estimate: Details materials, labor, tear-off, and disposal.
- Specified scope: Names the exact shingle, underlayment, and flashing.
- Clear expectations: A written scope prevents surprises later.
2. Material Selection, Permits, and Scheduling
Once you approve the estimate, the next step is choosing your materials, pulling permits, and scheduling the work. You select your shingle type and color, and the contractor handles the required building permits from your local department, which most full replacements need. The job is then scheduled, and materials are typically delivered the day before or the morning of the start. Handling permits and code compliance is a mark of a reputable contractor. This planning stage sets everything in place for a smooth build day.
- Choose materials: Select your shingle type, grade, and color.
- Pull permits: The contractor secures required local permits.
- Schedule the job: The work is booked and materials delivered.
- Code compliance: Proper permitting signals a reputable contractor.
3. Site Protection and Tear-Off
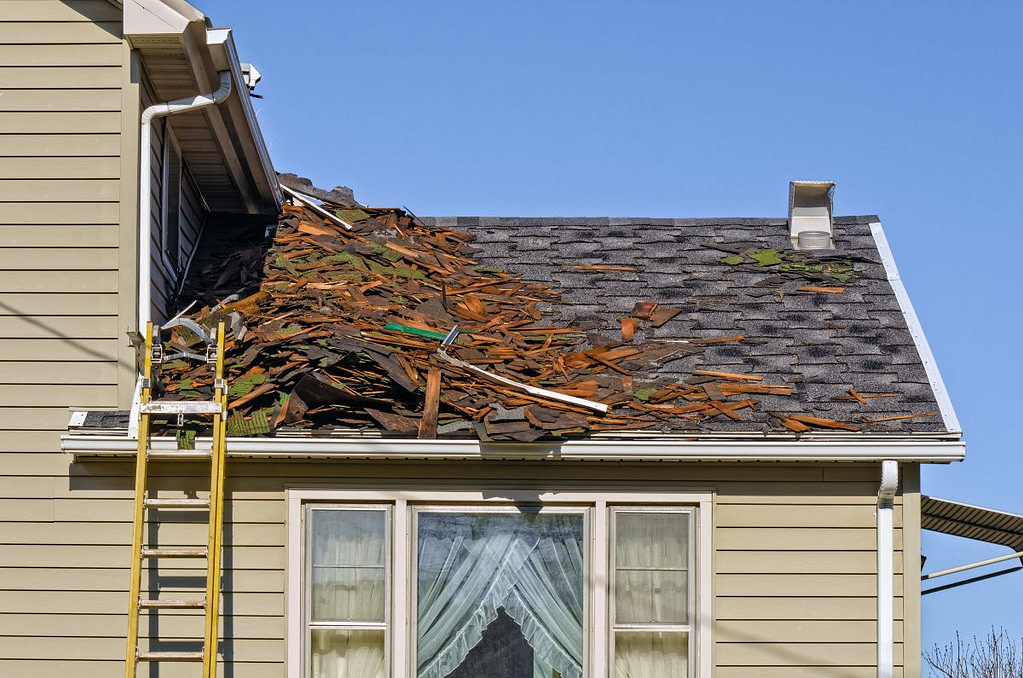
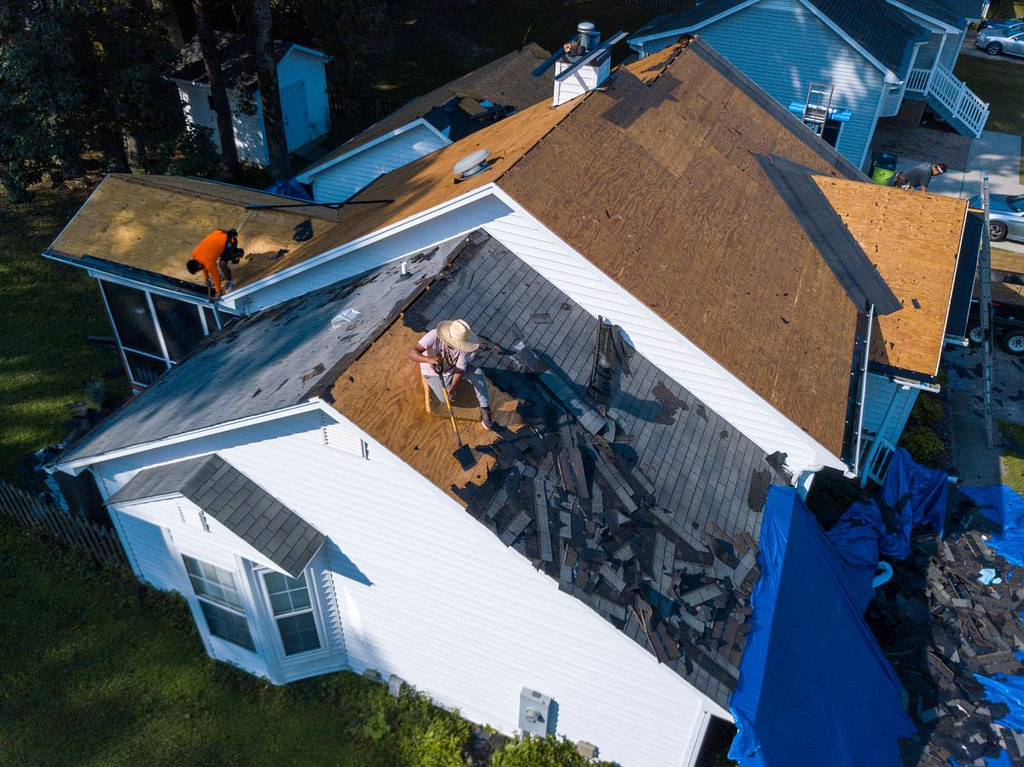
On build day, the crew first protects your property, then tears off the old roof down to the decking. Tarps and plywood shield your landscaping, siding, windows, and HVAC units, and a dumpster or roll-off container is positioned for debris. The crew then strips the old shingles, underlayment, flashing, and vents section by section, which is the loudest and messiest phase of the work. Full tear-off, rather than layering over the old roof, is the industry best practice because it exposes the decking for inspection. This thorough removal sets up a quality installation.
- Property protection: Tarps and plywood shield the home and yard.
- Debris container: A dumpster is positioned for the old materials.
- Full tear-off: Old roofing is stripped down to the decking.
- Best practice: Complete removal allows a proper deck inspection.

4. Deck Inspection and Repair
With the old roof removed, the crew inspects the roof decking and repairs any damage before installing the new roof. Once the deck is exposed, the roofers check for rotted, broken, or compromised wood, often from old leaks or ice dam damage, and replace it so the new roof has a solid, dry foundation. This step is critical because shingles installed over bad decking will not last. Because deck repair is added once the damage is visible, it may adjust the final cost, which a good contractor explains before proceeding. For homeowners in Waverly and surrounding areas, a sound deck is the foundation of a lasting roof.
- Expose the deck: Tear-off reveals the decking for inspection.
- Find damage: Check for rot, breaks, and moisture damage.
- Replace bad wood: Compromised decking is repaired first.
- Solid foundation: A sound deck is essential for a lasting roof.
5. Installing the New Roofing System
Installing the new roofing system involves layering the components in the correct order for a watertight, durable result. The crew installs drip edge along the roof edges, then underlayment and ice-and-water shield at the eaves and valleys, followed by new flashing around chimneys, valleys, and vents, then the shingles from the bottom up, and finally ridge vent and ridge cap at the peak. Each layer plays a role, and following manufacturer instructions exactly is required to keep the warranty valid. Details like how far the ice-and-water shield extends and how many nails are used per shingle separate an average job from an excellent one. This methodical installation is the heart of the process.
- Layered system: Drip edge, underlayment, flashing, shingles, and ridge.
- Ice-and-water shield: Applied at vulnerable eaves and valleys.
- Manufacturer specs: Followed exactly to keep warranties valid.
- Details matter: Nail count and shield coverage define quality.
6. Cleanup and Final Walkthrough
The process ends with a thorough cleanup and a final walkthrough to confirm you are satisfied. The crew hauls away all debris, runs heavy-duty magnets across your yard and driveway to catch stray nails, and cleans out the gutters, leaving your property as clean as they found it. A final inspection confirms the work meets standards, and many areas require a post-installation permit inspection before closing. You then receive your warranty paperwork and make the final payment. Cleanup is not an afterthought but a core part of a professional roof replacement.
- Full debris removal: All old materials are hauled away.
- Magnetic sweep: Heavy-duty magnets catch stray nails.
- Final inspection: Confirms the work meets standards and code.
- Warranty handover: You receive paperwork and complete payment.
How Long Does a Roof Replacement Take?
Most roof replacements are completed quickly, though the exact timeline depends on your home’s size, roof complexity, and the weather. Knowing the typical duration helps you plan around build day.
Most Roofs Are Done in One to Three Days
Most standard residential roof replacements are completed in one to three days, with many average homes finished in a single day or two. Larger homes, steep or complex rooflines, and material choices can extend the timeline, and weather delays are the most common reason a job runs longer. Unexpected deck damage discovered during tear-off can also add time. A reputable contractor builds a realistic timeline into the estimate and communicates clearly if conditions change. For homeowners in Waverly and surrounding areas, knowing the likely duration helps you prepare your household for the disruption.
- Typical range: One to three days for a standard home.
- Size and complexity: Larger, intricate roofs take longer.
- Weather delays: The most common reason for extended timelines.
- Clear communication: A good contractor keeps you informed.
The typical duration is well documented across the roofing industry. According to roofing resource SquareDash, the average roof replacement takes 1 to 3 days for a standard residential home, though the full process from first measurement to final inspection follows a specific sequence every homeowner should understand before signing a contract. Knowing both the timeline and the sequence helps you plan with confidence.
Frequently Asked Questions
How long does a roof replacement take?
Most standard residential roof replacements take one to three days, with many average homes completed in a day or two. Larger or more complex roofs take longer, and weather can extend the timeline. Your contractor should provide a realistic estimate for your specific home.
What are the steps in a roof replacement?
A roof replacement follows a clear sequence: inspection and written estimate, material selection and permits, site protection and tear-off, deck inspection and repair, installation of the new roofing system, and cleanup with a final walkthrough. Each step builds on the last. Skipping steps like deck inspection or permitting is a red flag.
Do I need to leave my home during a roof replacement?
You do not have to leave, but many homeowners step out during the loud tear-off phase, which is the noisiest part. Arranging for pets and young children to stay elsewhere on build day is wise. The crew works outside, so you can generally remain home if you prefer.
What happens if the crew finds damaged decking?
If the crew finds rotted or damaged decking during tear-off, they replace it before installing the new roof to ensure a solid foundation. Because this damage is only visible after tear-off, it may adjust the final cost. A good contractor explains any added decking work before proceeding.
Do I need a permit for a roof replacement?
Yes, most full roof replacements require a permit from your local building department, and a reputable contractor handles this for you. Many areas also require a post-installation inspection before closing the permit. Proper permitting ensures the work meets local codes.
How do I prepare my home for a roof replacement?
Move vehicles out of the driveway, clear the area around your home, secure or remove wall hangings that vibrations might loosen, and arrange for pets and young children during tear-off. Your contractor can provide a full preparation checklist. A little preparation makes build day smoother and safer.
Trust Young Construction for Your Roof Replacement
When it comes to the roof replacement process, Young Construction brings over 20 years of local experience and a commitment to doing every step right, from a thorough inspection to a spotless final cleanup. We provide a detailed written estimate, handle your permits, protect your property, fully tear off and inspect your decking, and install your new roof to manufacturer specifications so it reaches its full lifespan in Iowa’s demanding climate. As a family-owned, fully licensed and insured company with more than 150 five-star reviews, we keep you informed at every stage and treat your home like our own. If your roof is aging, storm-damaged, or due for replacement, you deserve a smooth, well-communicated process from start to finish. Contact Young Construction today to talk through your roofing needs and request a detailed, written estimate, and let our team replace your roof the right way.