


Roofing is one of those tasks that many DIY enthusiasts find both challenging and rewarding. Whether you’re fixing a few damaged shingles, installing a new roof, or simply enhancing your home improvement skills, having the right tools is crucial to ensure safety and efficiency.
This guide is designed to walk you through:
- Essential roofing tools every DIYer should have
- How to use them effectively
- Tips on maintaining them for future projects
Understanding the Basics of Roofing
Before we jump into the toolbox, it’s important to grasp the basics of roofing. A roof isn’t just about shingles and tiles; it’s an intricate system designed to protect your home from the elements. Here’s a quick breakdown:
- Shingles/Tiles: The outermost layer that provides the primary weather barrier.
- Underlayment: Installed directly onto the roof deck, it provides an additional layer of protection against water.
- Flashing: Metal pieces used to waterproof roof protrusions and intersections.
- Ventilation: Assists in regulating temperature and moisture levels in the attic.
Having this basic knowledge helps in selecting the appropriate tools for different aspects of roofing.
6 Essential Categories of Roofing Tools
Here’s a list of must-have roofing tools that every DIY enthusiast should consider investing in:
1. Safety Gear
Safety should be your top priority when working on roofs. Ensure you have these essential safety items:
- Roof Harness System: Provides fall protection and stability.
- Roof Brackets: For a stable platform while working.
- Protective Eyewear: Shields eyes from debris and harmful UV rays.
- Heavy-duty Gloves: Protects hands from sharp edges and materials.
2. Measuring and Marking Tools
Accuracy is key in roofing. Precision measuring and marking tools are essential:
- Tape Measure: Vital for measuring lengths and distances accurately.
- Chalk Line: Helps create straight, visible lines for alignment.
- Carpenter’s Pencil: For easy marking on rough surfaces.
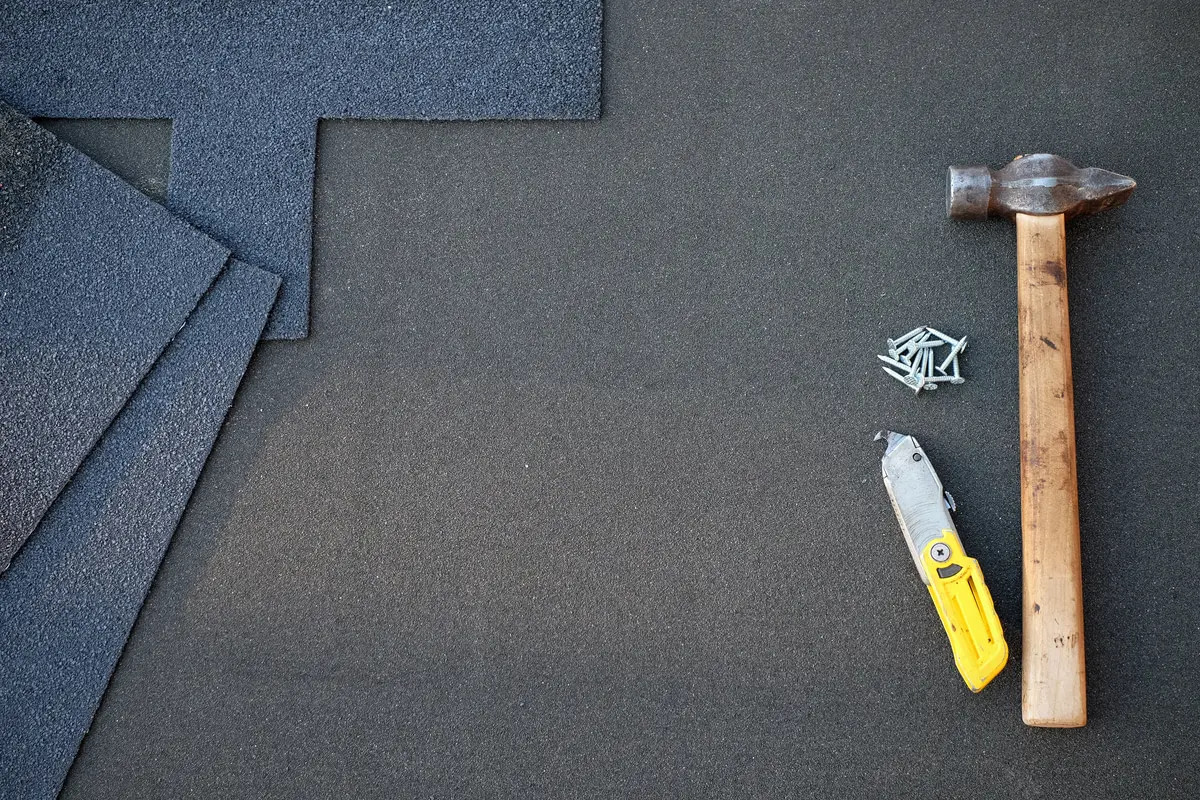
3. Cutting Tools
Cutting tools must be sharp and precise to handle different materials:
- Utility Knife: Ideal for cutting underlayment and shingles.
- Tin Snips: Perfect for cutting through flashing and other metal components.
- Circular Saw (with a diamond blade): Used for cutting asphalt shingles and thicker materials.
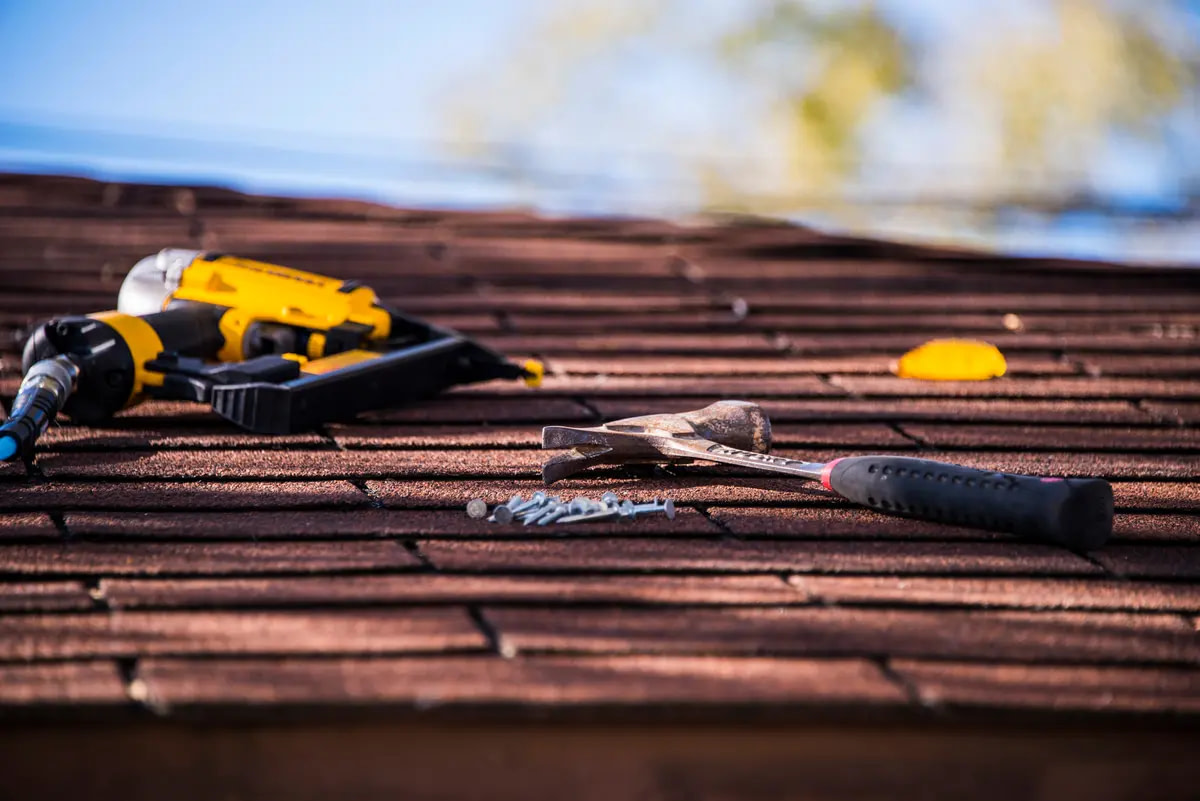
4. Fastening Tools
Proper fastening ensures the longevity and security of your roofing:
- Roofing Nailer: Automates the nailing process, making it faster and more consistent.
- Hammer: A classic tool for manual nailing and adjustments.
- Screwdriver (electric preferred): Needed for metal roofing or when screws are required.
5. Prying Tools
These tools are essential for removing old materials:
- Roofing Shovel: Designed to remove old shingles efficiently.
- Pry Bar: Useful for detaching nails and lifting shingles.
6. Miscellaneous Tools
These additional tools can aid in various tasks and improve your workflow:
- Caulking Gun: For applying roofing sealant or adhesive.
- Bucket and Rope: Keeps tools and materials within reach.
- Ladder Stabilizer: Provides a safer way to position your ladder.
How to Use Roofing Tools Effectively

Now that you have an understanding of essential roofing tools, it’s time to understand how to use them effectively:
🦺 Safety First
Always start by setting up your safety gear. Attach your harness securely and test your roof brackets for stability. Ensure your ladder is positioned with a stabilizer and check your work area for any hazards.
📏 Measuring and Preparation
Use your tape measure and chalk line to establish guidelines on the roof. Mark key areas where specific cuts or installations need to occur. This is crucial in maintaining consistent shingle rows and properly aligning roof features.
🔨 Removing Old Shingles
Begin by using a roofing shovel or pry bar to lift and remove old shingles. Work slowly and carefully to avoid damaging the underlying structure. Dispose of debris in a designated area to keep your workspace clean.
🧰 Installing Underlayment
Roll out the underlayment over the roof deck, ensuring there are no wrinkles or gaps. Use your utility knife to trim excess material, and fasten it with your roofing nailer, maintaining consistent spacing between nails.
⚒️ Shingle Installation
Position your first row of shingles along the eave, nailing them in place with your roofing nailer. Use the chalk line for guidance and ensure each shingle overlaps correctly. Continue this process up the roof, ensuring consistency.
🩹 Flashing and Sealing
Install flashing around chimneys, vents, and valleys using tin snips to cut to size. Secure the flashing with nails or screws, then apply roofing sealant using a caulking gun to prevent leaks.
Maintaining Your Roofing Tools
Proper maintenance of your tools not only extends their lifespan but also ensures efficiency and safety:
- Cleaning: Remove any debris or residue from your tools after each use. This prevents rust and ensures smooth operation.
- Storage: Keep tools in a dry, organized space. Use toolboxes or racks to avoid damage.
- Sharpening: Regularly sharpen cutting tools like utility knives and tin snips to ensure clean cuts.
- Lubrication: Apply lubricant to moving parts of tools such as nailers and prying tools to maintain functionality.
When In Doubt, Rely On The Pros!
Equipped with the right set of tools, DIY roofing can be a fulfilling and successful endeavor. Remember, the key lies in understanding the tasks at hand, using tools effectively, and always prioritizing safety. With practice and perseverance, you’ll not only save costs but also gain valuable skills and confidence in your DIY projects.
But sometimes, even the most fearless DIYer need to know when to ask for help. When you need a helping hand, Young Construction is here for you! Contact us today to learn more about our roofing services!