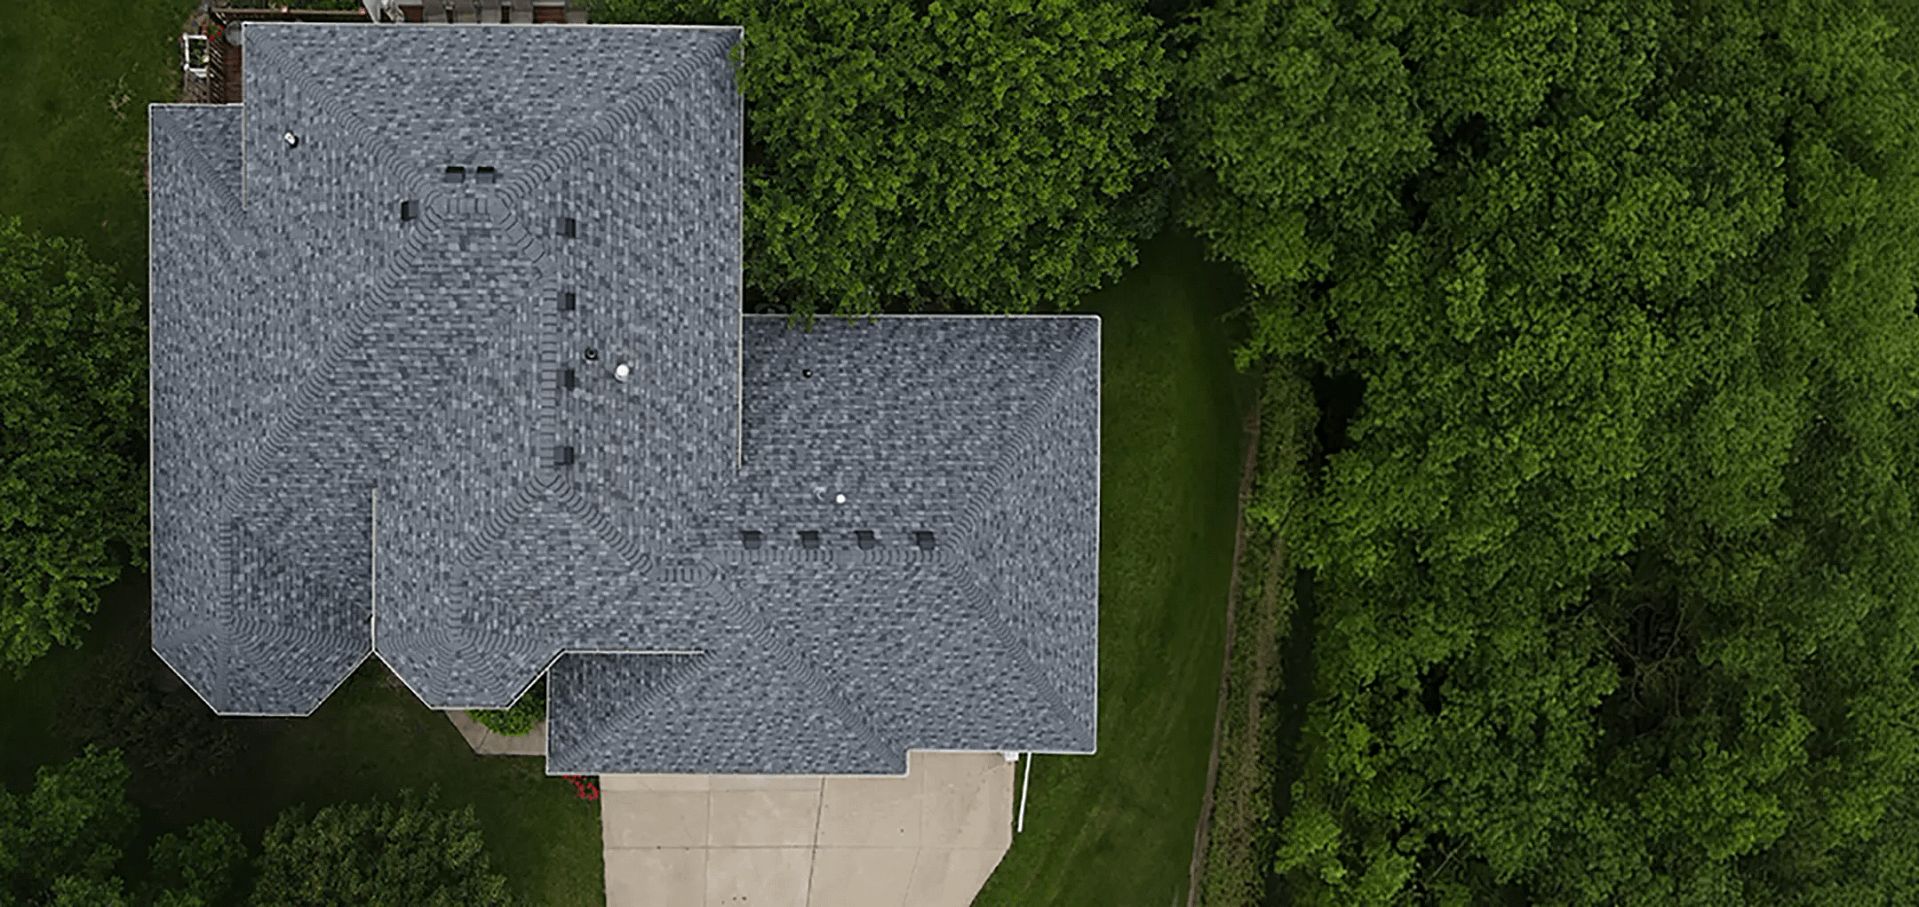
When it comes to roofing performance, few components are as vital as the tile roof underlayment. Often hidden beneath beautiful clay or concrete tiles, this layer serves as the primary waterproof barrier for your home. Without it, even the strongest tile roofing system would struggle to withstand rain, heat, and years of wear.
- Waterproof protection: Shields your roof deck from moisture infiltration.
- Longevity: Helps extend the lifespan of tile roofing systems.
- Energy efficiency: Contributes to temperature control and ventilation.
What Is Tile Roof Underlayment?
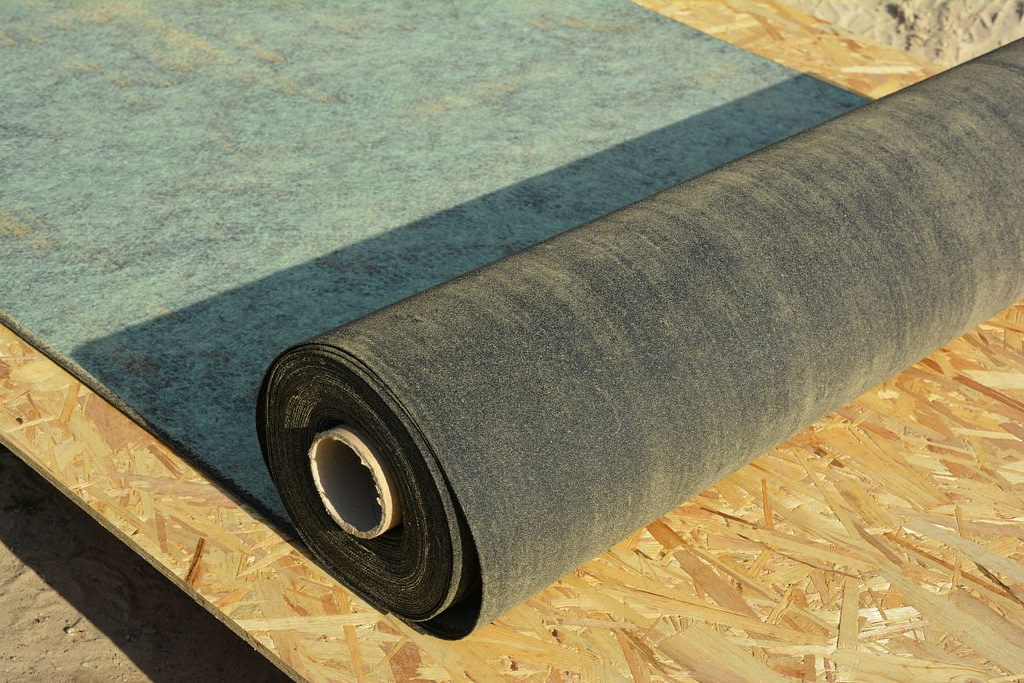
Tile roof underlayment is a protective membrane installed directly over the roof decking before the tiles are laid. It acts as a secondary water barrier, catching and redirecting any moisture that seeps through the tiles. Since tile roofs are not completely watertight, underlayment ensures that your roof deck remains dry and protected year-round.
Underlayment materials have evolved over time. While traditional felt paper was once standard, modern systems now use synthetic materials or specialized rubberized membranes for enhanced durability, weather resistance, and flexibility.
Without proper underlayment, even the most durable tile roof can experience leaks, wood rot, or mold growth. That’s why this hidden layer is considered one of the most critical parts of any tile roofing system.
Why Tile Roof Underlayment Is So Important
Tile roofing is known for its longevity and visual appeal, but it’s the underlayment that truly safeguards your home from water intrusion. Because tiles are designed to shed, not seal, water, this secondary layer takes on the heavy lifting when it comes to protection.
A well-installed underlayment serves multiple purposes beyond waterproofing. It provides insulation, adds a layer of fire resistance, and helps prevent heat buildup under the tiles. In storm-prone regions, it also plays a crucial role in wind uplift resistance, helping tiles stay firmly in place.
Neglecting underlayment maintenance or replacement can lead to hidden water damage and costly repairs down the road.
Common Types of Tile Roof Underlayment
Not all underlayments are created equal. Choosing the right one depends on your climate, budget, and roofing style. Here are the most common options homeowners encounter.
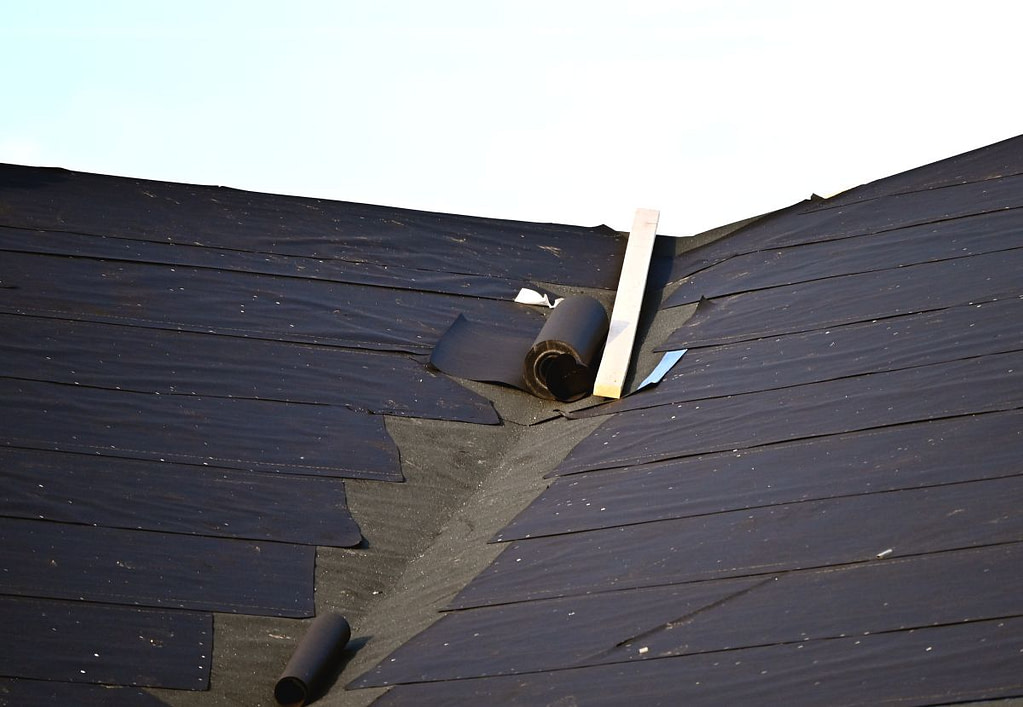
Felt (Asphalt-Saturated) Underlayment
Traditional felt, often called “tar paper,” has been used for decades. It’s made from a base material saturated with asphalt to improve water resistance.
- Advantages: Affordable and widely available.
- Limitations: Can tear or wrinkle in high heat; less durable than modern alternatives.
- Best for: Moderate climates with low humidity and minimal heavy rain.
Synthetic Underlayment
Synthetic underlayment has become the modern standard for tile roofing. Made from engineered polymers, it offers superior strength and resistance to moisture, UV rays, and temperature swings.
- Advantages: Lightweight, tear-resistant, and long-lasting.
- Limitations: Higher upfront cost but lower maintenance long-term.
- Best for: Both hot and humid or cold and wet climates.
Peel-and-Stick (Self-Adhering) Underlayment
Peel-and-stick underlayment features a rubberized surface with a self-adhesive backing. This creates a completely sealed bond with the roof deck, preventing water infiltration even under extreme conditions.
- Advantages: Exceptional waterproofing and easy installation.
- Limitations: Must be applied on clean, dry decking for proper adhesion.
- Best for: Hurricane-prone or high-rainfall regions requiring superior moisture protection.
Each underlayment type plays a vital role in roof performance, but modern synthetic and self-adhering materials generally offer the most reliable, long-term protection.
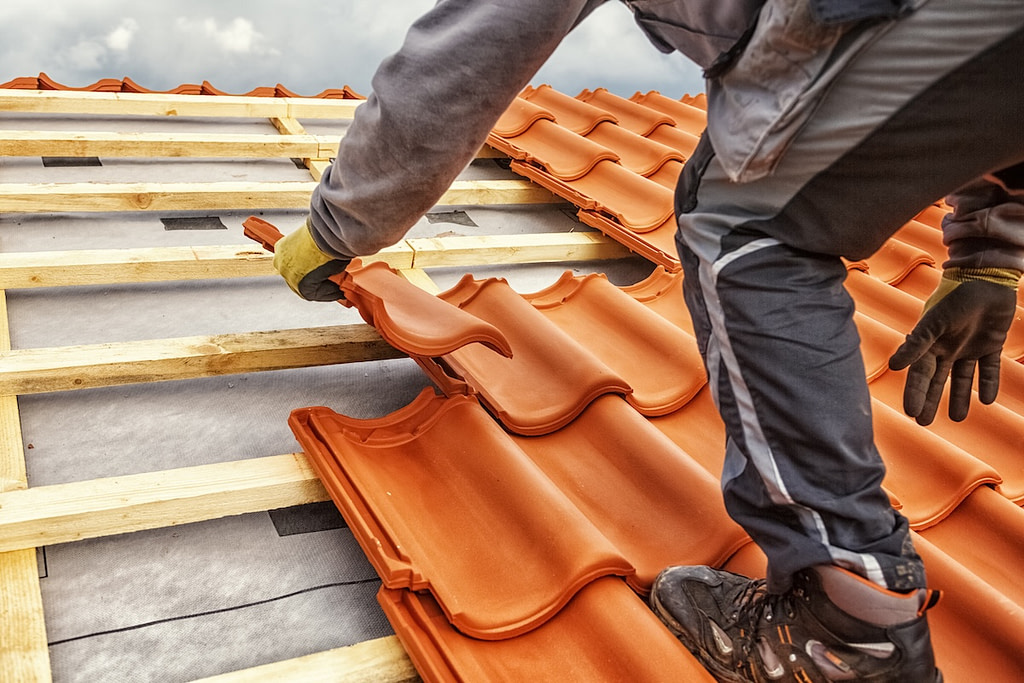
7 Installation Tips for Long-Lasting Tile Roof Underlayment
Installing tile roof underlayment properly ensures it performs effectively for decades. Whether you’re replacing old material or starting from scratch, precision and preparation make all the difference in durability and water resistance.
1. Inspect and Prepare the Roof Deck
Before laying underlayment, the roof deck must be clean, dry, and free from damage. Any soft spots, rot, or protruding nails should be repaired to ensure a smooth surface.
- Why it matters: A weak deck can compromise adhesion and lead to premature leaks.
- Tip: Sweep away dust and debris before applying any underlayment material.
2. Choose the Right Material for Your Climate
Your local weather conditions greatly affect underlayment performance. In humid or storm-prone areas, self-adhering membranes offer superior protection. In regions with hot summers and freezing winters, synthetic underlayments provide flexibility and resistance to cracking.
- Why it matters: Matching material to climate prevents early deterioration.
- Tip: Consult local building codes to verify approved underlayment materials.
3. Install With Proper Overlaps
Each layer of underlayment should overlap the previous one by at least 4 inches horizontally and 6 inches vertically at seams. This overlap ensures continuous protection, directing water downward and away from the roof deck.
- Why it matters: Overlaps prevent wind-driven rain from seeping through seams.
- Tip: Use chalk lines to maintain straight, consistent overlaps during installation.
4. Secure Underlayment Correctly
Use corrosion-resistant nails or cap fasteners to hold the underlayment firmly in place. In areas prone to high winds, additional fasteners may be required. Avoid over-driving nails, which can puncture the material and compromise waterproofing.
- Why it matters: Proper fastening prevents lifting and tearing under strong winds.
- Tip: Follow manufacturer spacing recommendations for fastener placement.
5. Protect Roof Valleys and Penetrations
Roof valleys and penetrations such as vents, chimneys, and skylights are common leak points. Applying additional layers of underlayment or peel-and-stick membrane in these areas provides extra waterproofing.
- Why it matters: Valleys channel large volumes of water, making them high-risk areas.
- Tip: Extend underlayment at least 6 inches up vertical surfaces for complete coverage.
6. Avoid Wrinkles and Air Pockets
During installation, ensure the underlayment lies flat against the roof deck. Wrinkles, bubbles, or folds can trap water or create weak points where leaks develop.
- Why it matters: Uneven surfaces allow moisture infiltration under tiles.
- Tip: Roll out the underlayment slowly and smooth it as you go for tight adhesion.
7. Inspect Before Installing Roof Tiles
Before tiles are installed, perform a full inspection of the underlayment to confirm all seams, fasteners, and penetrations are sealed properly. Addressing small issues now prevents costly water damage later.
- Why it matters: Tiles may hide defects that are difficult to access once installed.
- Tip: Photograph or document your underlayment installation for warranty and maintenance records.
By following these steps, you can ensure your underlayment provides long-lasting, leak-free performance beneath your tile roof.
How Long Does Tile Roof Underlayment Last?
While roof tiles can last 50 years or more, underlayment typically has a shorter lifespan. Depending on the material, it lasts between 20 and 40 years before replacement is necessary.
Factors That Affect Lifespan
- Climate: Prolonged UV exposure and high humidity can shorten lifespan.
- Material quality: Premium synthetic underlayments last significantly longer than felt.
- Installation quality: Proper overlaps and sealing make a big difference in durability.
- Roof slope: Flat or low-slope designs retain more moisture, which can wear down materials faster.
Scheduling inspections every 10–15 years ensures your underlayment remains in good condition. Replacing it before visible leaks occur protects your roof structure and avoids more expensive repairs later.
Cost of Tile Roof Underlayment Replacement
Replacing underlayment on a tile roof can cost between $3 and $6 per square foot, depending on material type, roof complexity, and local labor rates. Though this might seem like a significant investment, it’s often far less than repairing long-term water damage.
What’s Included in the Cost
- Material removal: Old tiles and damaged underlayment must be carefully lifted.
- Deck repair: Any structural issues are addressed before new underlayment is installed.
- Material installation: High-quality membranes are applied with correct overlap and fastening.
- Tile reinstallation: Tiles are cleaned and reinstalled after the new underlayment is complete.
Choosing the right materials and following best installation practices ensures your investment delivers lasting protection.
Protect Your Home With Expert Roofing Knowledge
A reliable tile roof underlayment is the foundation of any long-lasting roofing system. While the tiles themselves provide beauty and strength, it’s the underlayment that keeps your home dry, energy-efficient, and structurally sound for decades.
Understanding the importance of underlayment helps you make smarter roofing decisions and ensures your home stays protected through every season. Contact Young Construction today for a free estimate and learn more about keeping your roof in top condition year after year.