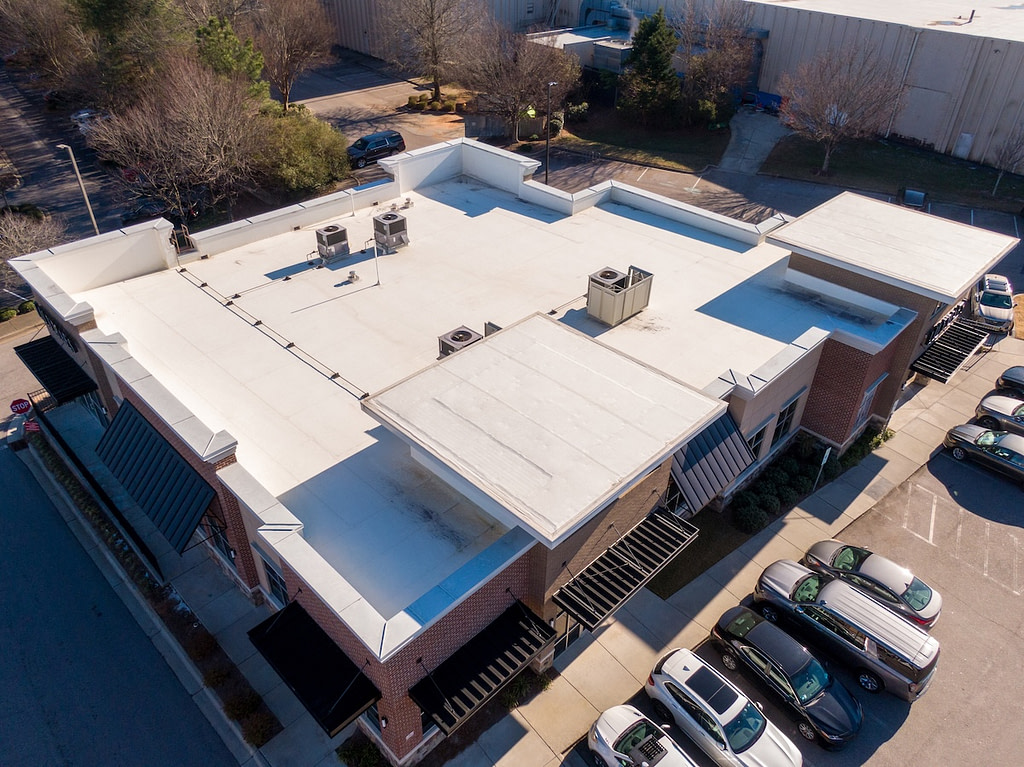
A TPO roof membrane is one of the most popular and energy-efficient options for commercial buildings today. Known for its reflective white surface and long-lasting durability, TPO (thermoplastic polyolefin) roofing helps property owners reduce maintenance costs, improve energy efficiency, and ensure long-term protection. As commercial structures evolve, understanding how TPO roof membrane installation works in 2025 can help you make smarter decisions about upgrades and replacements.
- Energy savings: TPO membranes reflect sunlight to reduce cooling costs.
- Durability: Heat-welded seams provide superior waterproofing and resistance to wear.
- Affordability: Installation is cost-effective compared to other single-ply systems.
Why Commercial Buildings Use TPO Roofing
TPO roofing has quickly become the leading choice for commercial and industrial buildings because of its balance between performance and price. It combines the flexibility of EPDM rubber with the heat-welded strength of PVC, making it both tough and efficient.
For business owners, TPO’s longevity and minimal maintenance make it ideal for reducing long-term operational costs. Its reflective properties also help achieve energy efficiency certifications and meet environmental standards. As a result, many commercial property managers are choosing TPO for new constructions, retrofits, and full roof replacements.
Key Advantages of TPO Roof Membranes
Before exploring the installation process, it’s important to understand why this system stands out among other commercial roofing types.
Superior Weather Resistance
TPO membranes are engineered to handle constant exposure to sun, rain, and temperature swings.
- UV protection: Reflects up to 80% of sunlight, reducing heat absorption.
- Waterproof seams: Hot-air welded joints prevent leaks and moisture intrusion.
- Puncture resistance: Withstands foot traffic and debris impact.
Energy Efficiency and Cost Savings
For commercial buildings with high energy demands, TPO roofing can make a measurable difference.
- Cool roof technology: Keeps indoor spaces cooler and reduces strain on HVAC systems.
- Lower energy bills: Reflective surfaces reduce cooling costs by up to 30%.
- Tax incentives: Many states offer rebates for energy-efficient roofing systems.
Low Maintenance and Long Lifespan
Properly installed TPO roofs can last 20–30 years with minimal upkeep. Their resistance to algae, mold, and dirt buildup makes them easier to maintain than other materials.
- Minimal cleaning needs: Simple washing maintains reflective properties.
- Strong chemical resistance: Ideal for buildings with rooftop HVAC exhaust.
- Ease of repair: Damaged areas can be quickly resealed with heat welding.
Common Components of a TPO Roofing System
A TPO roofing system involves more than just the membrane. Each layer works together to ensure durability and performance.
Roof Deck
The base structure that supports the entire roofing system, typically made of concrete, metal, or wood.
- Stability factor: Must be clean and structurally sound before installation.
- Slope requirement: Slight incline promotes drainage and prevents ponding water.
Insulation Layer
Insulation improves energy performance and helps regulate building temperature.
- ISO or EPS boards: Most commonly used materials for high R-value insulation.
- Tapered design: Ensures proper water flow toward drains or scuppers.
Cover Board
A cover board is installed between insulation and membrane to provide a smooth, solid surface.
- Impact resistance: Protects insulation from punctures and foot traffic.
- Enhanced adhesion: Ensures a stable base for membrane attachment.
TPO Membrane
The outermost layer, made of durable thermoplastic material, comes in sheets typically 10 to 12 feet wide.
- Color options: White is most common, but gray and tan are also available.
- Seam sealing: Achieved through heat welding for watertight performance.
9 Steps in the TPO Roof Membrane Installation Process
A professional installation ensures your TPO roof performs at its full potential. Here’s how experts approach the process from preparation to completion.
- Initial Roof Inspection
Contractors inspect the existing roof or structure to assess its condition. This includes moisture testing and identifying any areas that require repair or replacement. - Surface Cleaning and Preparation
The deck is cleaned thoroughly to remove debris, old materials, or contaminants that might affect adhesion.- Smooth surface: Ensures insulation and membrane layers bond properly.
- Moisture removal: Prevents trapped condensation under the roof.
- Insulation Installation
Insulation boards are placed over the deck using adhesives or mechanical fasteners. They provide both energy efficiency and a stable foundation.- Tapered layout: Promotes drainage to prevent ponding water.
- Staggered seams: Reduce heat transfer and improve thermal performance.
- Adding the Cover Board
A rigid cover board is installed over insulation to increase durability and prevent punctures during or after installation. - Membrane Placement
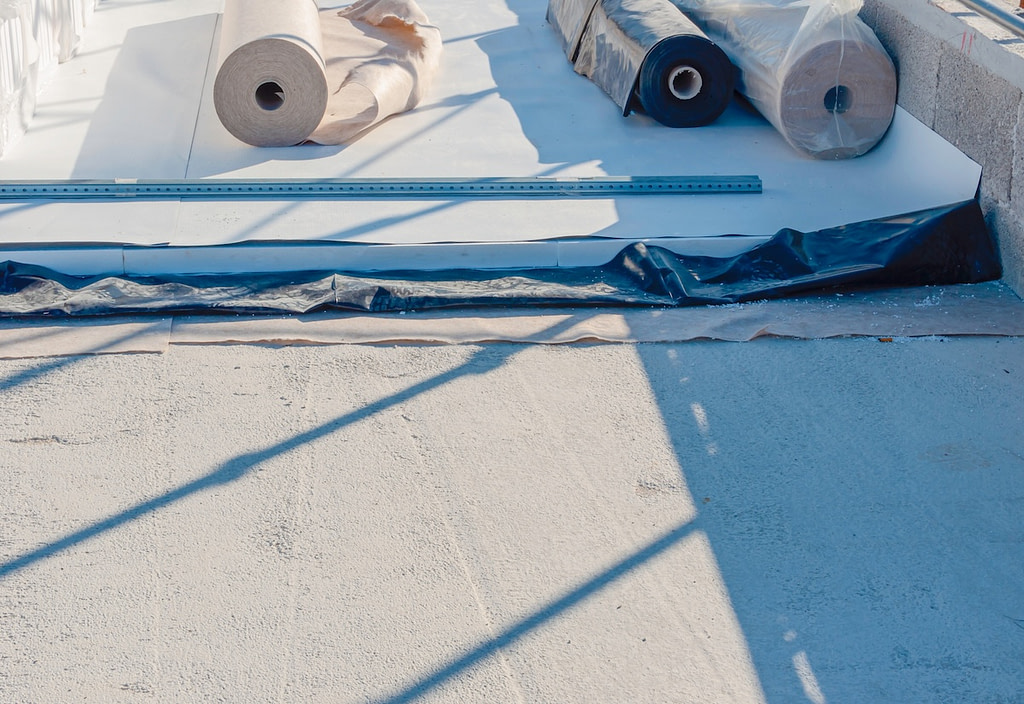
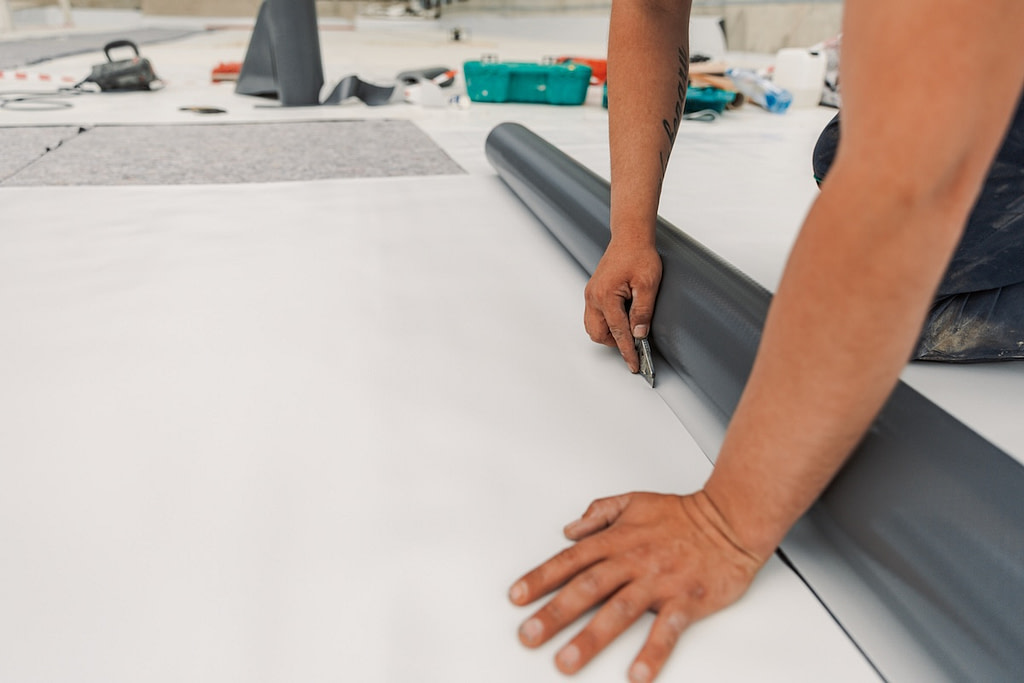
Rolls of TPO membrane are positioned carefully across the roof, overlapping seams to ensure full coverage.- Alignment accuracy: Prevents wrinkles or uneven tension.
- Multiple widths: Allows customization for large or irregular roofs.
- Attachment Method Selection
The membrane is secured using one of three approaches based on project needs.- Mechanically fastened: Plates and screws provide strong wind resistance.
- Fully adhered: Uses bonding adhesive for smooth, uniform appearance.
- Ballasted system: Weighted with stone or pavers for stability.
- Heat Welding Seams
Technicians use hot-air welders to fuse overlapping seams together, creating a permanent, watertight connection.- Temperature precision: Adjusted to match weather conditions and membrane thickness.
- Continuous sealing: Ensures full waterproofing across all joints.
- Edge and Flashing Installation
Flashings, terminations, and metal edges are added around perimeters, penetrations, and drains.- Waterproof detailing: Protects vulnerable points from leakage.
- Durability focus: Reinforced corners resist expansion and contraction stress.
- Final Inspection and Quality Assurance
After installation, the roof undergoes a full inspection for weld integrity, drainage, and material consistency.- Infrared scanning: Detects hidden leaks or insulation voids.
- Warranty activation: Confirms eligibility for manufacturer coverage.
Cost Factors for TPO Roof Installation
The total cost of a TPO roof membrane installation depends on several factors, including building size, insulation requirements, and roof complexity.
Average Cost Range
- TPO installation cost: $9–$14 per square foot installed.
- Tear-off and replacement: $12–$16 per square foot including removal of old materials.
- Maintenance programs: Annual inspections help protect your investment and extend warranty coverage.
Cost Variables
- Roof size: Larger roofs benefit from lower per-square-foot costs.
- Accessibility: Multi-story or hard-to-access roofs require additional safety setup.
- Energy code compliance: Higher R-values or reflective coatings may increase cost but improve efficiency.
When installed correctly, TPO roofing offers one of the best cost-to-performance ratios in commercial construction.
Maintenance and Longevity Tips
Routine maintenance keeps your TPO roof performing like new and maximizes its lifespan.
Regular Inspections
- Biannual checks: Inspect twice a year and after severe weather.
- Seam evaluation: Ensure welds remain tight and watertight.
- Drainage management: Clear debris to prevent standing water.
Preventive Cleaning
- Gentle washing: Use mild soap and water to remove dirt buildup.
- Avoid chemicals: Harsh solvents can damage membrane coatings.
- Check flashings: Reseal as needed to prevent leaks.
A proactive maintenance plan not only extends lifespan but also preserves your manufacturer warranty.
Enhance Energy Efficiency With Young Construction
At Young Construction, we specialize in TPO roof membrane installation for commercial properties across all industries. Our experienced team designs each system for maximum energy efficiency, weather protection, and long-term performance.
Why Property Owners Choose Young Construction
- Certified installers: Our technicians follow strict manufacturer guidelines for flawless installation.
- Energy-efficient systems: We use high-performance insulation and reflective membranes to cut energy costs.
- Full-service solutions: From inspections to maintenance programs, we handle every stage of roof care.
Protect your commercial building with a roofing system built for performance and savings. Contact Young Construction today for a free quote and discover how professional TPO roof membrane installation can enhance your property’s efficiency, durability, and value in 2025 and beyond.