Dealing with a roof leak or damage? We’re here to help you protect your home. Whether it’s due to a storm, heavy winds, or general wear and tear, a damaged roof can lead to water entering your house, causing even more costly damage. Tarping your roof is an essential temporary solution that helps keep water out until professional repairs can be made.
Don’t worry if you’re not an expert—this guide is designed for DIY homeowners like you. You’ll be able to secure your roof effectively and gain peace of mind, with the right:
- Tools
- Materials
- Instructions
Keep reading to learn how to tarp a roof!
(Note: Tarping your roof is a temporary fix. If you’re unsure about handling this project or if the damage is extensive, it’s best to call professionals like Young Construction for reliable service and repairs.)
Why Tarping Your Roof is Important
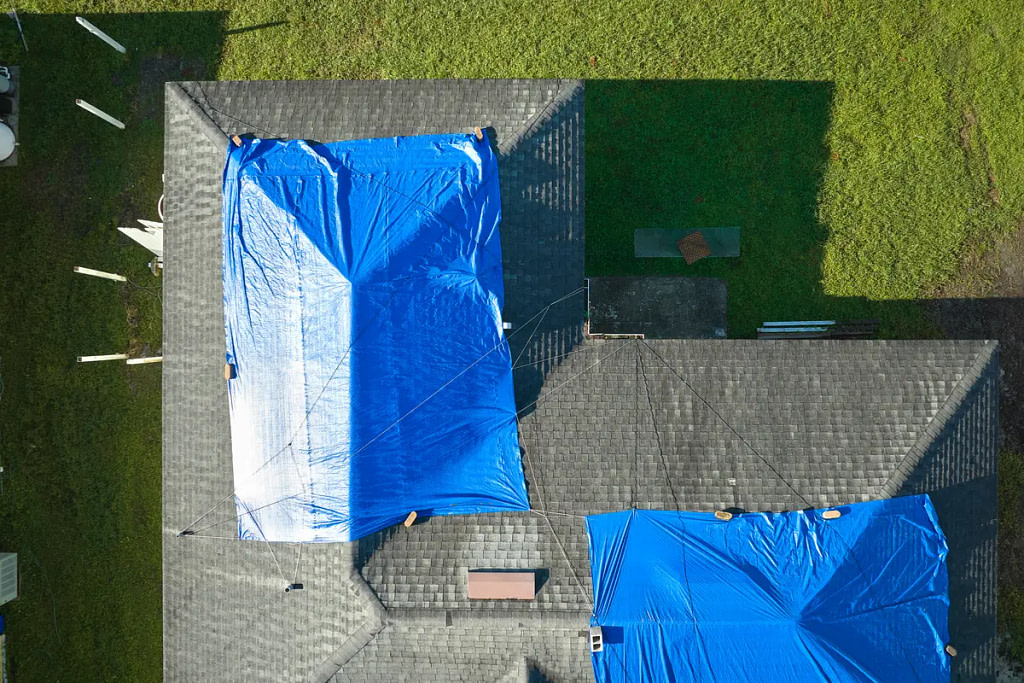
A roof tarp acts as a waterproof shield for your home. This quick solution prevents water from seeping through damaged areas of your roof, protecting your ceilings, walls, belongings, and even your home’s structure from serious water damage.
Putting up a roof tarp promptly after damage occurs prevents:
- Mold and mildew from forming due to moisture accumulation
- Expensive repairs caused by prolonged exposure to leaks
- Further damage from bad weather
Tarping your roof isn’t just about safeguarding your home; it also gives you valuable time to arrange for professional repairs.
What You Need to Tarp a Roof
Before climbing up to your roof, make sure you’re prepared with the right tools and materials. Here’s a checklist to help you get started:
Materials:
- Heavy-duty tarp (preferably at least 6 millimeters thick and UV-resistant)
- Wooden boards (1×3 or 2×4 boards work well)
- Roofing nails or screws
- Ladder
Tools:
- Hammer or nail gun
- Utility knife
- Measuring tape
- Work gloves
- Protective eyewear
Safety Gear:
- Sturdy, non-slip shoes or boots
- Fall protection equipment (like a safety harness)
- Spotter or assistant to hold the ladder
Safety First! Working on a roof can be dangerous, especially if it’s wet, steep, or damaged. Never attempt to tarp a roof during poor weather conditions. If you have any doubts about your safety, call the professionals instead.
A 7 Step Guide to Tarping Your Roof
Now that you’re prepared, it’s time to get to work. Follow these steps to tarp your roof safely and effectively.
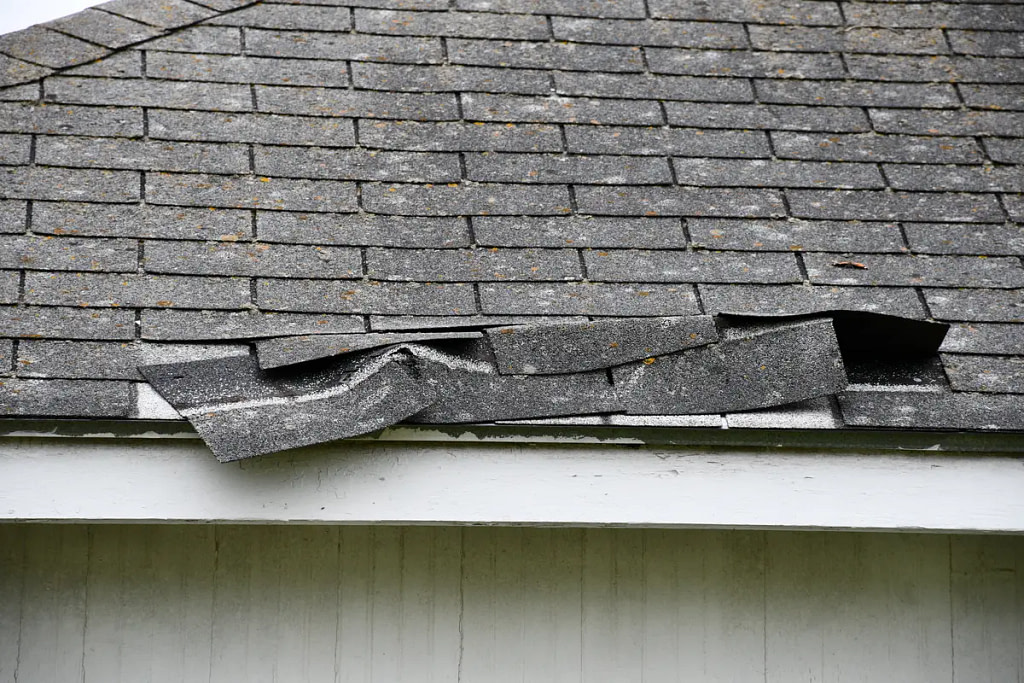
Step 1: Assess the Damage
Before grabbing your tools, inspect the damaged area from the ground or another safe vantage point. Take note of the specific area that needs to be covered, the size of the damage, and any sharp or irregular parts on the roof that could rip the tarp.
If you can safely access the roof, check for any debris such as broken shingles, branches, or loose material that may obstruct the process.
Step 2: Measure the Area
Using a measuring tape, determine the size of the damaged section and how much tarp you’ll need. Always add a few extra feet to each side to ensure the tarp extends beyond the damaged area for secure coverage. This ensures no leaks around the edges.
Pro Tip: Use a tarp that’s larger than you think you’ll need. You can always trim excess if necessary, but you can’t adjust if it’s too small!
Step 3: Clear Debris Safely
Once it’s safe to get on the roof, remove branches, leaves, or loose shingles. Clearing the surface ensures that the tarp will go on smoothly and won’t sag or tear over sharp objects. Wear gloves to protect your hands during this process.
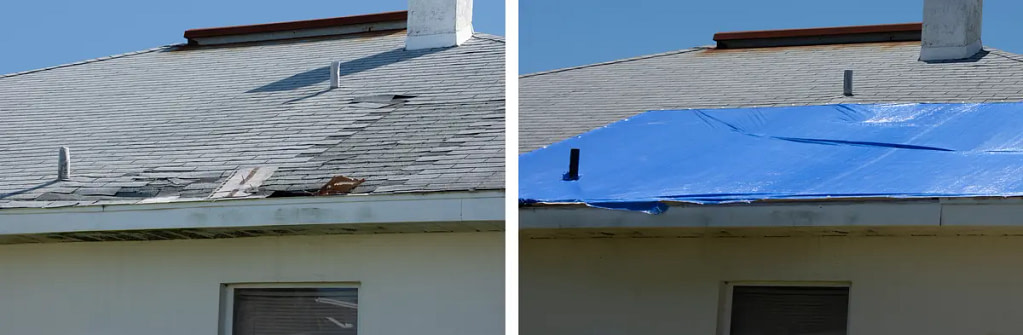
Step 4: Position the Tarp
Unroll the tarp and position it over the damaged area. Make sure it extends at least 3–4 feet beyond the damage on all sides. If possible, run the tarp lengthwise over the roof’s peak to prevent water from pooling around the tarp edges.
Step 5: Secure the Tarp with Wooden Boards
To keep your tarp in place and prevent it from flapping in the wind, use wooden boards as anchors. Lay the boards along the tarp’s edges and fasten them with roofing nails or screws. Be sure to place nails at regular intervals of about 6 to 12 inches for maximum stability.
- For added security, you can fold the tarp around the boards before nailing them down. This protects the tarp edges and creates a tighter seal.
Step 6: Nail or Screw Down the Tarp
Nail or screw the wooden boards and tarp to the roof securely. Pay special attention to securing all corners and overhanging areas. For roofs with steep slopes, use extra boards if needed to hold the tarp firmly in place.
Remember, your setup needs to withstand wind, rain, and other weather conditions until repairs are done.
Step 7: Inspect the Tarped Area
Once you’ve secured the tarp, step back and inspect your work. Make sure there are no visible gaps or loose areas where water can seep through. If necessary, adjust the tarp and boards to create a tighter fit.
Common Mistakes to Avoid
While tarping a roof is a relatively simple task, a few common mistakes can compromise its effectiveness. Watch out for the following pitfalls:
- Choosing a tarp that’s too thin and gets torn easily. Heavy-duty tarps are always best.
- Failing to extend the tarp far enough past the damaged area. Water can still get through short edges.
- Attempting to tarp during windy or rainy conditions. This makes the job more hazardous and affects the tarp’s placement.
- Not using enough fasteners to secure the tarp. A strong wind can lift unsecured tarps off your roof.
When to Call a Professional
Tarping, while manageable, can sometimes be unsafe or beyond your DIY abilities. Here are some scenarios when it’s better to call a professional roofing company like Young Construction:
- The damage is extensive and covers a large portion of your roof.
- Your roof is steep or difficult to access safely.
- You don’t have the right tools, safety equipment, or assistance.
- You’re not confident in your ability to tarp securely.
At Young Construction, we specialize in roof repairs and replacements that are efficient, affordable, and reliable. Whether you need help tarping your roof or want a detailed professional inspection, our team has you covered!
Care For Your Entire Roof With Young Construction
Tarping your roof is an essential skill for any DIY homeowner facing unexpected damage. It’s a temporary fix, but done right, it will protect your home from water damage and buy you valuable time until professional repairs can be arranged.
By following the steps outlined above and taking necessary safety precautions, you can complete this task with confidence. If you’re unsure about taking this project on yourself, remember—Young Construction is always just a call away.Need expert help? Contact Young Construction today for reliable roofing solutions that you can trust. From emergency tarping to complete repairs, we’re here to keep your home protected, rain or shine.