Rubber roofing has become an increasingly popular choice for both commercial and residential buildings, especially in regions like North Iowa where weather durability matters. Known for its long lifespan, affordability, and eco-friendliness, rubber roofing (like EPDM and TPO) offers a smart alternative to traditional materials like asphalt or metal.
Still, many property owners have important questions:
- What are the real benefits of rubber roofing?
- What does the installation process involve?
- How much maintenance is required and is it worth it?
In this guide, we’ll break down everything you need to know, with a special focus on how rubber roofing performs in commercial applications, its cost-effectiveness, and how to decide if it’s the right fit for your building.
Key Takeaways
- Durable & Weather-Resistant: Rubber roofing materials like EPDM can last 30–50 years and stand up to extreme weather conditions, making them ideal for North Iowa’s climate.
- Cost-Effective Option: Rubber roofing has a lower installation cost and requires less maintenance over time compared to traditional materials like asphalt or metal.
- Eco-Friendly Choice: Many rubber roofs are made from recycled materials and reflect sunlight, improving energy efficiency for commercial buildings.
- Quick Installation: Rubber roofing systems are relatively fast to install, especially on flat or low-slope roofs, minimizing downtime for businesses.
- Minimal Maintenance: Regular inspections and minor repairs can keep a rubber roof performing well for decades, reducing long-term operating costs.
- Ideal for Flat Roofs: Especially suited for commercial properties with flat or low-pitched roofs, rubber roofing offers superior waterproofing performance.
What is Rubber Roofing?
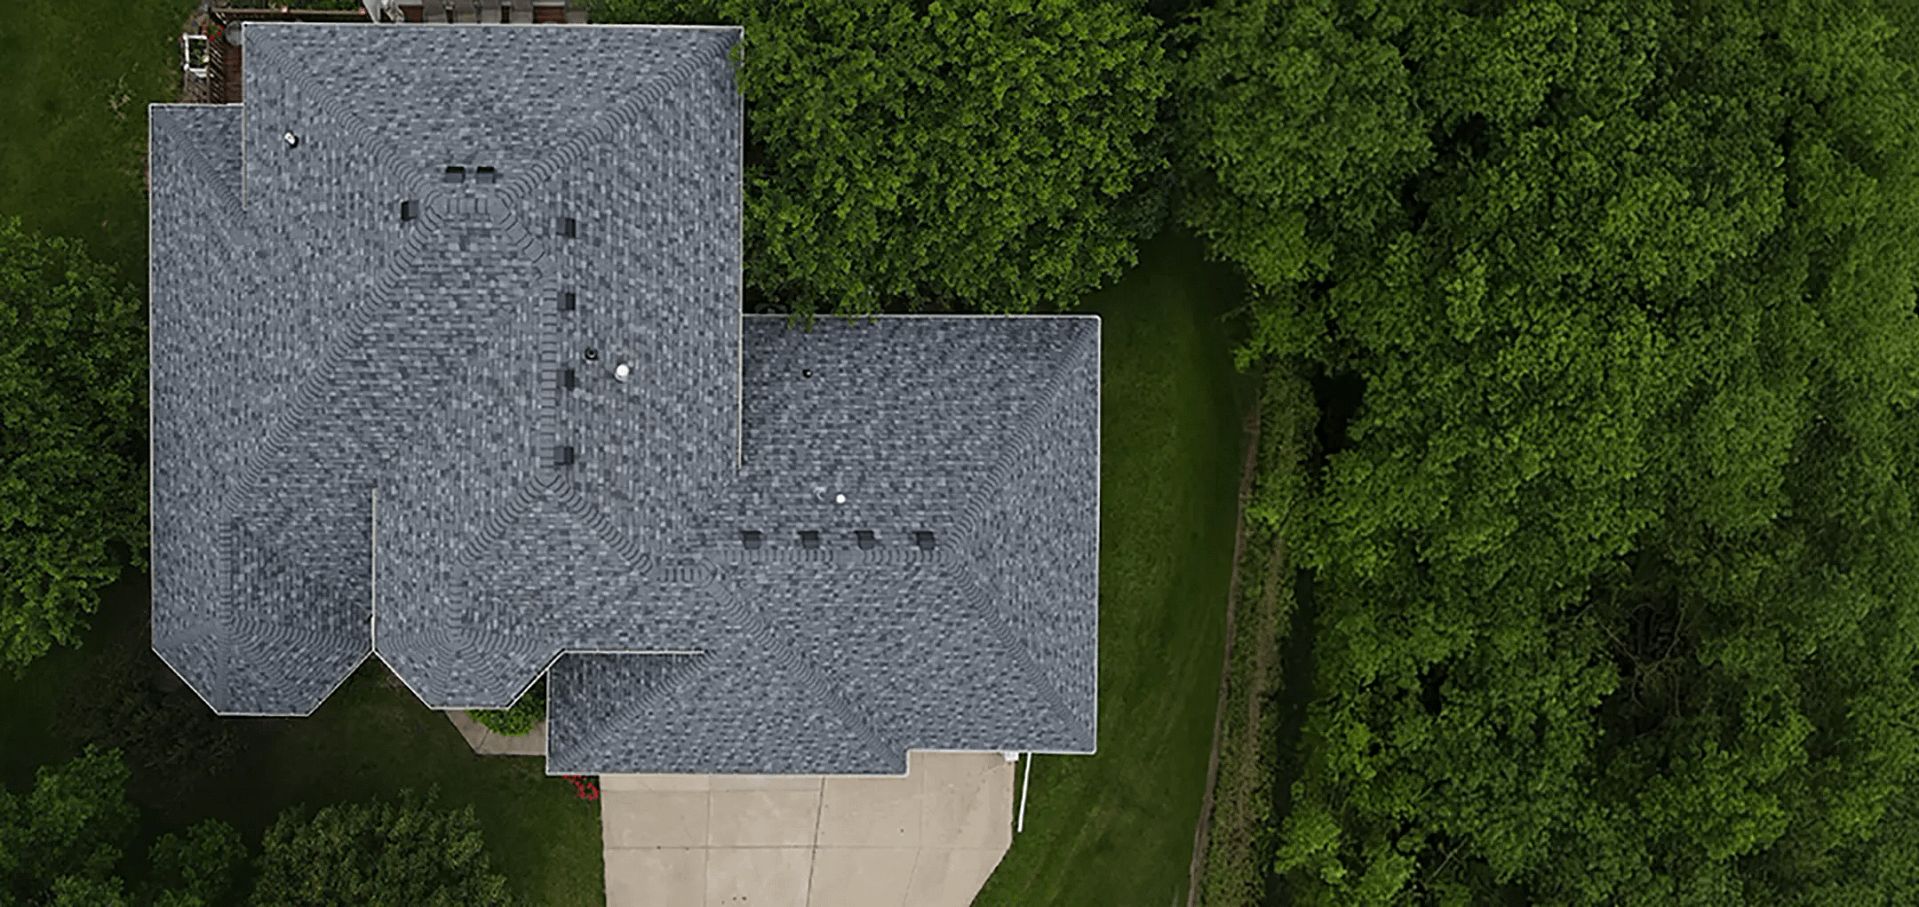
Rubber roofing is a durable, waterproof roofing system typically made from EPDM (ethylene propylene diene monomer), a flexible, synthetic rubber material designed for low-slope or flat roofs. It is widely used in commercial and industrial buildings, thanks to its ability to withstand extreme weather, UV exposure, and thermal expansion.
Unlike traditional asphalt or metal roofs, EPDM is installed in large seamless sheets, minimizing leak points and simplifying maintenance. Its flexibility makes it especially effective in climates with temperature fluctuations, such as North Iowa, where freezing winters and hot summers demand resilient materials.
Rubber roofing is favored for:
- Commercial buildings with flat or low-pitch roofs
- Warehouses, office complexes, and retail spaces
- Garages, sheds, and utility structures
With a lifespan of 30–50 years and minimal maintenance requirements, rubber roofing remains one of the most cost-effective solutions for protecting commercial properties.
Best Uses for Rubber Roofing
Rubber roofing is a smart, versatile solution, but it’s not ideal for every property type. It excels in specific use cases where its waterproofing capabilities, durability, and cost-efficiency make it a top choice. Below are the situations where rubber roofing performs best.
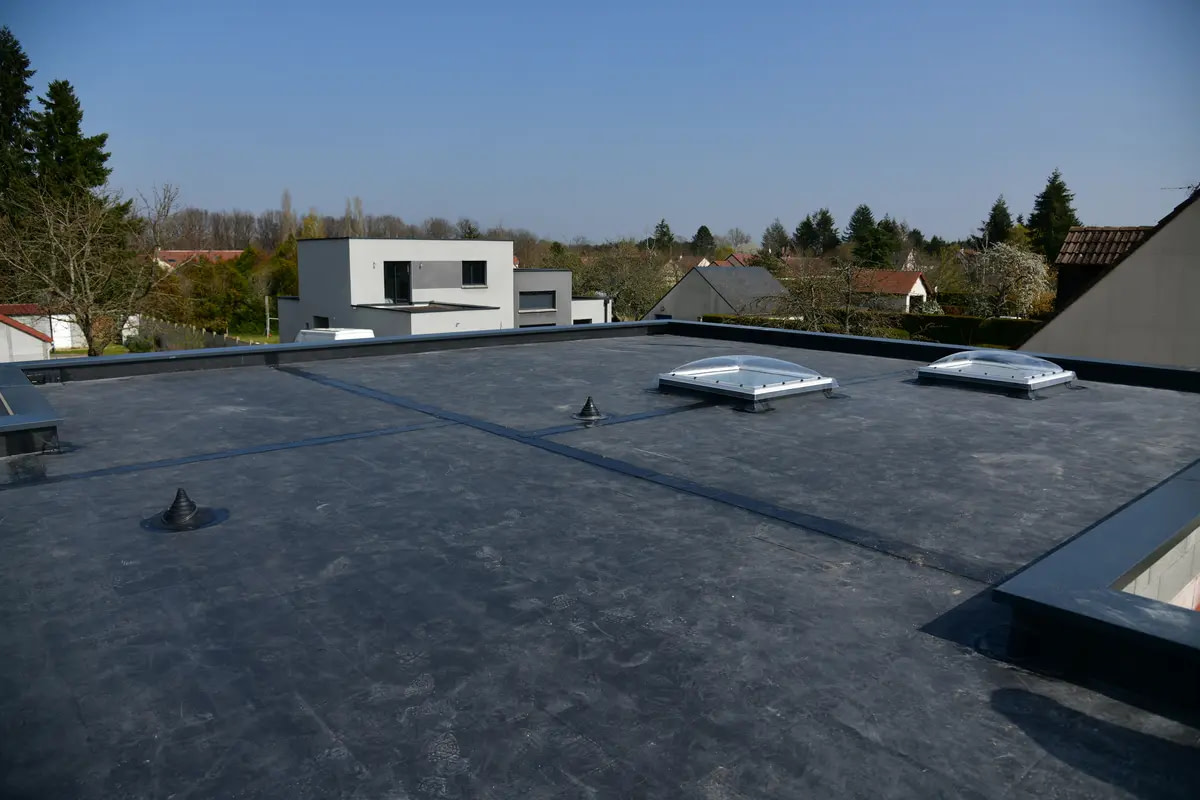
1. Flat and Low-Slope Roofs
Rubber membranes like EPDM and TPO are designed specifically for flat or low-pitch roofs, where water runoff is slower. Traditional shingles are not suitable for these roof types due to their tendency to trap moisture.
Rubber roofing provides a seamless, watertight barrier ideal for preventing leaks in flat roof systems.
2. Commercial and Industrial Buildings
Because of its long lifespan, ease of installation, and low maintenance, rubber roofing is widely used on:
- Office buildings
- Warehouses
- Retail centers
- Apartment complexes
For large roof surfaces, EPDM offers an affordable and durable solution.
3. Garages, Sheds, and Outbuildings
Smaller structures like detached garages and utility buildings often have flat or slightly pitched roofs, making them ideal candidates for rubber roofing.
This is an economical way to extend the life of an outbuilding without overspending on materials.
4. Green Roof Systems
EPDM and TPO membranes are often used as the base waterproofing layer in green roof systems, where plants and soil are placed over the structure.
Rubber provides an impermeable barrier that protects the building from root penetration and moisture intrusion.
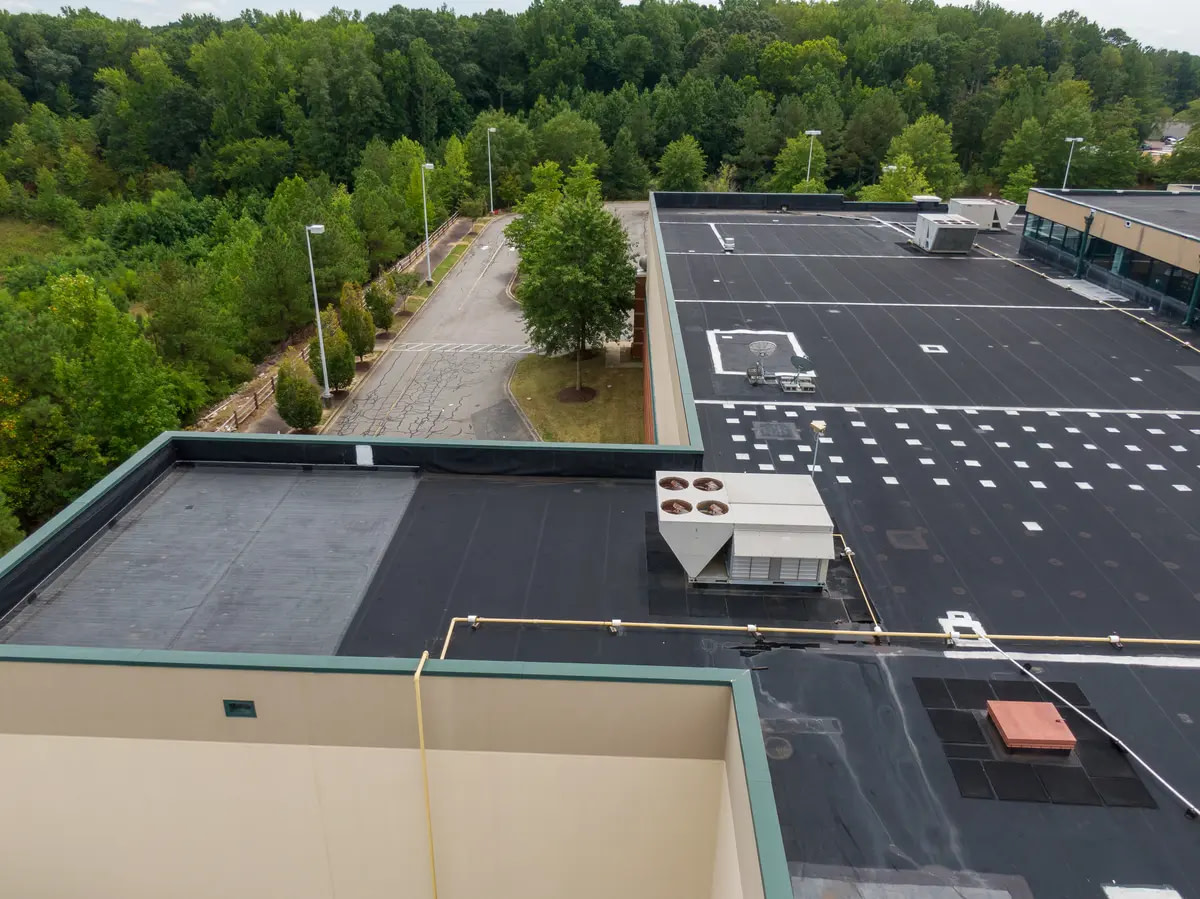
5. Rooftop HVAC and Equipment Areas
Rubber roofs are ideal for commercial buildings that require rooftop mechanical systems. They can support heavy equipment, and protective pads can be added to reduce puncture risks from maintenance traffic.
This makes them a durable and functional solution for utility-heavy structures.
Benefits of Rubber Roofing for Commercial Properties
Rubber roofing, particularly EPDM (ethylene propylene diene monomer), is a widely used solution for commercial buildings due to its proven performance, low life-cycle cost, and environmental benefits. Below are the key advantages that make it a smart investment for flat and low-slope commercial roofs.
1. Durability That Stands the Test of Time
EPDM roofs are known for their exceptional longevity, lasting 30 to 50 years when properly installed and maintained. Unlike traditional roofing materials, rubber resists:
- Cracking and blistering from UV exposure
- Damage from hail, wind, and standing water
- Thermal expansion and contraction in extreme climates
For commercial properties in regions like North Iowa, where temperature swings and storm conditions are common, this resilience can reduce repair costs and downtime over the long term.
2. Cost-Effective Over the Roof’s Lifetime
Rubber roofing delivers value at every stage:
- Lower installation costs due to fewer seams and easier application
- Minimal maintenance requirements compared to metal or asphalt systems
- Reduced repair frequency thanks to puncture-resistant properties and long-term performance
Though upfront pricing may vary, EPDM often provides the best return on investment (ROI) over the life of the roof.
3. Environmentally Friendly and Fully Recyclable
Sustainability is a growing priority in commercial construction. EPDM meets that need with:
- Roofing material made from recycled rubber
- Fully recyclable membranes at the end of life
- Low manufacturing impact compared to synthetic or petroleum-based alternatives
This makes rubber roofing an excellent choice for companies pursuing green building certifications or looking to reduce their environmental footprint.
4. Energy-Efficient Options Available
White or light-colored EPDM and TPO membranes offer high solar reflectance, helping reduce heat absorption on sunny days. This can result in:
- Lower cooling costs in summer
- Improved insulation when paired with the right underlayment
- Support for LEED credits and energy efficiency benchmarks
In colder climates, traditional black EPDM can help retain heat during winter months, which is beneficial for North Iowa properties.
5. Quick and Simple Installation Process
Rubber roofing comes in large rolls, allowing for faster, cleaner installations than tile, built-up roofing, or metal panels. This means:
- Fewer seams, reducing the potential for leaks
- Less disruption to daily business operations
- Easier access for future inspections and maintenance
Professional installation ensures a watertight seal and maximizes the material’s performance.
Types of Rubber Roofing Systems
You have options, when it comes to installing a rubber roof! Here are the different styles of a rubber roofing system you can choose from:
Fully Adhered System
In a fully adhered system, the EPDM membrane is glued directly to the insulation or substrate using a special adhesive. This method offers a smooth appearance and excellent wind resistance, making it a popular choice for many commercial applications.
Mechanically Attached System
A mechanically attached system involves securing the EPDM membrane to the roof deck using fasteners and plates. This method is quicker and more cost-effective to install, but it may be more prone to wind uplift compared to fully adhered systems.
Ballasted System
In a ballasted system, the EPDM membrane is laid loosely over the roof structure and held in place by a layer of ballast, usually gravel or pavers. While this method is quick to install and allows for natural expansion and contraction, it requires a structurally sound building capable of supporting the additional weight.
Drawbacks of Rubber Roofing
Rubber roofing, particularly EPDM and TPO, offers notable benefits like durability and low maintenance. However, it’s not without its limitations. Understanding the potential drawbacks can help property owners make an informed decision, especially when evaluating roofing systems for commercial or flat-roof applications.
1. Aesthetic Limitations
Rubber roofing often lacks the visual appeal of other materials. Most EPDM roofs are black and flat in appearance, which works well for industrial and commercial properties but may not suit more prominent or decorative buildings.
- TPO and PVC are available in lighter colors, but they tend to come at a higher initial cost.
2. Risk of Punctures
While rubber membranes are generally durable, they can be vulnerable to punctures from sharp debris, hail, or foot traffic. Tools or equipment dropped during maintenance can also damage the surface.
- Installing walk pads and performing routine inspections can help reduce this risk.
3. Seams Can Be a Weak Point
Rubber roofing is typically installed in large rolls that are sealed at the seams. Over time, exposure to UV rays and fluctuating weather conditions can compromise these seams, leading to leaks if not properly maintained.
- Seam failure is one of the most common causes of leaks on aging rubber roofs.
4. Requires Skilled Installation
Installing a rubber roof is not a DIY friendly project. It requires specialized tools, adhesives, and proper surface preparation. Mistakes during installation, such as improper sealing or poor drainage design, can shorten the roof’s lifespan.
- Working with an experienced commercial roofer is required for long-term performance.
5. Higher Initial Costs (Compared to Asphalt)
Rubber roofing typically costs more upfront than asphalt shingles. However, it often lasts longer and has lower maintenance requirements, making it more cost-effective over time.
- This may be a consideration for budget-conscious property owners with smaller buildings.
6. Heat Absorption and Reflectivity
Black EPDM absorbs heat, which may increase cooling costs in warmer seasons. Although white TPO offers better solar reflectance, it is more rigid in colder climates and can be more expensive.
- In colder regions like North Iowa, EPDM remains a practical and proven solution due to its cold-weather flexibility.
The 5-Step EPDM Rubber Roofing Installation Process
Curious what to expect when installing an EPDM rubber roof? While every project may vary slightly, here’s a reliable breakdown of the process so you know what’s involved and why each step matters.
1. Surface Preparation
Before any rubber is rolled out, the roofing crew starts with a clean foundation. This includes:
- Removing old roofing materials (if needed)
- Inspecting and repairing the roof deck for rot or damage
- Installing insulation or a cover board to improve energy efficiency and membrane support
A properly prepped surface is key to a smooth, long-lasting install.
2. Laying Out the Membrane
Next, the EPDM membrane is rolled out across the surface. It’s allowed to “relax” for a short period so it can lay flat without tension. Proper alignment at this stage ensures:
- Tight seams
- Minimal waste
- Even coverage across the roof
3. Securing the Membrane
Depending on the system chosen, the membrane is attached using one of three methods:
- Fully adhered (glued down)
- Mechanically fastened (with screws and plates)
- Ballasted (held in place with stone or pavers)
Each method has its advantages, and your contractor will recommend the best option based on your building type and roof design.
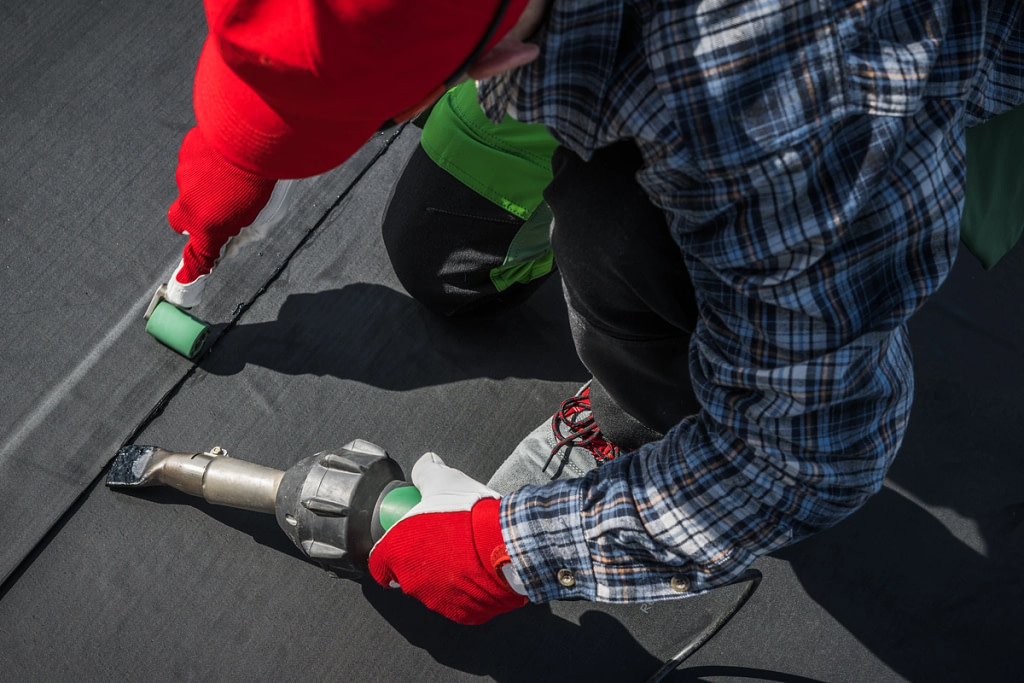
4. Seaming the Sheets
Where two sheets meet, they’re joined using seam tape or specialized adhesive. This creates a waterproof bond that’s critical to keeping moisture out. Poor seam work is one of the most common causes of leaks, so this step is done with great care and precision.
5. Final Detailing and Flashing
To finish the job, installers seal around all the tricky spots, such as:
- HVAC units
- Drains and vents
- Skylights
- Roof edges and terminations
High-quality flashing ensures the system remains watertight and performs well under harsh weather conditions.
Maintenance and Repairs
Rubber roofing is low-maintenance, but regular inspections and minor repairs are necessary to ensure its longevity and performance.
- Regular Inspections: Conduct regular inspections, especially after severe weather events. Look for signs of damage, such as tears, punctures, and seam separation. Address any issues promptly to prevent further damage and costly repairs.
- Cleaning: Keep your rubber roof clean by removing debris, leaves, and dirt that can trap moisture and cause damage. Gently wash the surface with mild soap and water as needed to prevent algae and mold growth.
- Repairs: Most minor damage, such as small tears or punctures, can be repaired with a patch kit designed for EPDM roofing. Follow the manufacturer’s instructions carefully to ensure a seamless repair. For more extensive damage, consult a professional roofing contractor.
Cost Considerations
If you’re concerned about the cost of rubber roofing, it helps to look at both the upfront investment and the long-term value it provides.
Initial Installation Costs
Rubber roofing typically costs between $5 and $10 per square foot, including materials and labor. Pricing can vary depending on:
- The size and complexity of your roof
- The condition of the existing roof
- Your geographic location and labor rates
While the initial cost may be higher than asphalt shingles, it’s often lower than metal roofing and requires fewer materials and seams, especially for flat or low-slope commercial roofs.
Long-Term Value
What rubber roofing lacks in low upfront pricing, it makes up for in long-term savings:
- Fewer repairs due to strong weather resistance
- Lower maintenance costs over decades
- Energy savings from reflective or insulated membranes
- Lifespan of 30-50 years, reducing the need for early replacement
When you factor in these savings, rubber roofing becomes a cost-effective choice for commercial buildings looking to reduce total roofing expenses over time.
Choosing a Contractor
Selecting the right contractor is crucial for a successful rubber roofing installation. Consider the following when hiring a professional:
- Experience: Look for contractors with experience in installing rubber roofs on commercial properties.
- References: Request references from previous clients to gauge the contractor’s reliability and workmanship.
- Certifications: Ensure the contractor is certified by the EPDM manufacturer, which can be a requirement for warranty coverage.
- Insurance: Verify that the contractor carries liability insurance and workers’ compensation coverage.
Switch To A Rubber Roof!
Rubber roofing comes with a lot of practical benefits; it’s long-lasting, low maintenance, energy efficient, and often more affordable over time than other commercial roofing options. If you’re looking for something that can stand up to tough weather and won’t require constant upkeep, it’s worth considering.
That said, like any major investment, it’s important to get the right advice. Talking to a roofing professional can help you decide if it’s the best fit for your building and budget.
If you’re ready to explore your options, give Young Construction a call. We’ll walk you through the process and provide a free, no-pressure estimate so you can make the best decision for your property.
FAQ’s
What is the life expectancy of a rubber roof?
Rubber roofing systems, particularly EPDM, typically last 30 to 50 years with proper installation and regular maintenance. Their flexibility, resistance to UV damage, and performance in extreme weather conditions make them a long-lasting option for both commercial and residential properties.
Is rubber roofing good for flat commercial roofs?
Yes. Rubber roofing is ideal for flat or low-slope commercial roofs. It creates a continuous, waterproof membrane that prevents water infiltration, something traditional shingles struggle with on flat surfaces. It’s commonly used on office buildings, warehouses, and multi-unit properties.
How does rubber roofing compare to other roofing materials in terms of cost?
Rubber roofing is often more cost-effective over time. While the initial installation cost can be higher than asphalt shingles, it’s generally cheaper than metal roofing and lasts longer than both. Its low maintenance needs and energy efficiency contribute to long-term savings.
Can you put a rubber roof over shingles?
In some cases, yes. A rubber roof, typically EPDM, can be installed over existing shingles, provided the roof is flat or has a very low slope and the underlying shingles are in stable condition. However, it’s not always recommended because imperfections in the shingles can cause issues with adhesion or puncture the rubber membrane over time. A roofing professional should inspect the structure to determine if an overlay is appropriate or if a full tear-off is needed.